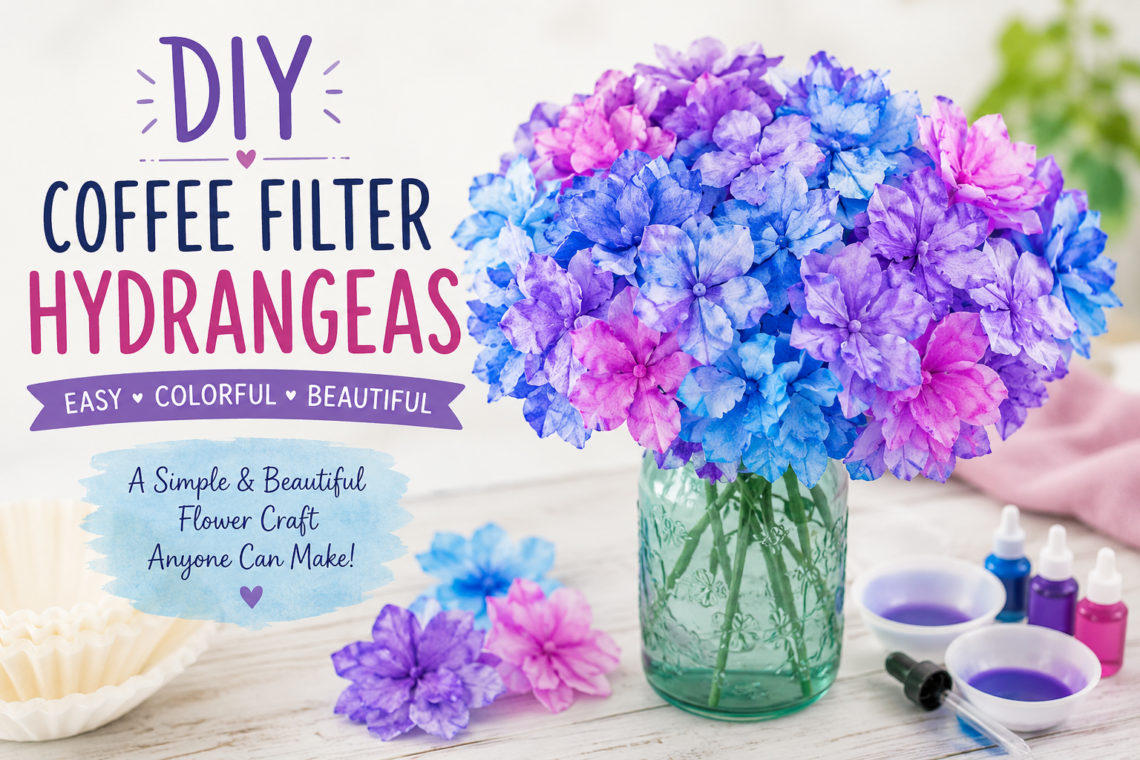
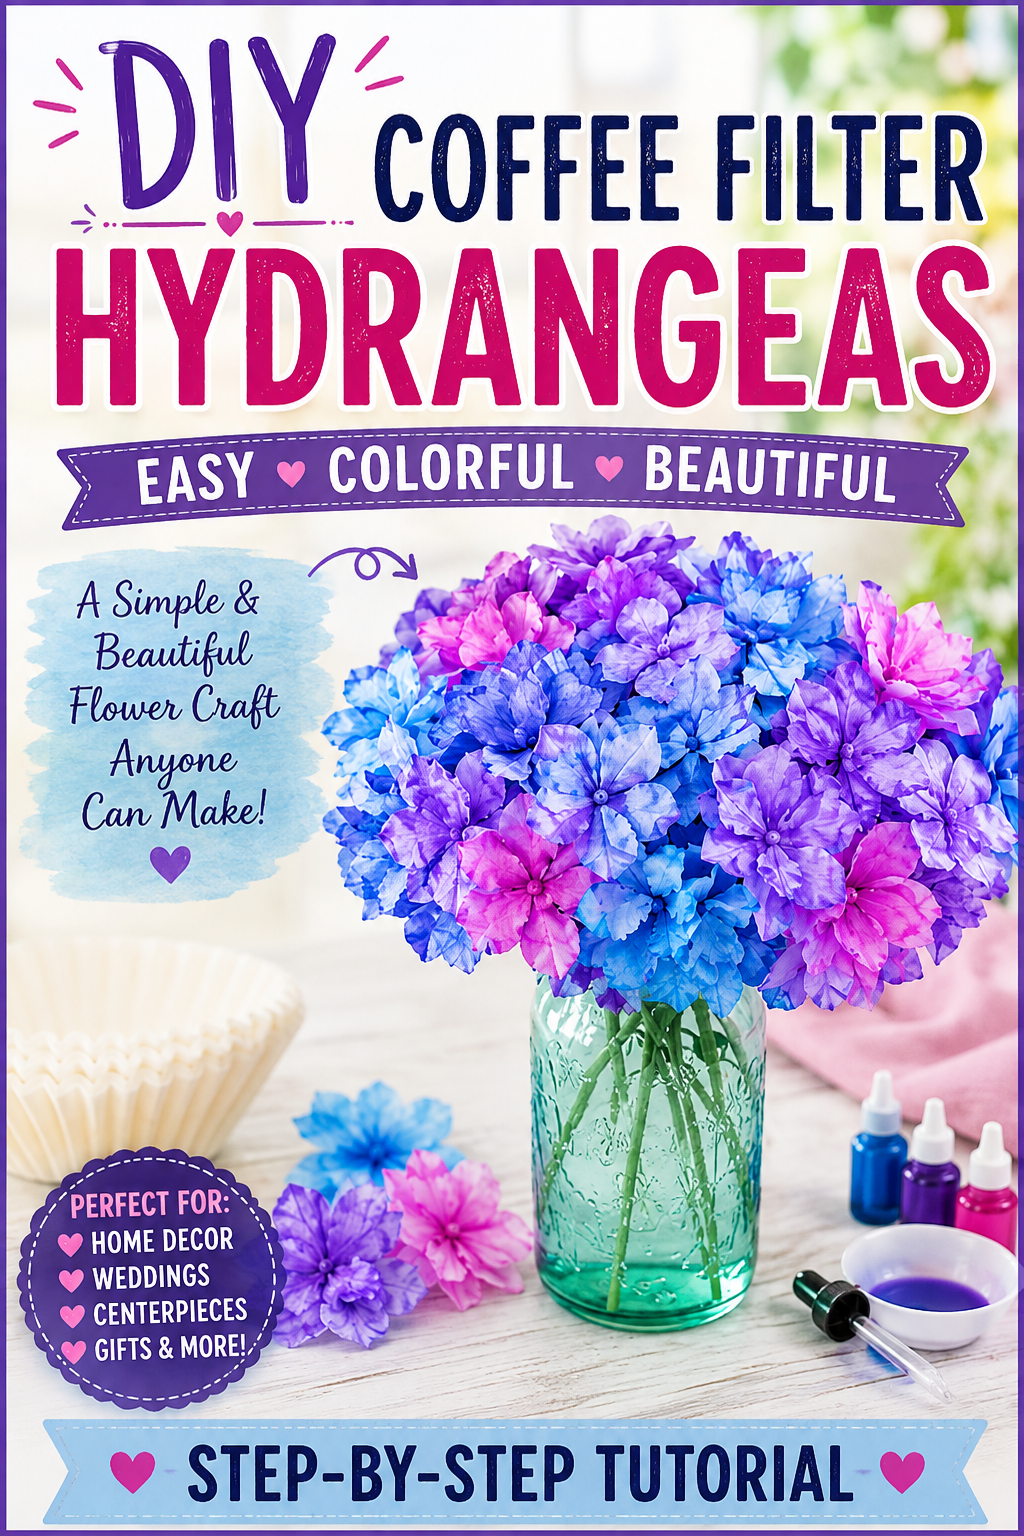
DIY Coffee Filter Hydrangeas: Easy Step-by-Step Tutorial

DIY Coffee Filter Hydrangeas
If you’re looking for an inexpensive craft that looks surprisingly elegant, these DIY Coffee Filter Hydrangeas are the perfect project. With just a few basic supplies, you can transform ordinary coffee filters into gorgeous blooms that resemble real hydrangeas. They’re fun to make, easy enough for beginners, and a wonderful activity for kids, teens, and adults alike.
One of the most exciting parts of this craft is watching the colors blend together. As the paint spreads across the coffee filters, each flower develops its own unique pattern. Once dry, the shades soften beautifully, giving the petals a delicate, natural appearance.
Whether you’re decorating your home, creating handmade gifts, or adding flowers to a special event, these coffee filter hydrangeas are a budget-friendly way to create something beautiful.
You’ll find affiliate links within this post. If you decide to purchase through these links, I may earn a modest commission at no extra cost. Additionally, please review my privacy policy for more details.
✨ We hope you enjoyed these photos! If so, please consider sharing them on Pinterest by clicking the Pin Button on each image. Your support helps us connect with more people and spread creativity. Thank you so much!💖
Why You’ll Love This Craft
- Budget-friendly and easy to make
- Great for kids and adults
- Looks surprisingly realistic
- Perfect for home décor, gifts, weddings, or spring decorations
- Endless color combinations to match any season
Supplies You’ll Need
- 12 coffee filters
- Liquid watercolor paint (or food coloring)
- Water
- Green pipe cleaners
- Pencil
- Scissors
- Small bowls
- Eyedropper or small spoon
- Baking sheet or tray
- Hot glue gun
Step 1: Cut the Flower Shapes
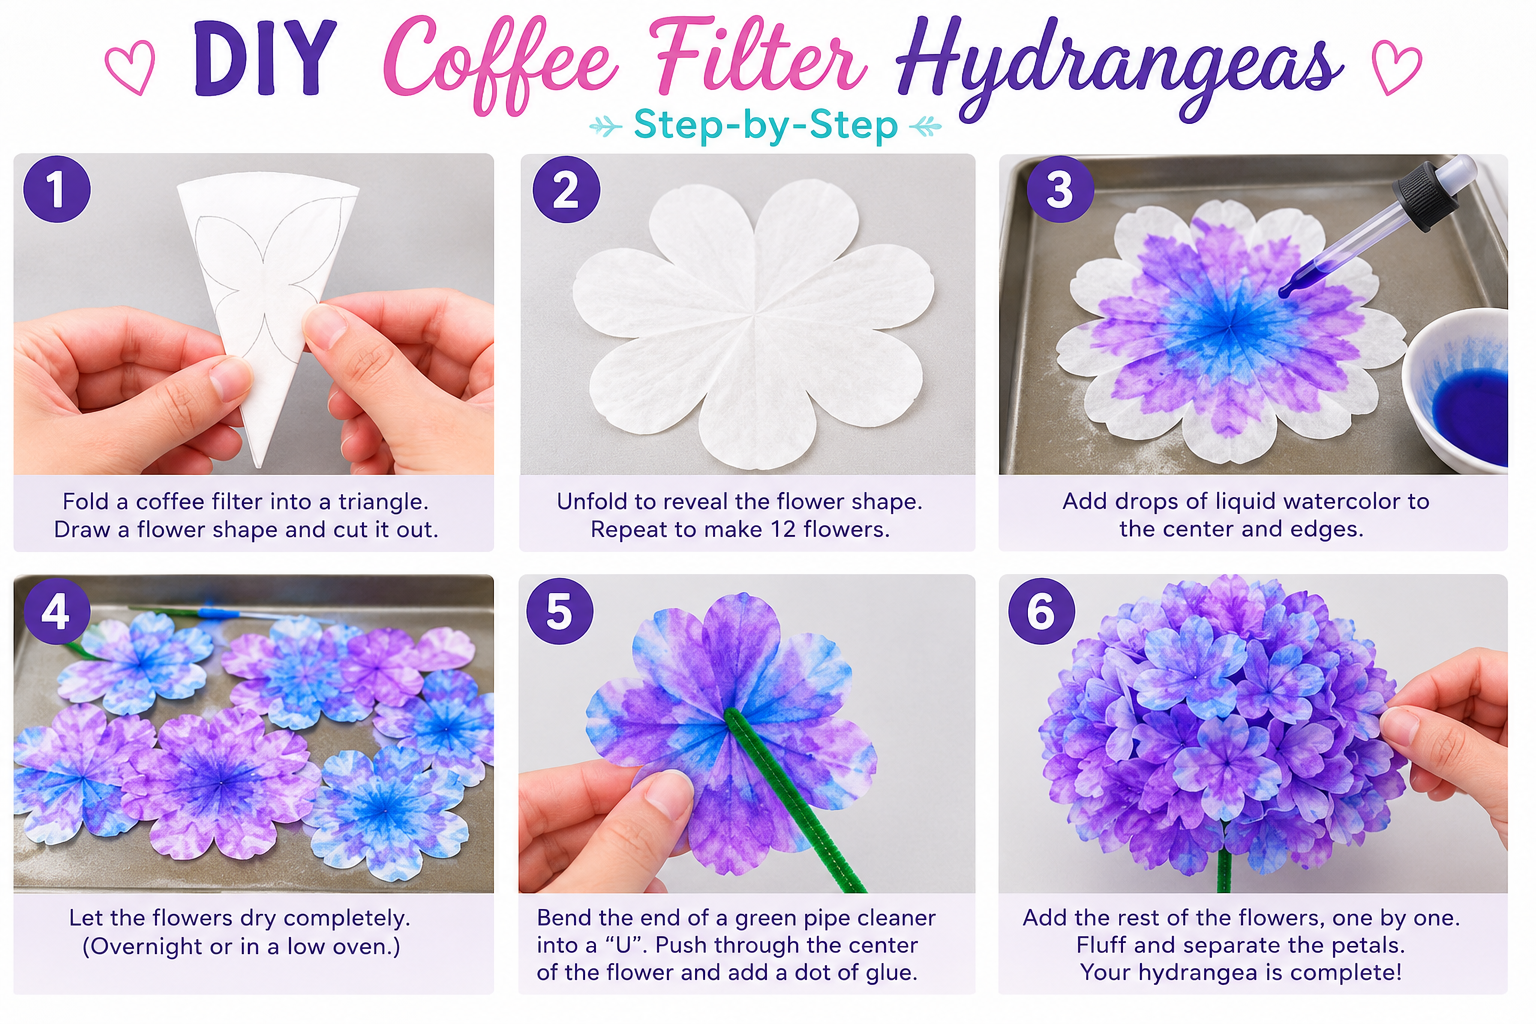
Stack two coffee filters together and fold them several times into a wedge shape.
Draw a simple petal design along the rounded edge. Think of two connected petals with a narrow section extending toward the center. Carefully cut along the lines, then unfold and separate the petals until each coffee filter forms one complete flower.
Repeat until you have 12 flower pieces.
Step 2: Add Color
Lay four coffee filters at a time on a baking sheet.
Mix a small amount of liquid watercolor with water in separate bowls.
Using an eyedropper, spoon, or small measuring spoon:
- Add blue toward the center.
- Blend purple or another color around the edges.
- Fill in remaining white areas with additional color.
Don’t worry about making every flower identical—the variety makes the finished hydrangea look even more realistic.
Allow the filters to dry completely before assembling.
Step 3: Create the Flower Stem
Bend the tip of a green pipe cleaner into a tiny hook.
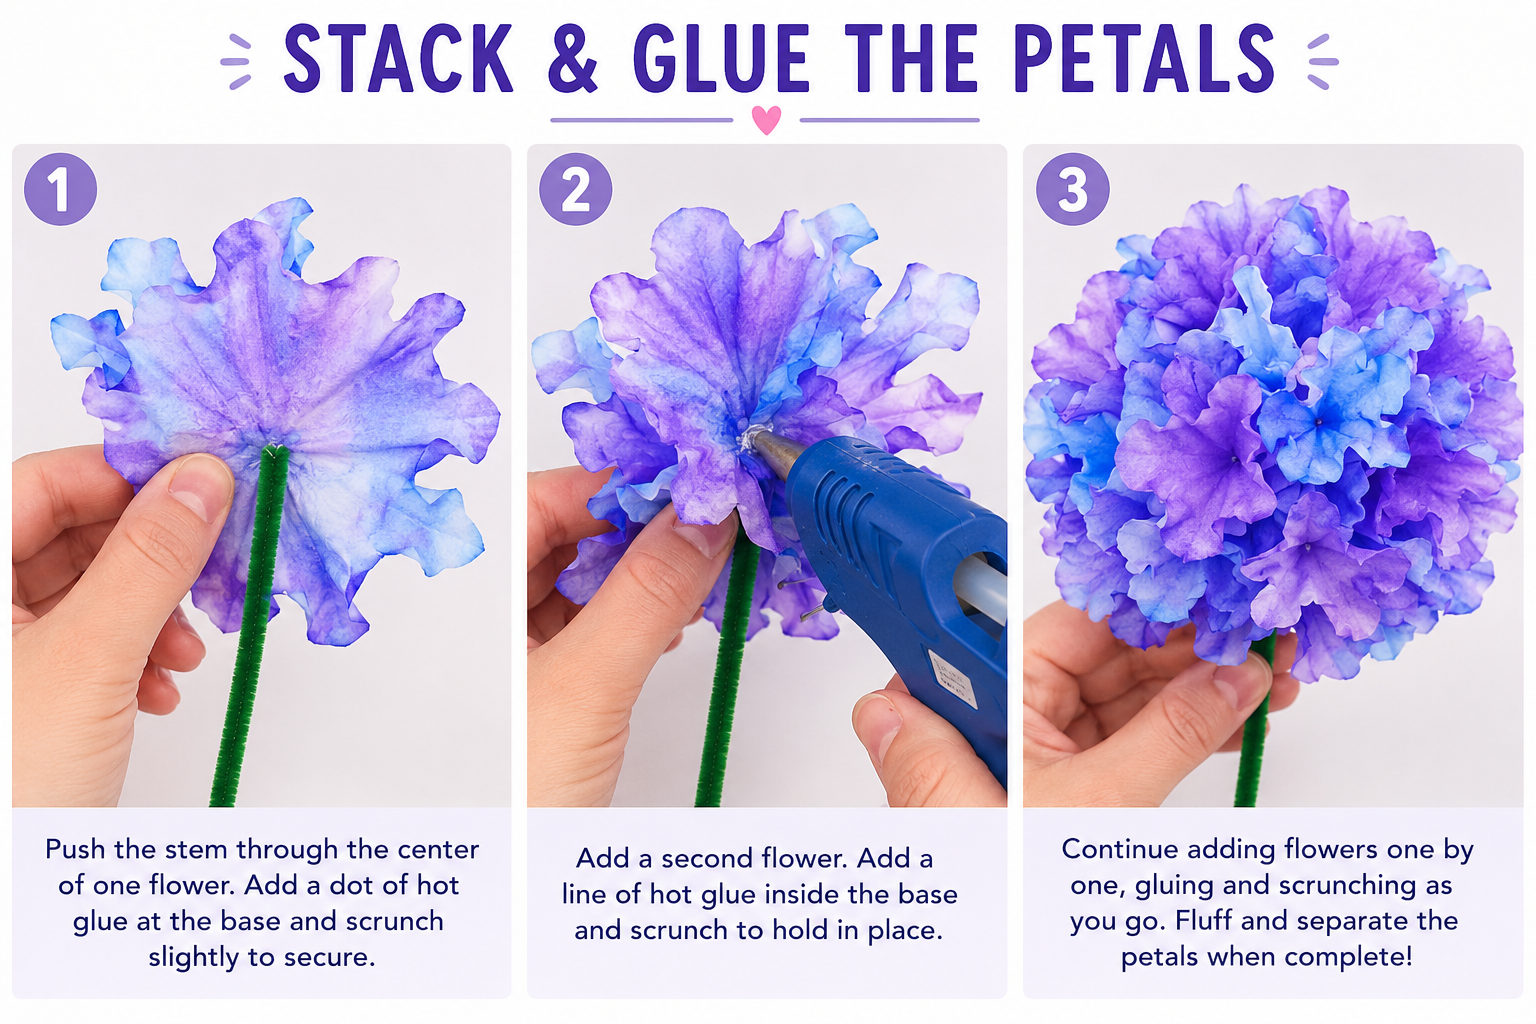
Slide one coffee filter onto the stem through the center. Add a small amount of hot glue near the base and gently pinch the center so it forms a soft cup shape.
Step 4: Build Your Hydrangea
Continue adding coffee filters one at a time.
Apply a small amount of hot glue between each layer and gently scrunch the center as you stack them together.
For the final few layers, pinch them from the opposite direction to create a fuller, rounded flower head.
Once all the layers are attached, fluff and separate the petals until you’re happy with the shape.
Helpful Tips
- Slightly curled coffee filters actually make the flowers look more natural.
- Work on a baking sheet to help contain any paint mess.
- Experiment with different color combinations for every season.
- If you’re making bouquets, create flowers in several shades for a realistic look.

Click Here to Try How to Make a Plastic Bottle Butterfly


You May Also Like

10 DIY Christmas Ornaments to Elevate Your Holiday Decor

12 Easy Halloween Crafts to Spook Up Your Season