Stunning Crochet Spider Web Pattern for Halloween

Crochet Spider Web
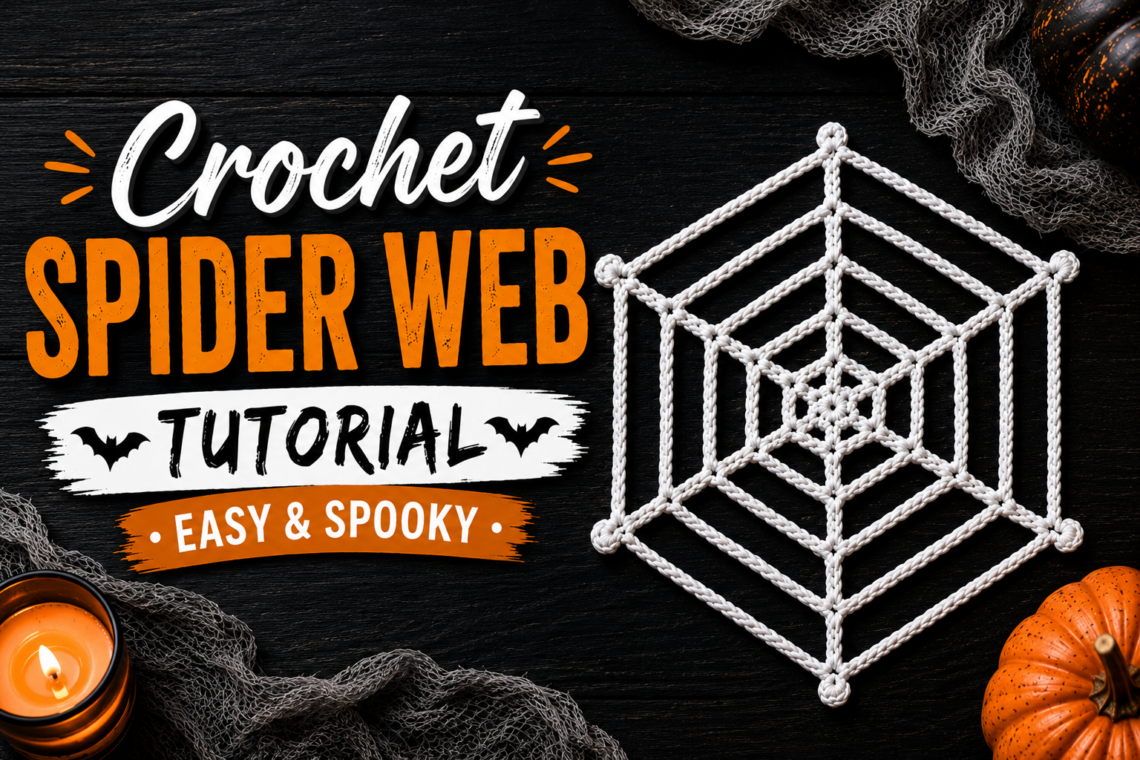
Create a spooky handmade decoration with this easy Crochet Spider Web pattern, perfect for Halloween crafting. This fun project is great for decorating walls, windows, tables, or your Halloween party space. Customize your spider web with different yarn colors and sizes to create your own creepy-cute Halloween décor. Within this post, you’ll find affiliate links. If you decide to purchase through these links, I may earn a modest commission at no extra cost. Additionally, please review my privacy policy for more details. ✨ We hope you enjoyed these photos! If so, please consider sharing them on Pinterest by clicking the Pin Button on each image. Your support helps us connect with more people and spread creativity. Thank you so much!💖
All Colors of Yarn Click Here – Crochet hook – Tapestry needle – Stitch marker
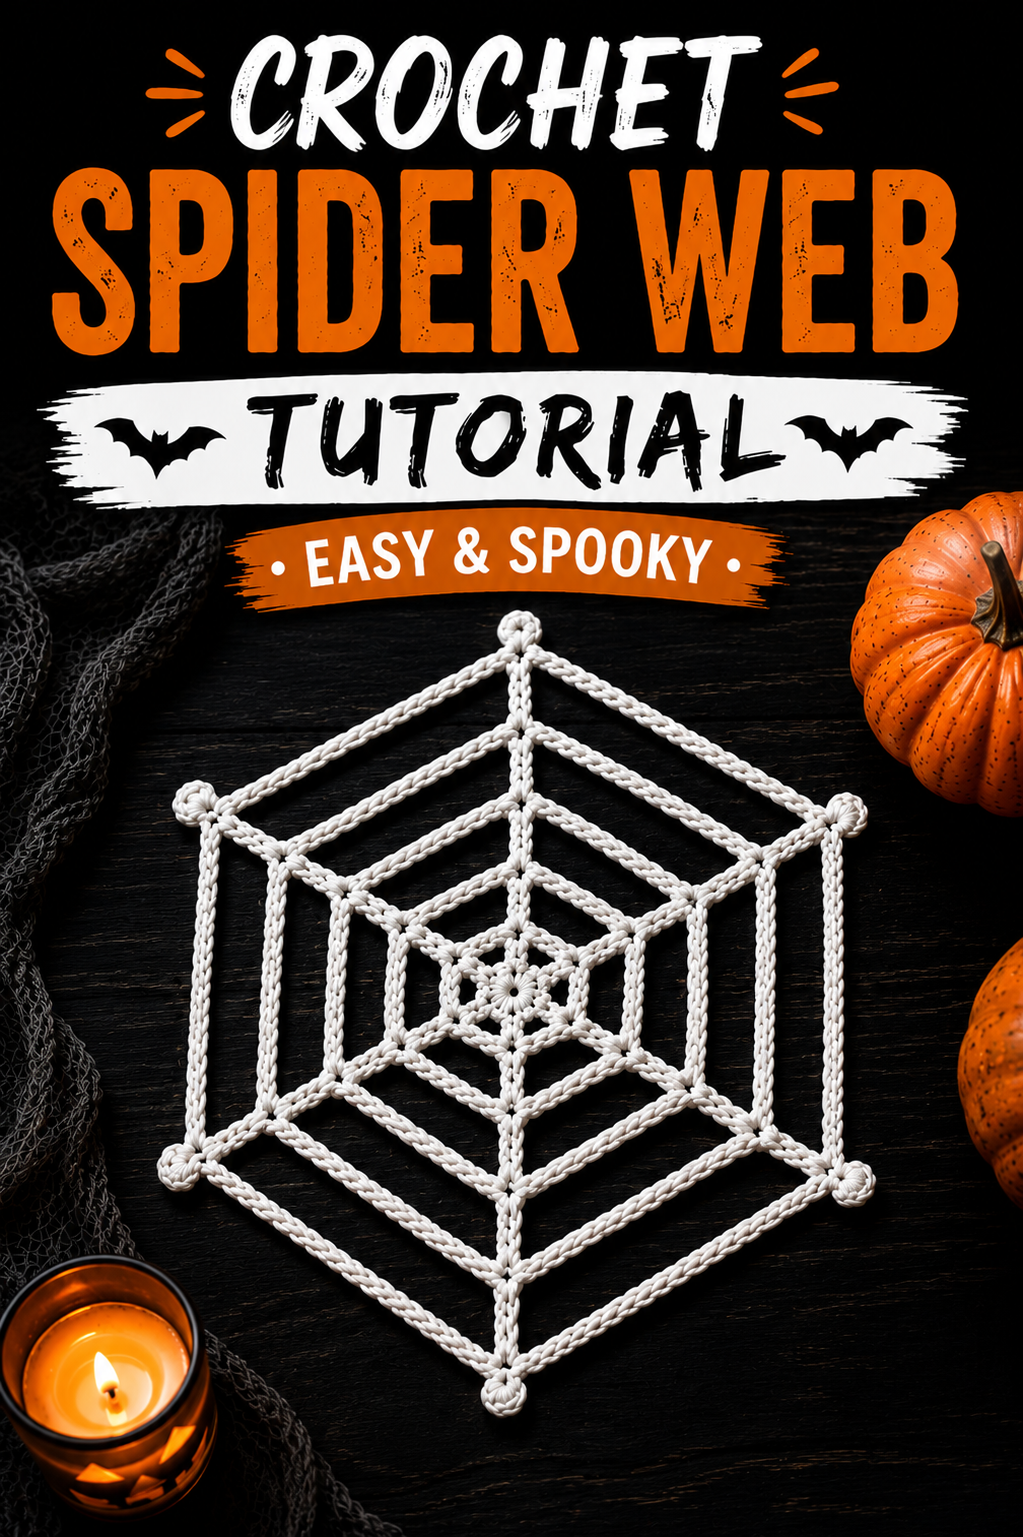
This Crochet Spider Web is a quick and creative project that adds the perfect handmade touch to your Halloween decorations. The open, lacy stitches give the web a delicate look while still creating that spooky spider-web shape. Hang your finished web on a wall, door, window, or porch for an easy Halloween accent you can use year after year.
Materials
- Size 5 cotton crochet thread
- 1.25 mm crochet hook, if you want it larger, go with a bigger hook
- Yarn/tapestry needle
- Scissors
- Pins
- Spray starch
- Iron and pressing cloth
Abbreviations
- ch = chain
- sc = single crochet
- dc = double crochet
- edc = extended double crochet,
Yarn over, insert your hook into the stitch, and pull up a loop. Yarn over and pull through 1 loop, then yarn over and pull through 2 loops, and yarn over again and pull through the last 2 loops.
It’s basically a double crochet with one extra step that makes the stitch a little taller.
- sl st = slip stitch
- sp = space
Round 1
Make a magic ring. Ch 1 and work 1 sc into the ring. Ch 2, 1 sc into the ring. Repeat the ch 2, sc sequence until you have 6 groups around the ring. Pull the yarn tail to close the magic ring. Join with a sl st to the beginning of the round. The tutorial confirms six groups are formed in this first round.
Round 2
Sl st into the first sc and then sl st into the first ch of the next ch-2 space. Ch 8. Work 1 dc into the next ch-2 space. Ch 5, 1 dc into the next ch-2 space. Repeat around. Ch 5 and join with a sl st into the 3rd chain of the beginning ch-8.
Round 3
Ch 10. Work 1 dc into the first dc from the previous round. Ch 7, 1 dc into the next dc. Repeat ch 7, dc in next dc around. Ch 7 and join with a sl st into the 3rd chain of the beginning ch-10.
Round 4
Ch 12. Work 1 extended double crochet (edc) into the next dc. Ch 9, 1 edc into the next dc. Repeat around. Ch 9 and join with a sl st into the 3rd chain of the beginning ch-12. Extended Double Crochet: Yarn over, insert hook into the stitch and pull up a loop. Yarn over and pull through one loop. Yarn over and pull through 2 loops, then yarn over and pull through the final 2 loops.
Round 5
Ch 15. Work 1 edc into the first edc from the previous round. Ch 12, 1 edc into the next edc. Repeat around. Ch 12 and join with a sl st into the 3rd chain of the beginning ch-15.
Round 6 – Decorative Edge
Ch 17. Work 1 edc into the edc from the previous round. Ch 3 and sl st back into the edc. Ch 14, 1 edc into the next edc, ch 3, sl st into the edc. Repeat this sequence as instructed around the web. For the larger hanging loops shown in the tutorial, use ch 6 instead of ch 3 at the indicated sections. Finish with the final ch-14 section and join with a sl st into the 3rd chain of the beginning chain. Complete the last decorative loop and fasten off.
Finishing
Weave in all ends. Pin the spider web into shape, stretching each section evenly to create the web appearance. Spray it lightly with starch, cover it with a pressing cloth, and press it with an iron to stiffen the finished web. Allow it to cool completely before removing the pins. Finished idea: This would make a really good Halloween Crochet Spider Web blog tutorial because it is decorative, inexpensive, and very Pinterest-friendly.

You May Also Like
Crochet a Spider Coaster: Step-by-Step Guide
Easy Crochet Mini Witch Hat Keychain Tutorial