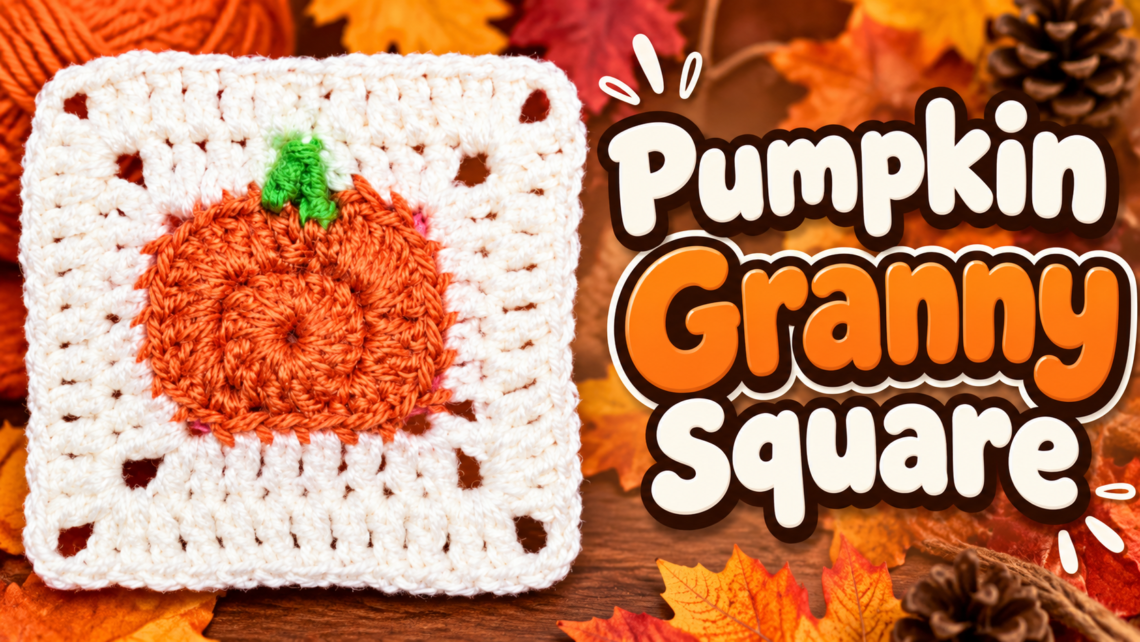
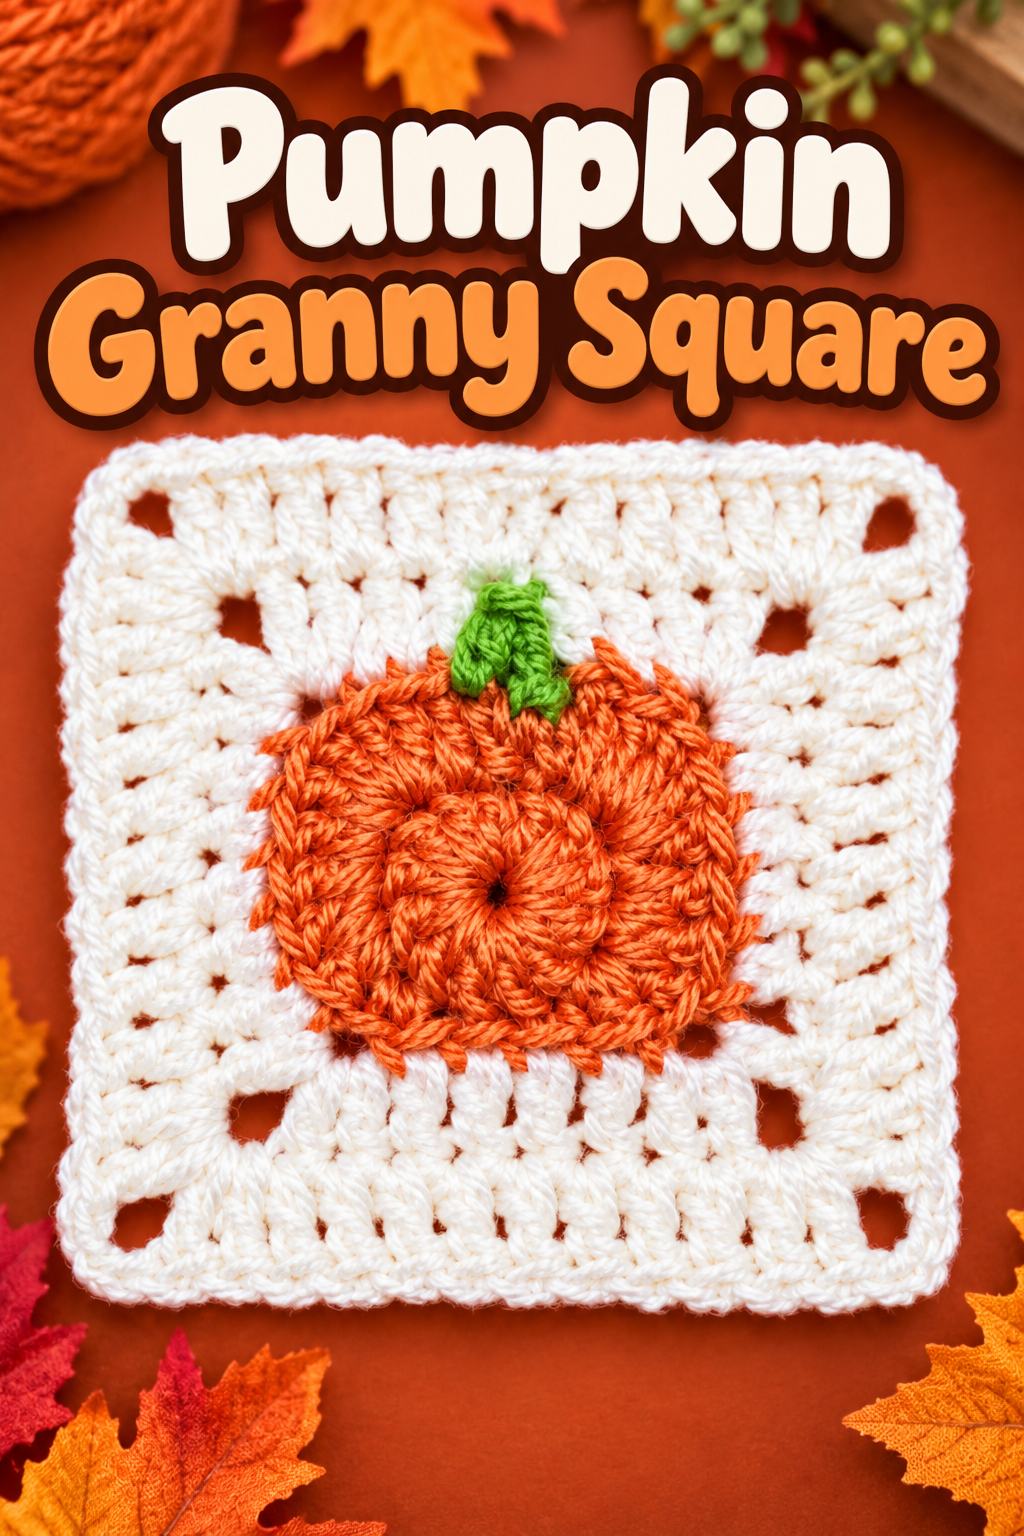
Bring a cozy touch of autumn to your crochet projects with this charming Pumpkin Granny Square Crochet Pattern. Featuring a sweet pumpkin design, this easy pattern is perfect for adding a festive fall feel to blankets, pillows, bags, and other handmade creations. Grab your favorite yarn and hook, and let’s crochet a beautiful pumpkin granny square together!
Your next obsession: Pumpkin Granny Squares! These adorable squares are perfect for fall blankets, bags, pillows, and other autumn crochet projects.
✨ We hope you enjoyed these photos! If so, please consider sharing them on Pinterest by clicking the Pin Button on each image. Your support helps us connect with more people and spread creativity. Thank you so much!💖
Within this post, you’ll find affiliate links. If you decide to purchase through these links, I may earn a modest commission at no extra cost. Additionally, please review my privacy policy for more details.
Size 3.5 inches by 3.5 inches with F hook, Start with Orange yarn
Rnd 1: Start with orange yarn. Make a magic ring and ch 2. The ch 2 does not count as a dc.
Work 12 dc into the magic ring. Pull the ring closed and sl st into the first dc, not the beginning ch 2.
Rnd 2: Ch 2 and work 1 dc into the same st.
Work 4 dc into the next st., Work 2 dc into the next st.
Work 2 dc into the next st., Work 1 sc into the next st.
Work 1 sl st into the next st.
You have now completed half of the pumpkin. For the second half, mirror what you just made.
Work 1 sl st into the next st., Work 1 sc into the next st.
Work 2 dc into the next st., Work 2 dc into the next st.
Work 4 dc into the next st., Work 1 dc into the last st.
Ch 2 and sl st into the same st.
Fasten off the orange yarn.
Stem & Granny Square
Attach green yarn, sl st in the last dc.
Ch 2 and work 1 dc around the beginning ch-2 from the previous round. yarn over pull through and fasten off. when finished, pull your white yarn through the green loop to create the granny square around the pumpkin.
For this round, work in the back loops only (BLO) across the pumpkin stitches.
Work 1 dc into each of the next 2 sts.
Corner: Work 2 dc, ch 2, 2 dc into the same st.
Work 1 hdc into each of the next 4 sts.
Work 1 dc into the next st.
Corner: Work 1 dc, ch 2, 2 dc into the next st.
Work 1 dc into each of the next 4 sts.
Now mirror the first side.
Corner: Work 2 dc, ch 2, 1 dc into the next st.
Work 1 hdc into each of the next 4 sts.
Final Corner: Work 2 dc, ch 2, 2 dc.
Work 1 dc into each of the final 2 sts.
Sl st into the first dc to join.
Border
Ch 1.
Work 1 dc into every stitch around.
When you reach each ch-2 corner space, work 2 dc, ch 2, 2 dc, Continue around the entire square.
Sl st into the first dc to join.
Fasten off and weave in your ends.
This cozy Pumpkin Granny Square is a fun and festive way to bring a touch of autumn charm to your crochet projects. Whether you use it for a blanket, pillow, bag, or seasonal decoration, this sweet pumpkin square is sure to add warmth and personality to your handmade creations. I hope you enjoyed making it and have fun
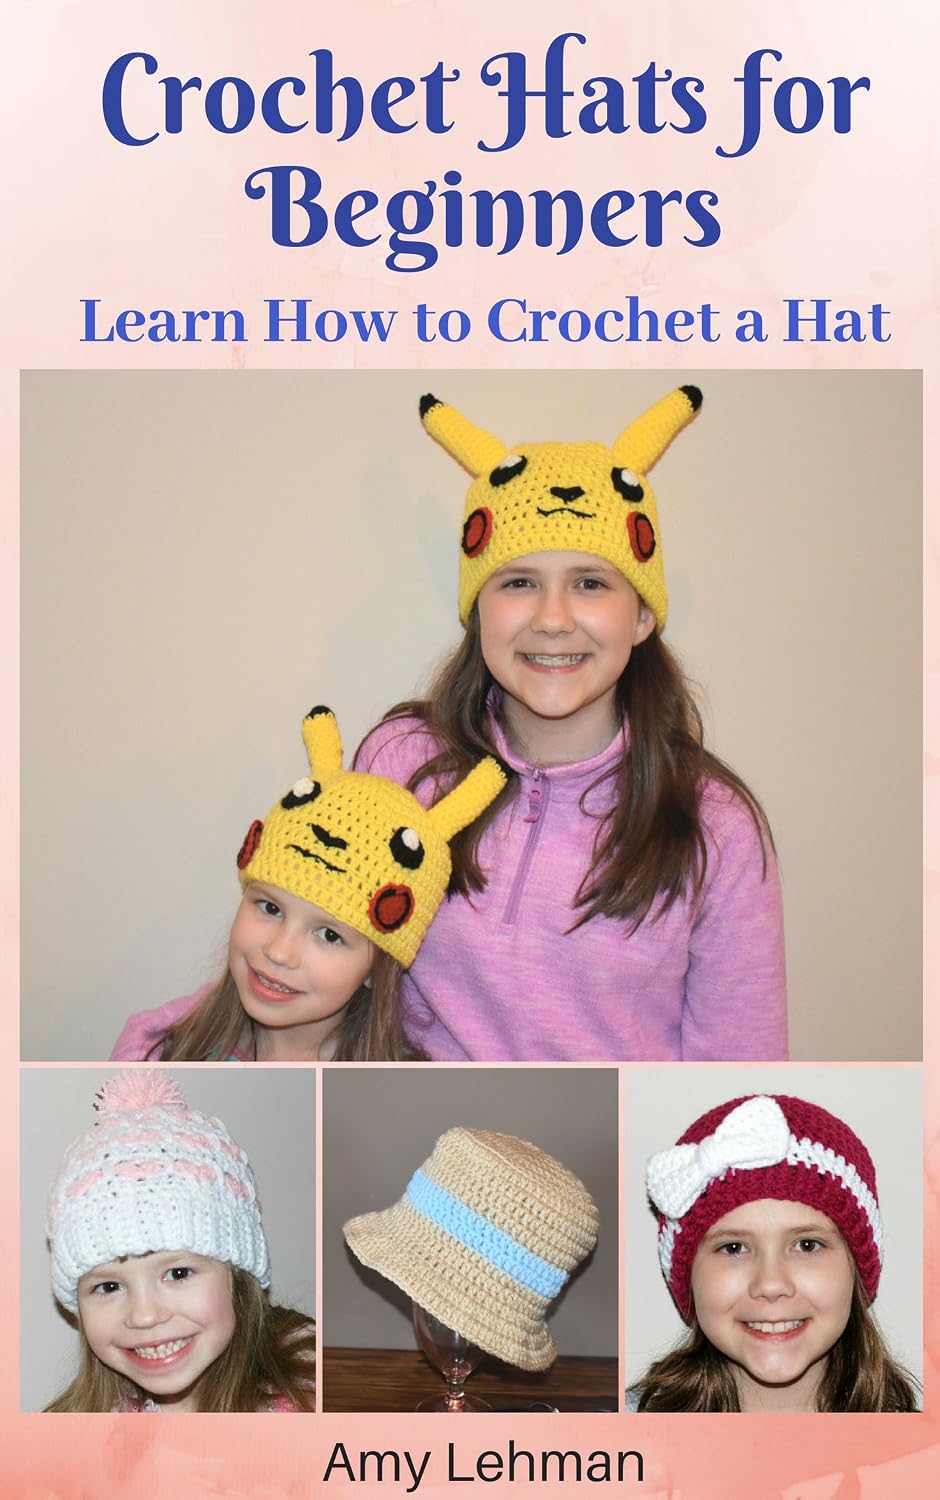
Crochet Hats for Beginners is a wonderful way to learn basic crochet stitches while creating cozy, stylish, and handmade hats that are perfect for gifts or everyday wear.
Crochet for Beginners: Learn How to Crochet is the perfect step-by-step guide to mastering basic crochet stitches, using crochet hooks and yarn, and creating beautiful handmade projects with confidence.