Create a Stylish Crochet Chevron Bag: Free Pattern and Tutorial
How to Crochet a Chevron Bag
Welcome to the crochet world, where we’ll embark on an exciting journey to create our very own Chevron Bag! This stylish accessory combines the timeless elegance of chevron patterns with the practicality of a functional bag, making it the perfect addition to your wardrobe. Whether strolling through the city streets or heading to the beach, this crochet Chevron Bag will be your go-to companion. Join us as we explore the art of crochet and learn how to craft this chic and versatile accessory, blending creativity and fashion in a delightful crafting adventure. Let’s start making a statement piece that reflects your unique style!
Crochet bags have carved their niche as stylish and eco-friendly accessories for various occasions. Whether you’re a fan of market bags, beach bags, or chic crochet purses, you’re in the right place to explore an enticing world of possibilities. In this guide, we’re excited to introduce you to the delightful art of creating a crochet chevron bag, complete with a free pattern and step-by-step tutorial. This bag, made from your favorite cotton or acrylic yarns, is the perfect fusion of bright colors, basic crochet stitches like double crochet, and a unique chevron pattern, making it an ideal accessory for everyday use or a special gift.
This post contains affiliate links. If you purchase through these links, I may earn a modest commission at no extra cost. Please review my privacy policy for more details.
✨ We hope you enjoyed these photos! If so, please consider sharing them on Pinterest by clicking the Pin Button on each image. Your support helps us connect with more people and spread creativity. Thank you so much! 💖
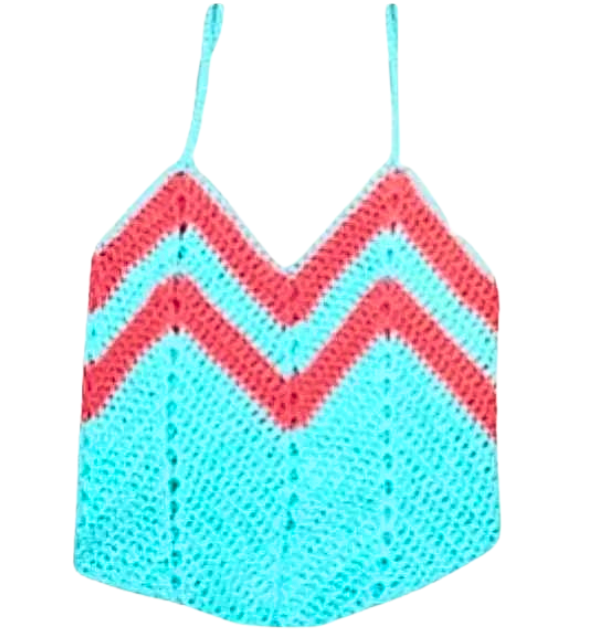
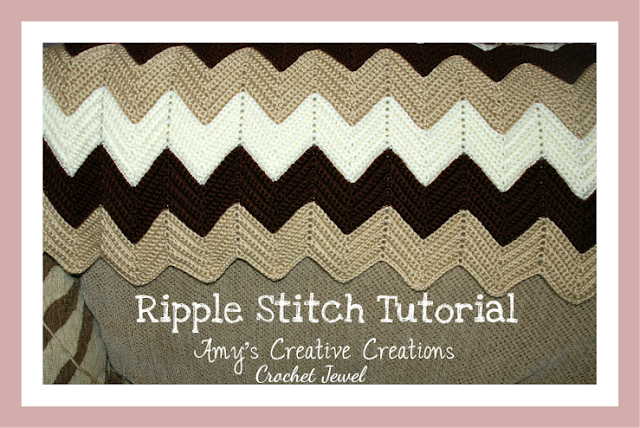
Crochet handbag patterns are as diverse as your style, and the chevron pattern is a fantastic choice. Its zigzag design, achieved with contrasting yarn colors, creates a stunning visual impact that sets your bag apart from the ordinary. Crochet bags, especially in bright colors, exude a vibrant charm and can be personalized to match your favorite color palette.
The crochet chevron bag is an ideal project for both beginners and seasoned crocheters. The pattern is designed for skill levels of all types, and video tutorials are readily available to guide you through the process. Plus, you can use stitch markers to keep your work tidy and organized. You’ll be amazed at how simple stitches, such as double crochet and single crochet, can transform your yarn into a beautiful texture, elevating your bag into a work of art.
Add a Cord Purse Handle to Your Purse
This crochet for beginners was made with medium worsted yarn and a J hook. I would suggest an I hook. If you would like to make this crochet bag bigger, add more rounds on the base or go up on a hook size or down on a hook size to make it smaller.
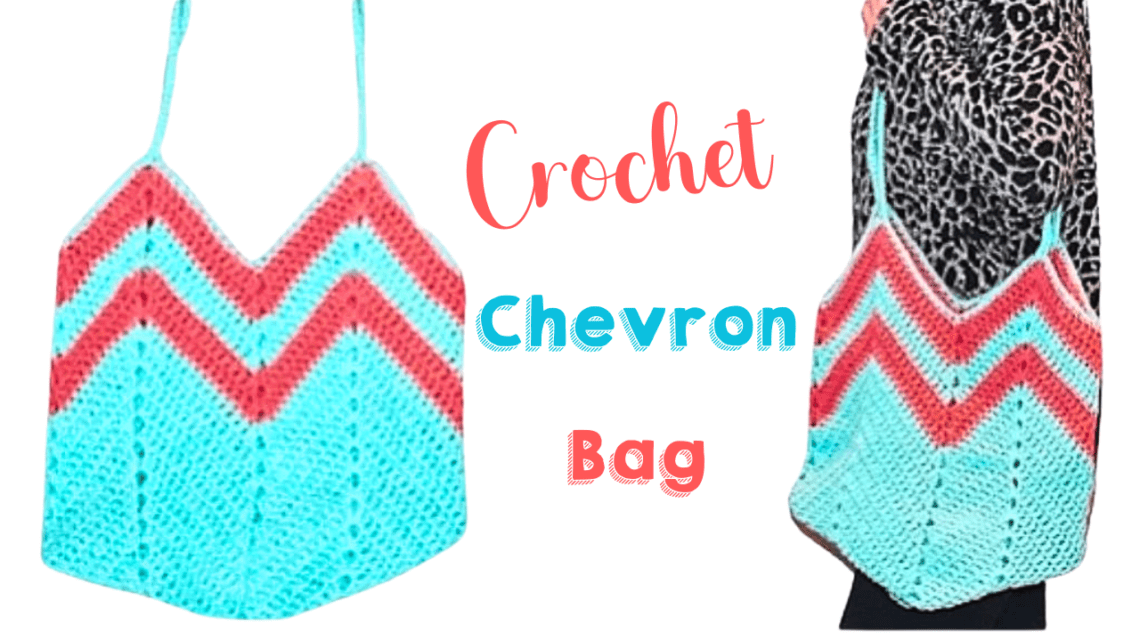
This beautiful chevron bag is a great way to carry your yarn or items! This crochet bag with the J hook measures 12 inches in width and 16 inches in length. The handle is 15 inches from the top of the bag to the top of the handle.
In this crochet Chevron shoulder bag tutorial, you’ll learn how to make a simple but stylish shoulder bag in just a few easy steps. This crochet shoulder bag is perfect for everyday use or special occasions. It’s simple to make, and you can customize it to suit your style. So if you’re looking for a stylish and easy shoulder bag to add to your wardrobe, check out this crochet Chevron shoulder bag tutorial!
Abbreviations: dc=double crochet sc=single crochet ch=chain sl st=slip stitch 2dctog=2 double crochet together 2sctog=2 single crochet together
I hope you enjoy this tutorial on crocheting a bag for beginners, step by step!
Click the Links for Your Materials
All Colors of Yarn Click Here
- Crochet hook
- Tapestry needle
- Stitch marker
I recommend an I hook. I used a J hook. I found the stitches a little too big. H hook for the strap.
Rnd 1: I used blue yarn first, the pink yarn later in the pattern.
In the Magic Circle, ch 3, work 2 dc, *ch 2, work 3 dc, *Repeat, around for a total of 12 dc and 4 ch 2s (ch 3 is a dc). sl st in the beginning ch 3.
Rnd 2: sl st into the previous chain 2 space, go back into the last space with a sl st, Ch 3, dc in the previous chain 2, (you will finish this corner at the end) *dc in the next 3 dc stitches, 2 dc, ch 2, 2 dc in the next chain space(corner made), *Repeat around, end with 2 dc and ch 2 in the last chain space to complete the corner, sl st in the beg ch 3
Rnd 3: sl st into the previous chain 2 space, Ch 3, dc in the previous chain 2,*dc in the next 7 dc stitches, 2 dc, ch 2, 2 dc in the next chain space, *Repeat around, end with 2 dc and ch 2 in the last chain space, sl st in the beg ch 3
Rnds 4 — 8: sl st into the previous chain 2 space, Ch 3, dc in the previous chain 2,*work a dc in each of the next stitches until you reach the first chain 2 space, 2 dc, ch 2, 2 dc in the chain space, *Repeat around, end with 2 dc and ch 2 in the last chain space, sl st in the beg ch 3
Rnd 9: (you need to use a stitch marker on all 4 sides in the center of the square, so about 13 stitches from each corner then place a stitch marker, on all 4 sides, because you will need to create a gap on all 4 sides) sl st into the previous chain 2 space, Ch 3, dc in the previous chain 2, *dc in each of the next stitches until you reach the center, skip the stitch before the stitch maker, then skip the stitch with the stitch marker, and skip the next stitch after the stitch maker, which is 3 skipped stitches, dc in the next stitch, dc until you reach the chain 2 space, 2 dc, ch 2, 2 dc in the chain space, *Repeat around, end with 2 dc and ch 2 in the last chain space, sl st in the beg ch 3
Rnd 10: sl st into the previous chain 2 space, Ch 3, dc in the previous chain 2, *dc in each of the next 11 stitches, 2dctog, skip two stitches, it will skip over the previous gap, 2dctog, dc until you reach the chain 2 space, 2 dc, ch 2, 2 dc in the chain space, *Repeat around, end with 2 dc and ch 2 in the last chain space, sl st in the beg ch 3
Rnds 11-desired depth of the bag: During rounds, you can add colors with a sl st in the beginning. I added two rounds of pink after 8 rounds after the stitch marker part, so I added pink yarn twice, then blue yarn twice, then pink yarn again twice. sl st into the previous chain 2 space, Ch 3, dc in the previous chain 2, *dc in each of the next stitches until you reach 3 stitches before the center, 2dctog, skip two stitches, 2dctog, dc until you reach the chain 2 space, 2 dc, ch 2, 2 dc in the chain space, *Repeat around, end with 2 dc and ch 2 in the last chain space, sl st in the beg ch 3 Strap
Handle: I hook, with blue yarn, slip knot onto your hook with your yarn, *work 3 sc in the previous chain 2 peak, sc in the next 12 stitches, until you reach the skipped chain space, that’s about 12 sc (may vary) until you reach the previous 2 double crochet together, work 2 single crochet together decrease, this will skip the previous gap, then sc until you reach the chain 2 space peak.
*Repeat around the top of the bag, finishing with a sl st. Straps: H hook, Make 2, chain 95, sc in the second chain from the hook, sc in each chain across.
Fasten off. Sew the strap into the center sc of one of the peaks. Sew the strap’s other side to the other peak’s other side on the same side, then flip over and do the same for the other strap. *Repeat for the other strap. Fasten off and Weave in your ends. End with a sl st into the sc of the peak with the handle. Fasten off and Weave in your ends.
I hope you enjoyed this crochet bag purse tote tutorial!
Print the entry at the top of the page to print the pattern!
The body of the bag is versatile in size and shape, offering a range of possibilities. Whether you prefer a classic square bag or a trendy round shape, the chevron pattern adapts seamlessly. This bag is perfect for everyday use, whether headed to the grocery store, farmers’ market, or the beach. It’s an excellent replacement for plastic bags, aligning with eco-conscious values.
Moreover, if you’re an Amazon associate, you can incorporate affiliate links into your blog or website, potentially earning a small commission when your readers embark on their crochet journey. Sharing crochet bag projects, like this chevron bag, is a creative outlet and a way to inspire others to embrace handmade, eco-friendly alternatives. Don’t forget to mention your privacy policy and offer free shipping for those who wish to replicate your beautiful patterns.
In conclusion, crafting a crochet chevron bag is an enjoyable and rewarding. This modern crochet bag pattern embraces different styles and techniques, making it a versatile addition to your collection of free crochet bag patterns. Your unique design reflects your style and provides a functional accessory for the warmer seasons. So, without further ado, gather your crochet hooks, pick your favorite yarn, and start working on your masterpiece. These bags also make great gifts for friends and loved ones, and the free shipping option adds to their allure. Crochet chevron bags are the perfect fusion of style, sustainability, and creativity, setting them apart as the best option for summer crochet projects. Happy crocheting!
To Find All My Crochet Jewel Patterns, Click Here
Click Here for My Ravelry Patterns
Crochet Hats for Beginners Book For Sale — Click Here
Crochet For Beginners Book for Sale — Click Here


