Creating Simple Paper Snowflakes: A Step-by-Step Guide
How to Make a Paper Snowflake
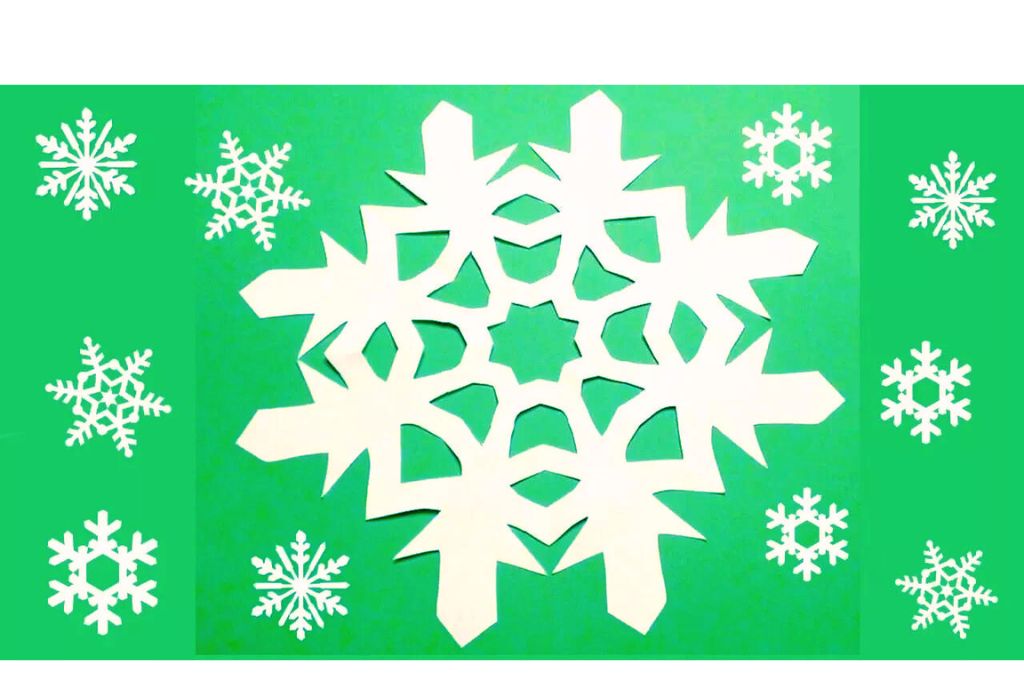
Snowflakes are a delightful symbol of the winter season and Christmas decorations. Creating simple paper snowflakes can be an excellent project for all ages, from young to older kids and even adults. This step-by-step tutorial will show you how to make beautiful snowflakes using just a square piece of paper, scissors, and some creativity. Whether you’re looking for an easy way to add winter charm to your home or engage in a fun craft project with your family, making paper snowflakes is perfect. We’ll walk you through the process with easy instructions and helpful tips.
You’ll find affiliate links within this post. If you decide to purchase through these links, I may earn a modest commission at no extra cost. Additionally, please review my privacy policy for more details.
✨ We hope you enjoyed these photos! If so, please consider sharing them on Pinterest by clicking the Pin Button on each image. Your support helps us connect with more people and spread creativity. Thank you so much! 💖
How to Crochet For Beginners Playlist — Click Here
Body:
I. Materials Needed
- Square piece of paper (e.g., printer paper, construction paper, or wrapping paper)
- Pair of scissors
- Glue stick (optional for more intricate designs)
- Pencil (optional for tracing paper templates)
II. Creating a Perfect Square
- If you don’t have a square piece of paper, you can quickly transform a rectangular piece into a perfect square. Here’s how:
1. Fold the paper diagonally to create a triangle.
2. Remove the excess paper below the triangle, leaving a square.
III. Folding the Square
- Start with the square paper in front of you. Follow these simple steps:
1. Fold the square in half diagonally to form a smaller triangle.
2. Fold this smaller triangle in half again, creating an even smaller triangle.
IV. Cutting the Snowflake Design
- With the folded triangle in hand, it’s time to unleash your creativity:
1. Use scissors to cut out various shapes along the folded edges. Be as creative as you like, but don’t cut along the open edge.
2. Avoid cutting through the folded triangle, leaving some parts connected.
V. Unfolding the Snowflake
- Gently unfold the paper to reveal your finished snowflake. You can use a glue stick to attach pom poms or other decorations for a 3‑dimensional effect.
VI. Experiment with Different Designs
- Experiment with different cuts to create unique paper snowflakes. You can find printable templates online for inspiration or to create your own designs.
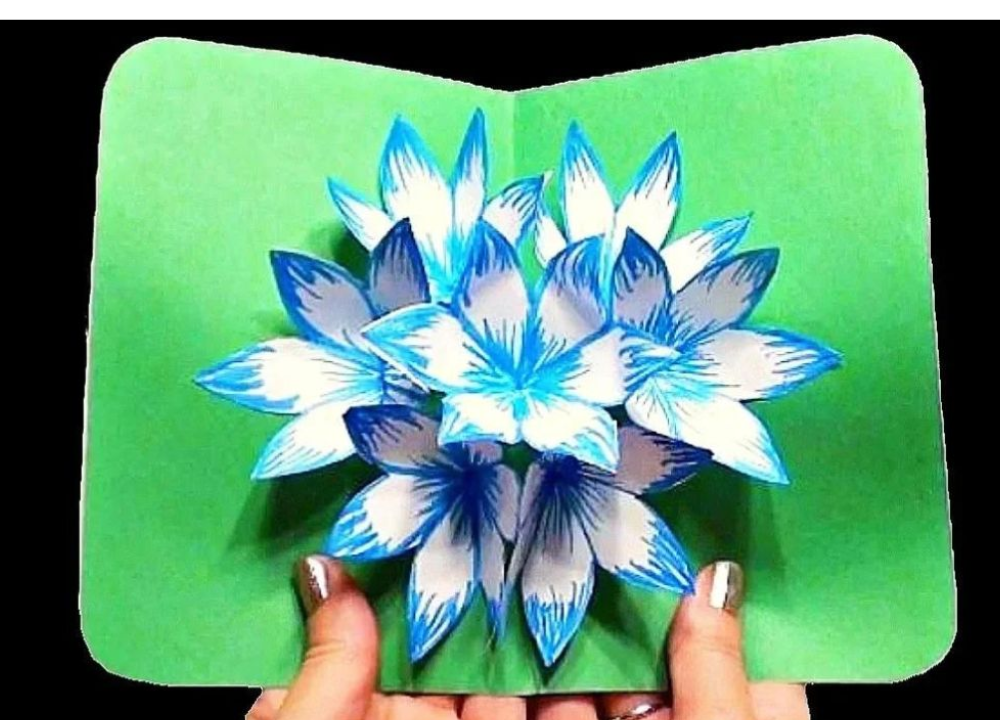
Click Here for the Card Tutorial
This is a simple and significant project for all ages, suitable for younger kids with some help and older kids who can handle scissors and glue on their own. You can also find printable snowflake templates or use your designs for more intricate designs. Have fun and get creative with this winter craft!
Making simple paper snowflakes is a great way to engage in winter craft projects and an activity suitable for all ages. The best part is that you can quickly adapt your snowflakes’ complexity to the participant’s skill level. Whether you’re crafting with young kids or looking for a more intricate design challenge, paper snowflakes offer endless creative possibilities. So, grab a square piece of paper, follow our step-by-step instructions, and start crafting beautiful wintery creations. Don’t forget to check out online resources for free printable templates and video tutorials to enhance your snowflake crafting experience. Enjoy the magic of crafting unique snowflakes to decorate your home during winter.
To Find All My Crochet Jewel Patterns, Click Here
Click Here for My Ravelry Patterns
Crochet Hats for Beginners Book For Sale — Click Here
Crochet For Beginners Book for Sale — Click Here


