
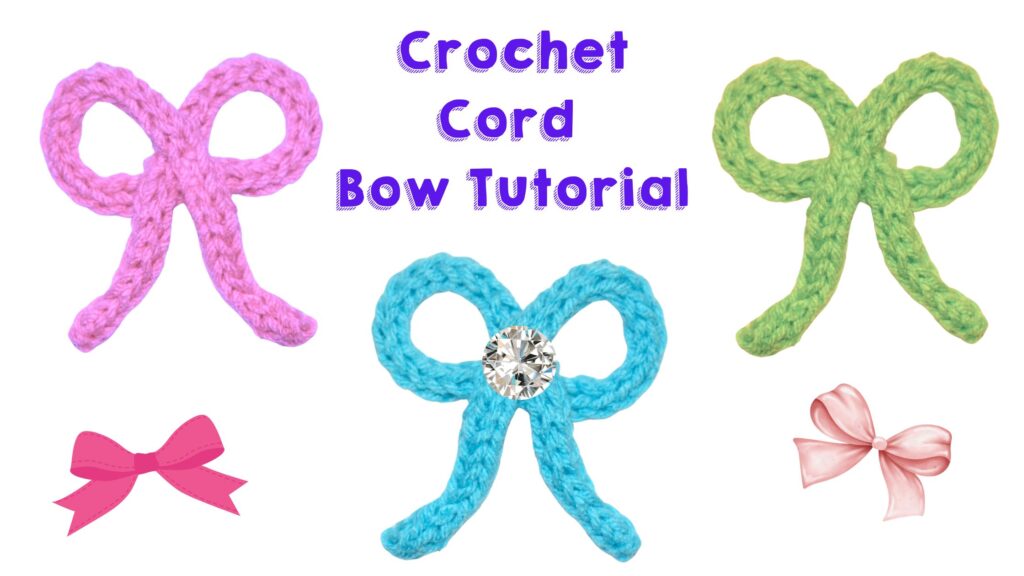
Create a Stylish Crochet Cord Bow: Easy Tutorial
Crochet Cord Bow Tutorial
In the vibrant world of crochet, creating decorative pieces that are both stylish and functional has become increasingly popular, especially on social media platforms like TikTok. Among these, the crochet cord bow is a charming accessory with endless possibilities. This article will guide you through making a crochet cord bow, providing a free crochet bow pattern that is perfect for beginners and experienced crafters alike. With the help of video tutorials and easy-to-follow instructions, you can add a touch of handmade elegance to your projects. Learn how to crochet a cute bow with this easy tutorial, perfect for making crochet hair bows, bow ties, or embellishing your crochet bag projects!
This post contains affiliate links. If you purchase through these links, I may earn a modest commission at no extra cost. Please review my privacy policy for more details.
✨ We hope you enjoyed these photos! If so, please consider sharing them on Pinterest by clicking the Pin Button on each image. Your support helps us connect with more people and spread creativity. Thank you so much! 💖
Click the Links for Your Materials
– Crochet hook
– Tapestry needle
– Stitch marker
A crochet cord bow is a versatile addition to many crochet projects, such as crochet sun hats, purses, and beach hats. Gather your materials: a mm hook suitable for your chosen yarn, a stitch marker, and a yarn needle. DK yarn or macramé cord works well for this project, but you can also use thinner yarn for a more delicate look.
Begin by creating a slip knot and chaining the desired length of yarn for your bow. Use basic stitches such as single and double crochet to form the bow’s body. The pattern might instruct you to repeat rows (rep row) until you reach the desired width. Keep your crochet gauge consistent to ensure a neat finish. After forming the central part of the bow, crochet a middle piece to cinch the center, creating that classic bow shape. This middle piece can be attached with a yarn needle for a secure fit.
Numerous free crochet patterns, often accompanied by video tutorials, are available online for a detailed guide. These resources provide step-by-step instructions and helpful tips from crochet gurus, making it easy to master the technique. Some patterns also include suggestions for unique projects, like transforming your bow into a stylish bookmark, napkin ring, or accent for a summer top.
G hook
Measures 12 inches
Best Shown in the Video:
How to Make a Crochet Cord with Multicolored Red Heart Yarn
Hi there! Today, I will show you how to make a beautiful crochet cord using multicolored Red Heart yarn. You can use any type of yarn and hook you prefer, so let’s get started!
Getting Started
1. **Create a Slip Knot**: Begin by creating a slip knot and placing it onto your crochet hook.
2. **Chain Three**: Yarn over and create three chains by pulling the yarn through each time.
Working the Cord
1. **Insert Hook**: Insert your hook into the second chain from the hook and draw up a loop.
2. **Draw Up Loops**: Insert your hook again into the last chain and draw up another loop.
3. **Drop Loops**: You should now have three loops on your hook. Drop the last two loops while holding onto them to avoid losing them.
4. **Yarn Over**: Yarn over and pull through the first loop on your hook.
5. **Reinsert Hook**: Insert your hook back into the loop you dropped earlier, yarn over, and pull through.
6. **Complete the Loop**: Insert your hook into the last loop, yarn over, and pull through. This completes your first row of the cord.
Repeating the Pattern
1. **Repeat the Process**: Continue the pattern by repeating the steps above.
2. **Drop and Hold Loops**: Drop the last two loops each time, holding onto them to keep your place.
3. **Yarn Over and Pull Through**: Yarn over and pull through each loop sequentially.
Finishing the Cord
1. **Final Stitches**: Once you’ve reached your desired length, yarn over and pull through all three loops on your hook.
2. **Chain One**: Yarn over once more to create a chain one.
3. **Cut and Weave**: Cut your yarn and weave in the ends to secure your cord.
And that’s it! You’ve successfully created a crochet cord. Thank you for watching. If you enjoyed this tutorial, please subscribe for more crochet tips and patterns.
Create two loops and sew to create a bow. Fasten off and Weave in the ends.
How to Watch Videos in Slow Motion – if the video is too fast – Click Here!
How to Crochet For Beginners Playlist – Click Here
Click Here for Crochet Amigurumi Patterns
To add a professional touch, consider using a smaller hook for the finer details or a larger hook for creating larger bows. If you’re aiming for decorative products, such as a flower jar or a wrapped gift, the crochet cord bow can elevate the look of your finished item. Additionally, incorporating affiliate links in your project description can help fellow crafters find the best materials and tools, such as a specific mm steel hook or a favorite brand of lightweight yarn.
Creating a crochet cord bow is a fun and easy crochet project and a way to personalize your handmade items. The possibilities are endless, whether you’re making a pull-string bow for a gift package or adding a decorative touch to a crochet bag. By following a free crochet pattern and utilizing video tutorials, you can easily craft the perfect crochet bow. Share your creations on social media platforms like TikTok to inspire others and showcase your unique style. With a few basic stitches and creative flair, your crochet cord bow will be a delightful addition to any project.
To Find All My Crochet Jewel Patterns, Click Here

Click Here for My Ravelry Patterns


Crochet Hats for Beginners Book For Sale – Click Here

Crochet For Beginners Book for Sale – Click Here
Click Here fo Lion Brand Yarn and Free Patterns

I’m using Rakuten to get Cash Back at my favorite stores. Hate for you to miss out, so join now with my invite and you’ll get $30 after you spend $30.* Click Here for Cash Back


One Comment
Braulio Berge
Your blog has become an indispensable resource for me. I’m always excited to see what new insights you have to offer. Thank you for consistently delivering top-notch content!