Crochet a Stylish Strawberry Hat: Step-by-Step Tutorial
How to Crochet a Strawberry Hat
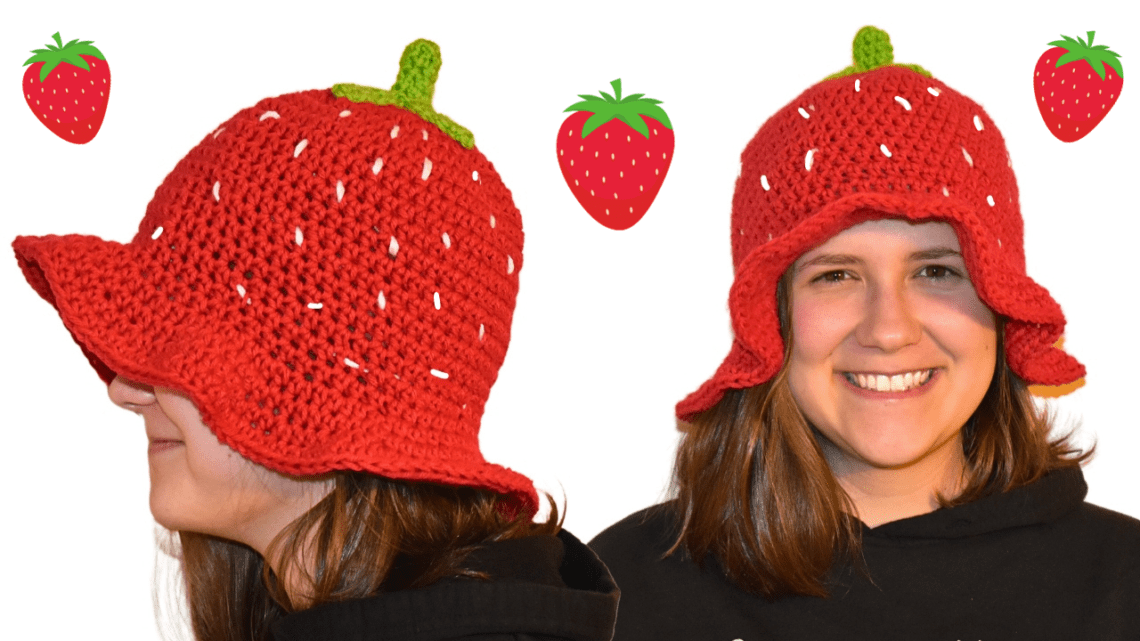
This crochet masterpiece combines the trendy appeal of bucket hats with the sweetness of strawberries, creating a unique and playful accessory that is stylish and functional. Get ready to immerse yourself in crochet, utilizing techniques like double crochet, the magic ring, and slip stitches, as we craft a hat that provides sun protection and makes a bold fashion statement.
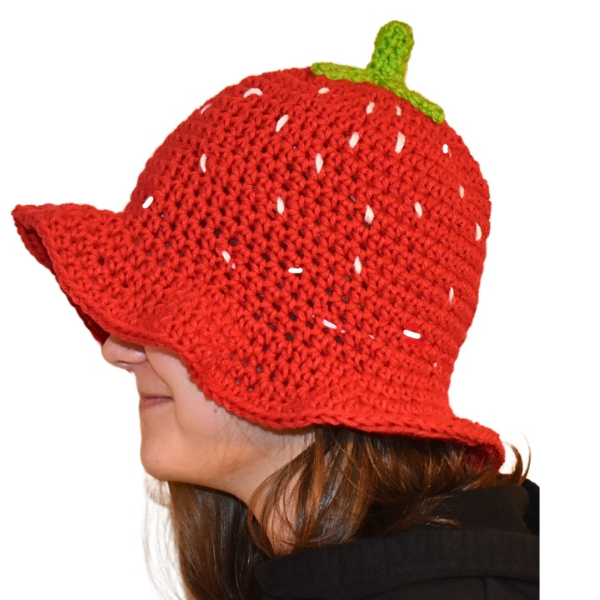
This adorable crochet strawberry hat is a fun and fruity twist on the classic strawberry bucket hat, perfect for adding a playful touch to your wardrobe, or creating a sweet strawberry shortcake hat using a simple crochet bucket hat pattern.
This pattern is copyrighted by Amy Lehman. Please do not copy or duplicate this pattern. You are welcome to link back to my pattern, but do NOT post the pattern on your website. Thank you for respecting my work!
Within this post, you’ll find affiliate links. If you decide to purchase through these links, I may earn a modest commission at no extra cost. Additionally, please review my privacy policy for more details.
✨ We hope you enjoyed these photos! If so, please consider sharing them on Pinterest by clicking the Pin Button on each image. Your support helps us connect with more people and spread creativity. Thank you so much! 💖
To embark on this crochet adventure, gather your materials, including vibrant cotton yarn, for a soft and breathable feel. The magic ring technique sets the foundation for our strawberry bucket hat, creating a seamless and visually appealing start. As we delve into the double crochet stitches, watch the hat take shape, providing structure and comfort. Pay special attention to the front loops, a subtle detail that adds texture and character to your creation.
Now, let’s infuse some fruity charm into our masterpiece. Using acrylic yarn in vibrant red hues brings the strawberries to life, each stitch contributing to the overall allure. The curly green tops are crafted precisely, providing a lifelike touch to your strawberries. This combination of colors and textures transforms a simple bucket hat into a playful ode to summer and nature.
Beyond aesthetics, consider the practicality of your crochet strawberry hat. The cotton yarn ensures breathability, making it an ideal accessory for sunny days. The wide brim adds a stylish flair and offers essential sun protection. Imagine lounging by the beach or attending a summer picnic, all while turning heads with your handmade creation.
Supplies: Medium worsted yarn, Red, Green, and White yarn
Click the Links for Your Materials
All Colors of Yarn Click Here
- Safety eyes
- Crochet hook
- Tapestry needle
- Stitch marker
- Polyfill stuffing
Abbreviations:
dc=double crochet
sc=single crochet
sl st=slip stitch
ch=chain
hdc=half double crochet
tr=treble crochet
sts=stitches
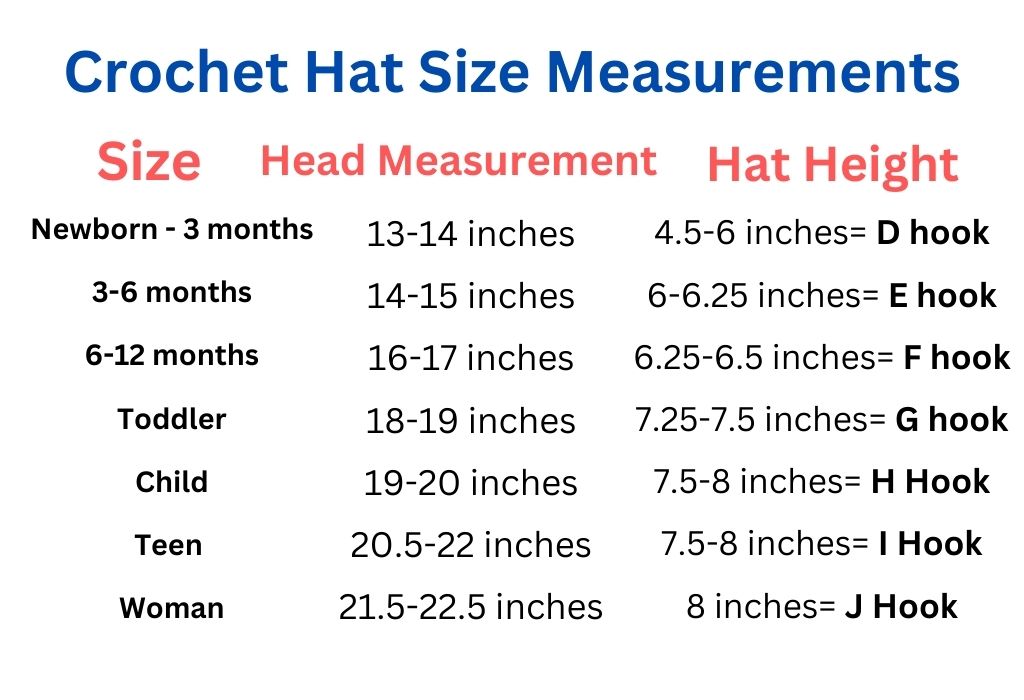
Instructions: Use the hook best for your hat size, as shown in the photo above.
Women size, I hook give a more snug fit, ch 4, sl st, to form a ring.
rnd 1. ch 2 (count as one hdc), work 9 hdc in the ring, sl st. (10 hdc)
Now after this round, work in continuous Rounds without a sl st so you don’t get a diagonal line!
rnd 2. ch 2 (counts as one hdc), hdc in the same stitch as the ch2, then work 2hdc in each stitch around, Slip Stitch (start to use a marker) (20 hdc)
rnd 3. *work hdc in the next stitch, 2hdc in the next stitch, *repeat around, continue around, no slip stitch or chain, (I would use a marker so you can keep track of your increased rounds) (30 hdc)
rnd 4. *work hdc in the next 2 stitches, 2hdc in the next stitch, *repeat around, continue around. (40 hdc)
rnd 5. *work hdc in the next 3 stitches, 2hdc in the next stitch, *repeat around, continue around. (50 hdc)
rnd 6. *work hdc in the next 4 stitches, 2 hdc in the next stitch, *repeat around, continue around. (60 hdc)
rnds 7–18. *work hdc in each stitch around, *repeat for about 12 rounds, if you want it right below the ears or you could go one less round, I would try it on to see if the hat is where you like it on your ears.
Rnd 19: Brim of the Hat: hdc, 2 hdc in the next stitch, *Repeat around
Rnd 20: hdc in each stitch around
Rnd 21: hdc next two stitches, 2 hdc in the next stitch, *Repeat around
Rnd 22: hdc in each stitch around, sl st and Fasten off.
White Yarn, with your yarn needle, double thread it and sew in little dash lines all over the hat.
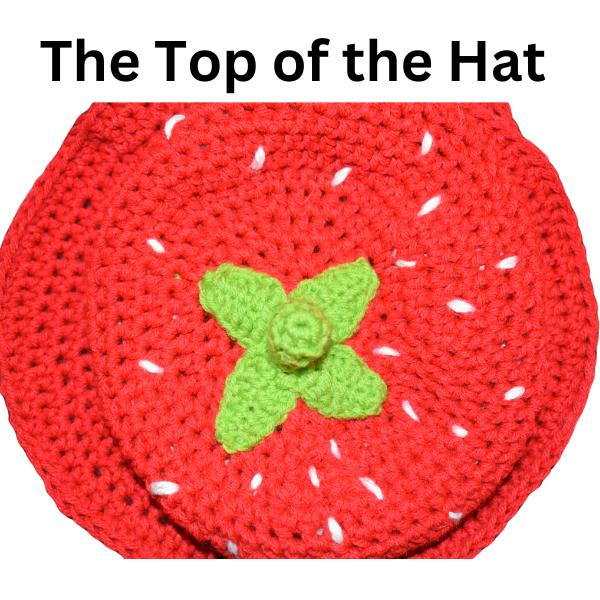
To Complete the leaf, then go back up a leaf, with a sl st in each corner, *tr, dc in the next 2 stitches, hdc in the 2 stitches, sc in the next stitch, sl st. Fasten off. Go back to each leaf and work up the side the same way *Repeat for all your leaves.
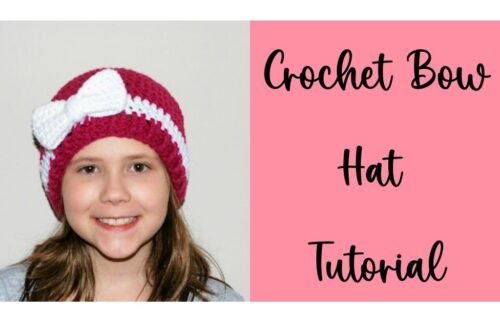
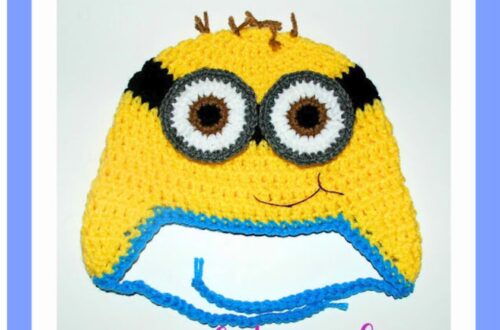
Click Here for More Crochet Hat Patterns
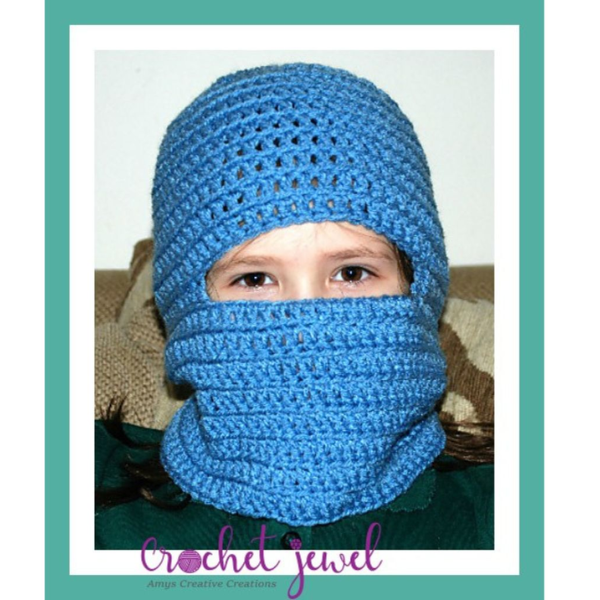
Crafting Your Own Balaclava Ski Mask Hat: A Step-by-Step Guide
As you embark on this crochet journey, don’t forget to explore affiliate links for quality yarn and accessories. These links can be valuable, guiding you to the best materials to bring your strawberry bucket hat to life. Additionally, draw inspiration from plant patterns, incorporating the beauty of nature into your crochet projects. The crochet community is a vast reservoir of creativity and knowledge, so immerse yourself in this world of crochet inspiration.
In conclusion, the crochet strawberry hat is more than just a fashion accessory; it’s a testament to your creative prowess and a celebration of summer vibes. With the fusion of crochet techniques, vibrant yarn, and a touch of whimsy, you’ve crafted a statement piece that speaks volumes about your skills and adds joy to any outfit. As you showcase your handmade creation, let it inspire others in the crochet community, encouraging a shared passion for crafting unique and personalized accessories. So, grab your hooks, explore new patterns, and let your imagination run wild as you embark on your next crochet adventure. Happy stitching!
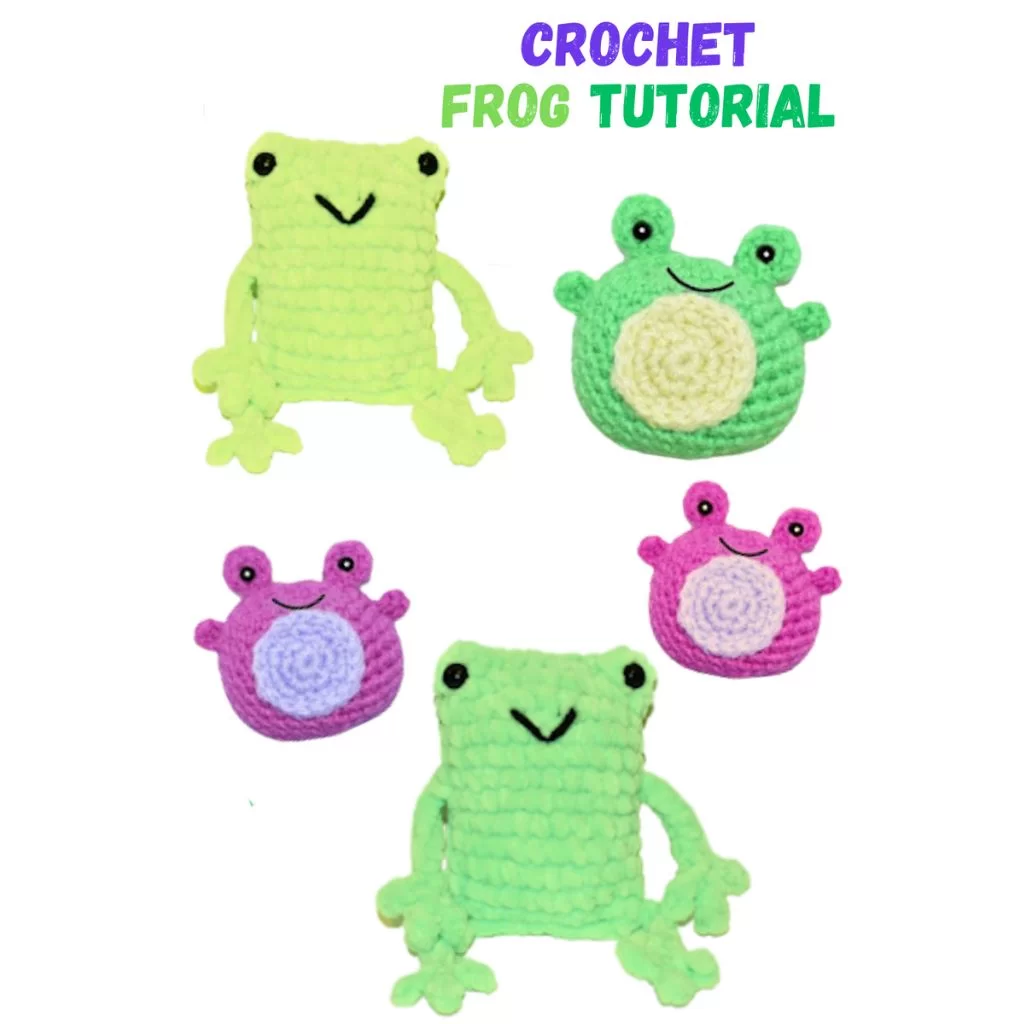
Click Here for the Crochet Frog Patterns
I absolutely love Amazon for its unbeatable deals and amazing selection!—click here to discover your next great deal!
Amazon Prime: Unlock fast, free shipping, exclusive Prime Video shows, and more with Amazon Prime! Click here to start your 30-day free trial today!
Audible Plus: Access thousands of audiobooks and podcasts with Audible Plus! Click here for Audible Plus on Amazon!
Kindle: Discover millions of books with Kindle—read anywhere, anytime! Click here to buy on Amazon!
Amazon Prime Video: Enjoy unlimited streaming of top movies and TV shows with Amazon Prime Video! Click here to start watching!
Amazon Music: Stream millions of songs and playlists with Amazon Music! Click here to start listening!
To Find All My Crochet Jewel Patterns, Click Here
Click Here for My Ravelry Patterns
Crochet Hats for Beginners Book For Sale — Click Here
Crochet For Beginners Book for Sale — Click Here
Click Here fo Lion Brand Yarn and Free Patterns
I’m using Rakuten to get Cash Back at my favorite stores. Hate for you to miss out, so join now with my invite and you’ll get $30 after you spend $30.* Click Here for Cash Back


