Crochet Beautiful Strawberries Pattern: A Step-by-Step Guide
by Amy Lehman | May 4, 2025 6:31 pm
Crochet Strawberries Pattern
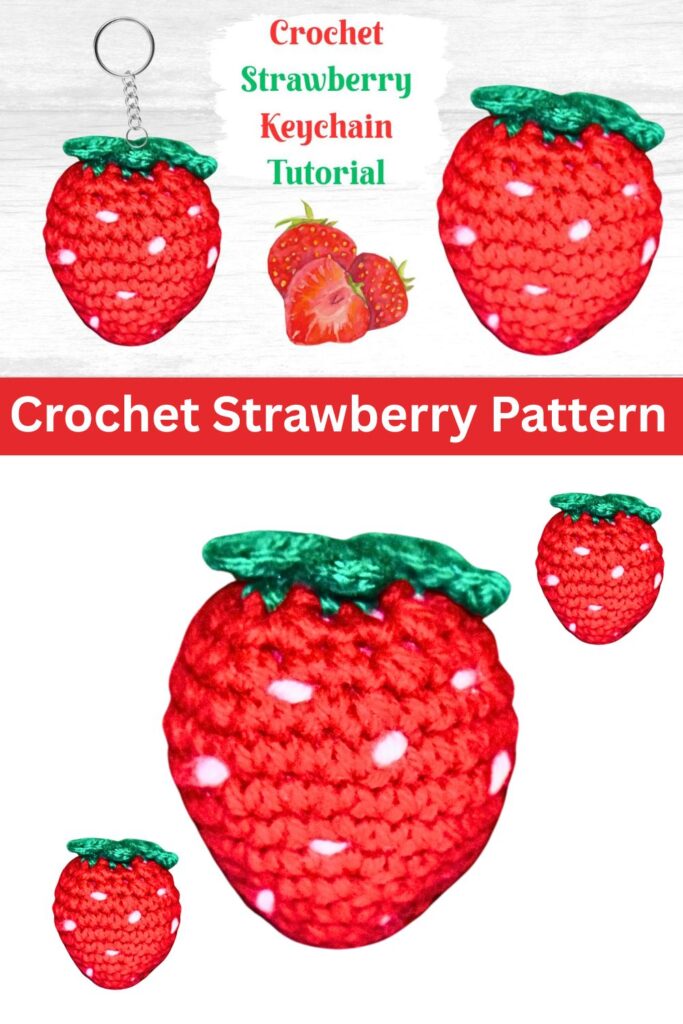
Crocheting a cute crochet strawberry is a delightful project that can add a charming touch to any crochet collection. Whether you’re a beginner or an experienced crocheter, this free crochet pattern will guide you through the steps to create adorable amigurumi strawberries using simple stitches like single crochet (sc) and slip stitch (sl st). Using a magic ring to start the project and following the step-by-step instructions, you’ll learn how to make small, colorful strawberries perfect for a variety of crochet projects, from home decor to accessories for summer parties. Ready to get started? Grab your mm crochet hook, some white yarn for the strawberry seeds, and let’s dive into this fun project!
To begin, make a magic circle to form the base of your strawberry. Start with a slip knot, then work your first stitch into the magic ring. As you move through the rounds, use single crochet for the body and a slip stitch to close the final rounds. You’ll be working in a continuous spiral without turning your work, ensuring that your strawberry stays smooth. Be sure to mark your first stitch and keep track of your rounds with stitch markers to maintain the correct shape.
As you continue to crochet, remember to work in both the front loop and the back loop as specified in the pattern, especially when creating the strawberry seeds using white yarn or white embroidery floss. This will give your strawberry that realistic, textured appearance. If you’re looking to add a unique twist, try experimenting with different yarns or yarn thickness to create a larger or smaller strawberry, or mix in treble crochet stitches for a different texture. Once the body of the strawberry is complete, you can finish off by creating the top of the strawberry, where you’ll add a cute leafy design using double crochet stitches and a bit of the long tail for securing.
Within this post, you’ll find affiliate links. If you decide to purchase through these links, I may earn a modest commission at no extra cost. Additionally, please review my privacy policy[1] for more details.
Click the Social Icons to Stay Connected
[2]
[3]
[4]
[5]

Click the Links for Your Materials
All Colors of Yarn Click Here[7]
- Crochet hook
- Tapestry needle
- Stitch marker
✨ We hope you enjoyed these photos! If so, please consider sharing them on Pinterest by clicking the Pin Button on each image. Your support helps us connect with more people and spread creativity. Thank you so much! 💖
Abbreviations:
ch=chain
sc=single crochet
hdc=half double crochet
sl st=slip stitch
2sctog=2 single crochet together
Rnd: In the Magic Circle, 6 sc in the ring, sl st
Rnd 2: sc in each stitch around, work in continuous rounds
Rnd 3: 2 sc in each stitch around — 12 sc
Rnd 4: sc in each stitch around — 12 sc
Rnd 5: sc, 2 sc in the next stitch, *Repeat around — 18 sc
Rnd 6: sc in each stitch around — 18 sc
Rnd 7: *sc in the next 2 stitches, 2 sc in the next stitch, *Repeat around — 24 sc
Rnd 8: *sc in the next 3 stitches, 2 sc in the next stitch, *Repeat around — 30 sc
Rnds 9–10: *sc in each stitch around, Repeat around, — 30 sc
Rnd 11: *sc in the next 3 stitches, 2sctog decrease, *Repeat around,
Rnd 12: *sc in the next 2 stitches, 2sctog decrease, *Repeat around,
Rnd 13: *sc, 2sctog decrease, *Repeat around,
Rnd 14: color change with green yarn, 2sctog decrease, sl st
Rnd 15: 2sctog twice, sl st
Leaves: work from the color change, ch 3, sc in the 2nd ch from the hook, hdc in the next ch, sl st in the next stitch.
Ch 4, sc in the 2nd ch from the hook, hdc in the next 2 chains, sl st in the next stitch,
Ch 5, sc in the 2nd ch from the hook, sc in the next stitch, hdc in the next 2 chains, sl st in the next stitch,
Fasten off and Weave in your ends.
Take white yarn and sew on dash lines onto the strawberry. Fasten off.
This project is perfect for creating gifts, keychains, or embellishments for other crochet projects. Plus, with a video tutorial available for visual learners, you’ll have all the resources you need to make this crochet strawberry project a success.
Making your own crochet strawberries is a fun and satisfying project that results in handmade items perfect for personal use or to sell on platforms like Etsy stores. With step-by-step instructions, affiliate links to recommended materials, and a free crochet strawberry pattern, you have everything you need to bring these adorable patterns to life. Whether you’re making a large strawberry or a second strawberry for a collection, this crochet project offers endless opportunities for customization. If you enjoyed making this pattern, be sure to add it to your Ravelry queue or share your finished project on social media like TikTok, where you can show off your cute strawberry creations.
Happy crocheting! Don’t forget to check out the affiliate advertising program for extra supplies like hook sizes and a beginner kit to get you started on your next crochet adventure. For your convenience, make sure to review our privacy policy and shop using Amazon Services LLC Associates Program for some great affiliate links to help support more free crochet patterns like this one!
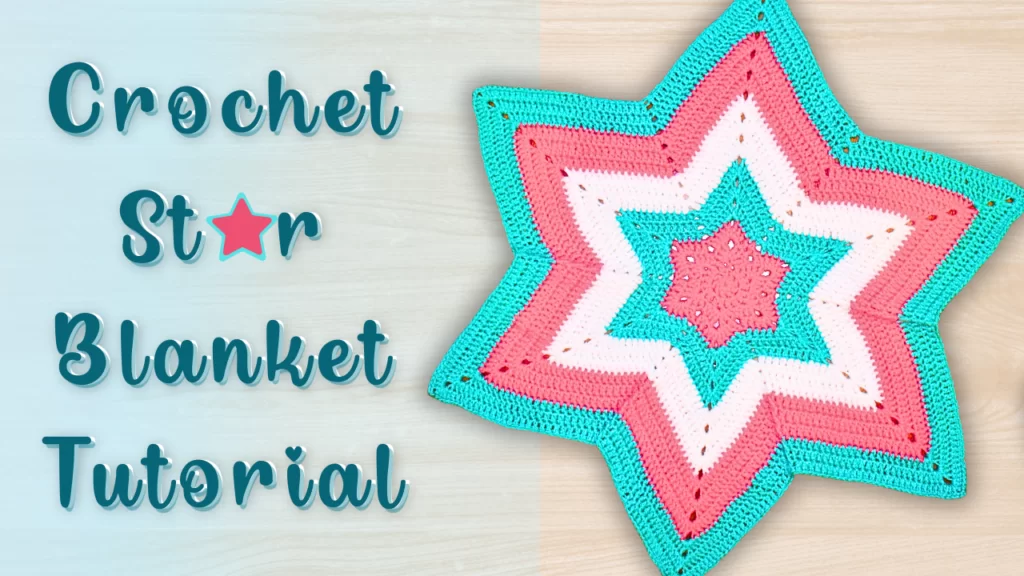
Crochet Star Blanket[8]

Click Here for My Ravelry Patterns


Crochet Hats for Beginners Book For Sale — Click Here

Crochet For Beginners Book for Sale — Click Here
- privacy policy: https://amysdiyfrugallife.com/privacy-policy/
- [Image]: https://www.amazon.com/shop/crochetjewel
- [Image]: https://www.facebook.com/jewelpatterns4u
- [Image]: https://www.instagram.com/crochetjewel4u
- [Image]: https://www.pinterest.com/crochetjewel4u/
- [Image]: https://www.youtube.com/user/amray767
- All Colors of Yarn Click Here: https://amzn.to/3C32rNX
- Crochet Star Blanket: https://amysdiyfrugallife.com/crochet-star-blanket-a-cozy-and-fun-twist-on-a-classic-design/
- [Image]: https://www.ravelry.com/people/amray767
- [Image]: https://www.awin1.com/cread.php?awinmid=6220&awinaffid=470125&platform=dl&ued=https%3A%2F%2Fwww.etsy.com%2Fshop%2FAmyCreativeCreations%3Fref%3Dseller-platform-mcnav
- [Image]: https://amzn.to/2ILFrGN
- [Image]: https://amzn.to/2HVIis6
Source URL: https://amysdiyfrugallife.com/crochet-beautiful-strawberries-pattern-a-step-by-step-guide/


