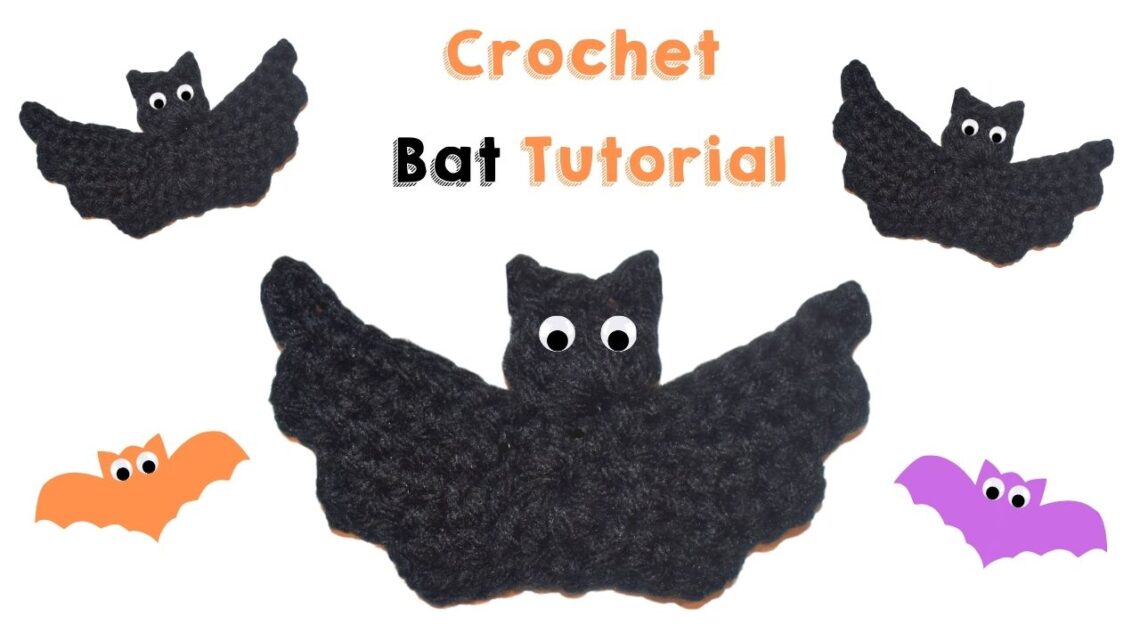
Crochet Your Own Bat: Step-by-Step Halloween Craft Tutorial
Crochet Bat Tutorial
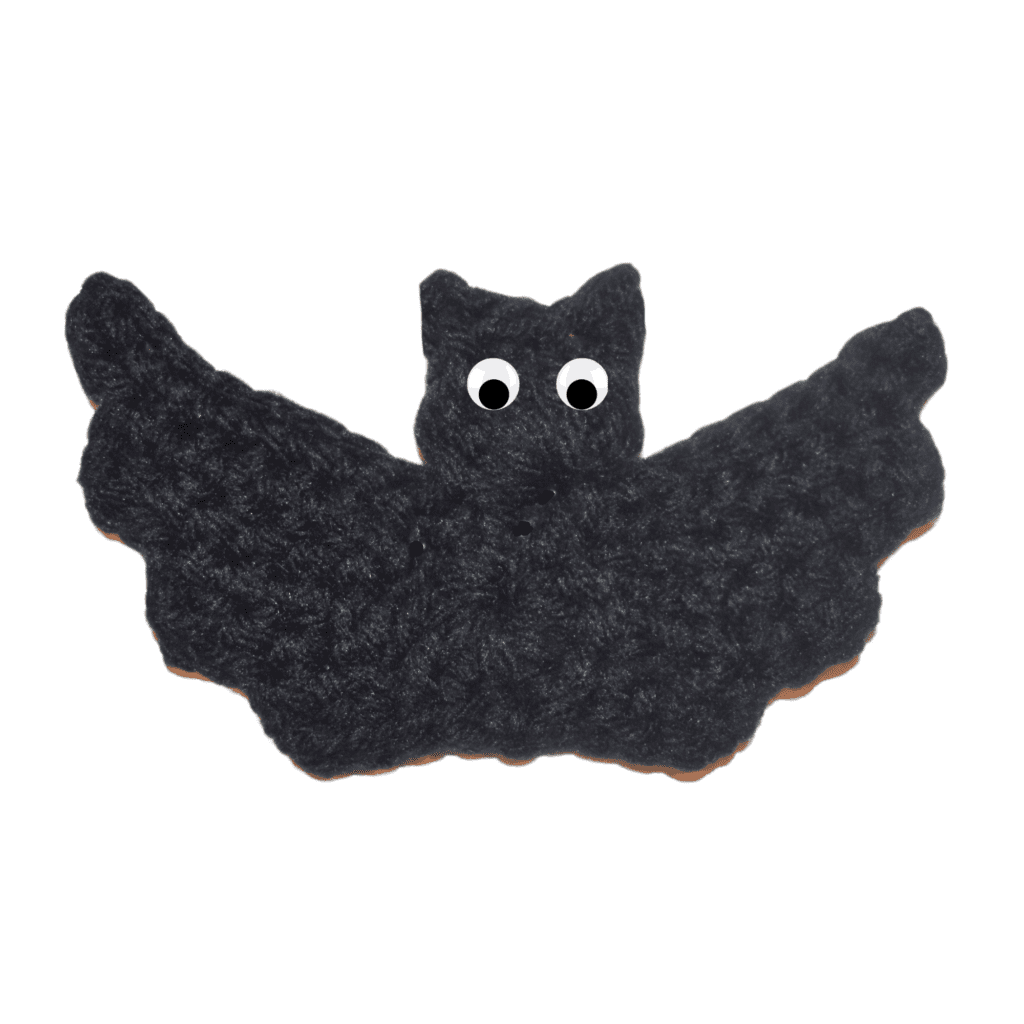
Welcome to our crochet bat tutorial, where you’ll learn to create an adorable amigurumi bat just in time for the spooky season! This project is perfect for those who love Halloween decorations or want to add a touch of whimsy to their crochet collection. Whether you’re an advanced beginner or seasoned crocheter, this free pattern and accompanying video tutorial will guide you through each step. We’ll be using worsted weight yarn, magic rings, and various crochet techniques, including slip stitch (sl st), single crochet (sc), and double crochet (dc). So, grab your crochet hook, some black yarn, and let’s start crafting some little bats that will be the highlight of your Halloween!
This post contains affiliate links. If you purchase through these links, I may earn a modest commission at no extra cost. Please review my privacy policy for more details.
To begin, you’ll need to gather your materials. For this crochet bat, we’ll be using black yarn for the body, but feel free to get creative with dark grey, purple, or even furry yarn for a fun twist. If you’re new to amigurumi, consider starting with a beginner kit that includes a crochet hook, yarn, and 8mm safety eyes. Begin by making a magic ring, followed by a series of single crochet stitches to shape the bat’s body. As you work your way through the crochet pattern, remember to refer to the video tutorial for visual guidance and photo references.
✨ We hope you enjoyed these photos! If so, please consider sharing them on Pinterest by clicking the Pin Button on each image. Your support helps us connect with more people and spread creativity. Thank you so much! 💖
Abbreviations:
ch=chain
sc=single crochet
sl st=slip stitch
dc=double crochet
Materials:
Click the Links for Your Materials
- Black yarn
- Googly eyes
- Crochet hook
- Tapestry needle
- Stitch marker
F Hook
Rnd 1: In the Magic Circle, ch 3, work 11 dc, sl st
Rnd 2: Head and Ears, Ch 3, dc in the same stitch, ch 3, sl st in the 3rd chain from the hook, 2 dc, ch 3, sl st in the 3rd chain from hook, 2 dc, sl st, (all in the same stitch),
Ch 9, *sc in the 2nd chain from the hook, sc in the next 7 sc, sl st in the next stitch, Turn
sc in the next 6 stitches, Turn, sc in the next 6 sc, sl st in the next stitch, Turn, sc in the next 4 sc, Turn, sc in the next 4 sc, sl st in the next stitch, sc in the next 2 sc, Turn, sc in the next 2 sc, sl st in the next stitch
Sl st in the next 7 sc, ch 9, *Repeat Rnd 2. sl st, Fasten off and glue eyes on top of the head below the ears.
For the finishing touches, attach your 8mm safety eyes or googly eyes to the front of the bat’s head. You can also use pink yarn to add a cute nose or some dark grey yarn to embroider tiny fangs.These little bats make for a perfect project not only for Halloween but for gifting or even decorating your social media posts.
Congratulations on completing your crochet bat! With your finished items in hand, you’ve not only created a delightful Halloween decoration but also sharpened your crochet skills. Whether you made one bat or a whole colony, these little critters are sure to bring much fun and a touch of spooky charm to any space. Don’t forget to share your creations on social media, especially TikTok—make sure to tag us so we can see your fantastic work! Happy crocheting, and stay tuned for more crochet patterns and video tutorials that will keep your hooks busy year-round!
To Find All My Crochet Jewel Patterns, Click Here
Click Here for My Ravelry Patterns
Crochet Hats for Beginners Book For Sale — Click Here
Crochet For Beginners Book for Sale — Click Here


