DIY Yarn Wrapped Bunny Egg: Craft for Easter Fun

Yarn Wrapped Bunny
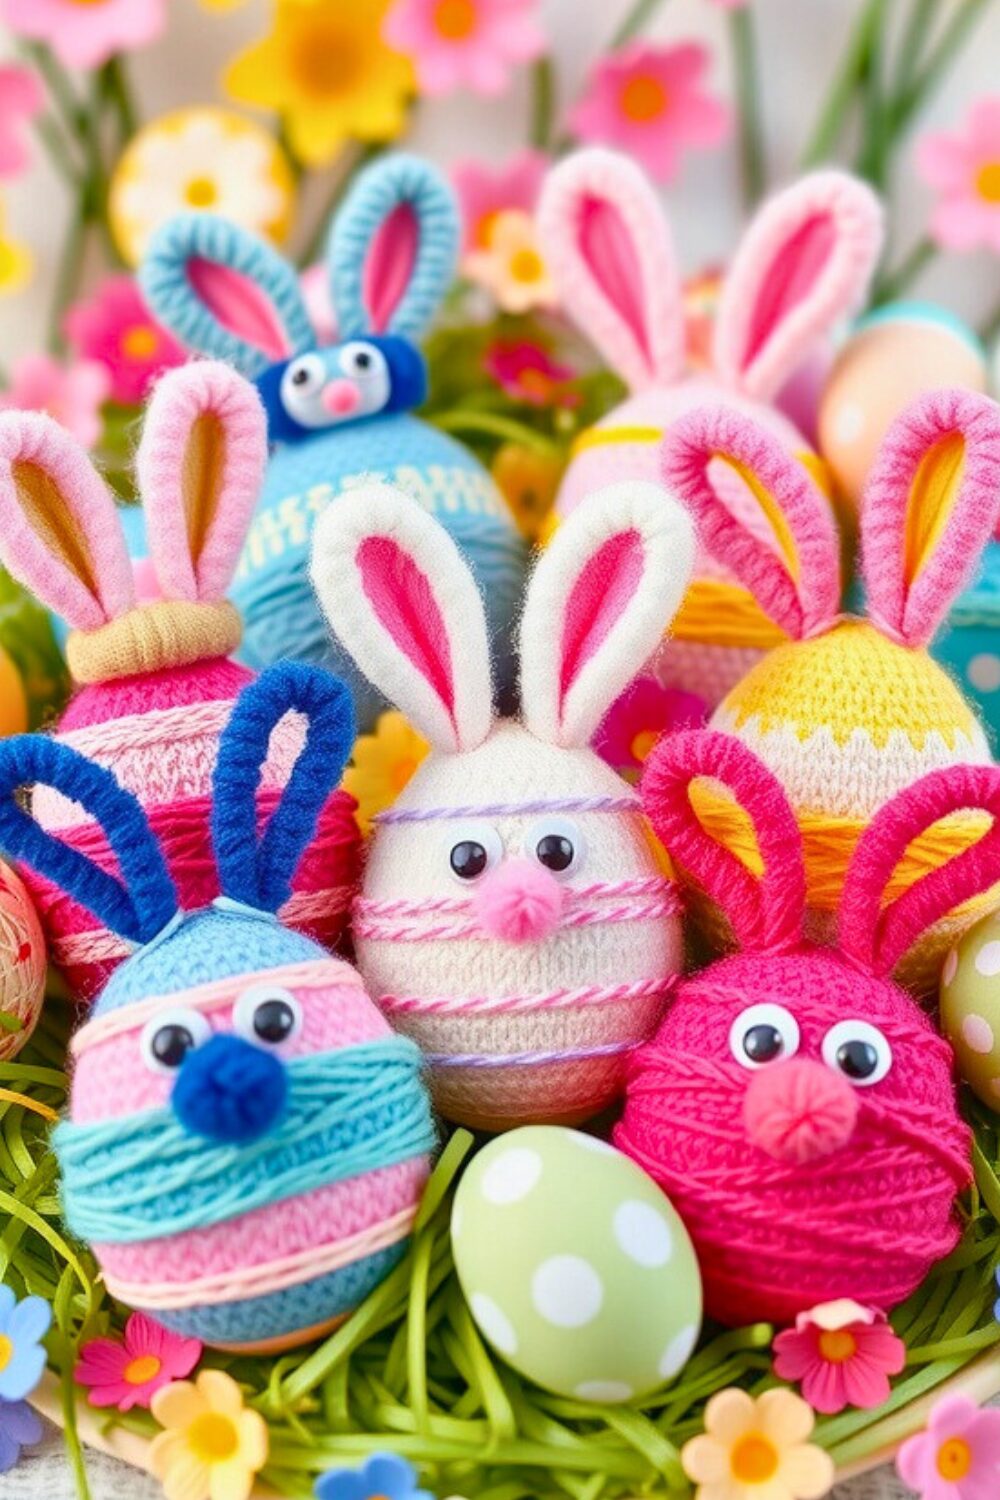
The DIY Yarn Wrapped Bunny is a fun and adorable Easter craft that adds a unique, handmade touch to your Easter decor. Whether you’re looking to create a cute addition to your Easter basket or make a delightful Easter bunny wreath, this project is perfect for all ages. The craft uses simple materials like yarn, pom-poms, and a plastic Easter egg to create a charming bunny that will surely capture attention. With easy steps and creative flair, this project will not only make your home feel festive but also help hone fine motor skills as you wrap and glue.
Within this post, you’ll find affiliate links. If you decide to purchase through these links, I may earn a modest commission at no extra cost to you. Additionally, please review my privacy policy for more details.
✨ We hope you enjoyed these photos! If so, please consider sharing them on Pinterest by clicking the Pin Button on each image. Your support helps us connect with more people and spread creativity. Thank you so much! 💖
Click the Social Icons to Stay Connected
![]()
![]()
![]()
![]()
![]()
![]()
![]()
![]()

Materials Needed:
- Plastic Easter Egg (from Dollar Tree)
- Yarn (color of your choice)
- Hot Glue Gun & Glue Sticks
- Safety or googly Eyes
- Black Yarn or Embroidery Floss (for mouth)
- Pipe Cleaner (for bunny ears)
- Scissors
Step 1: Prepare the Plastic Egg
Start by selecting a plastic Easter egg from Dollar Tree. If you want the egg to stay closed while you work, use a small amount of hot glue to secure the two halves together.
Step 2: Wrap the Egg with Yarn
Take your yarn (white or any color you prefer for the bunny) and start at the top of the plastic egg. Apply a small amount of hot glue or Elmer’s glue to hold the yarn in place. Begin wrapping the yarn around the egg, layering it in different directions. Add a few more swipes of hot glue as you go to ensure the yarn stays in place and covers the entire egg.
Step 3: Attach Safety Eyes and Mouth
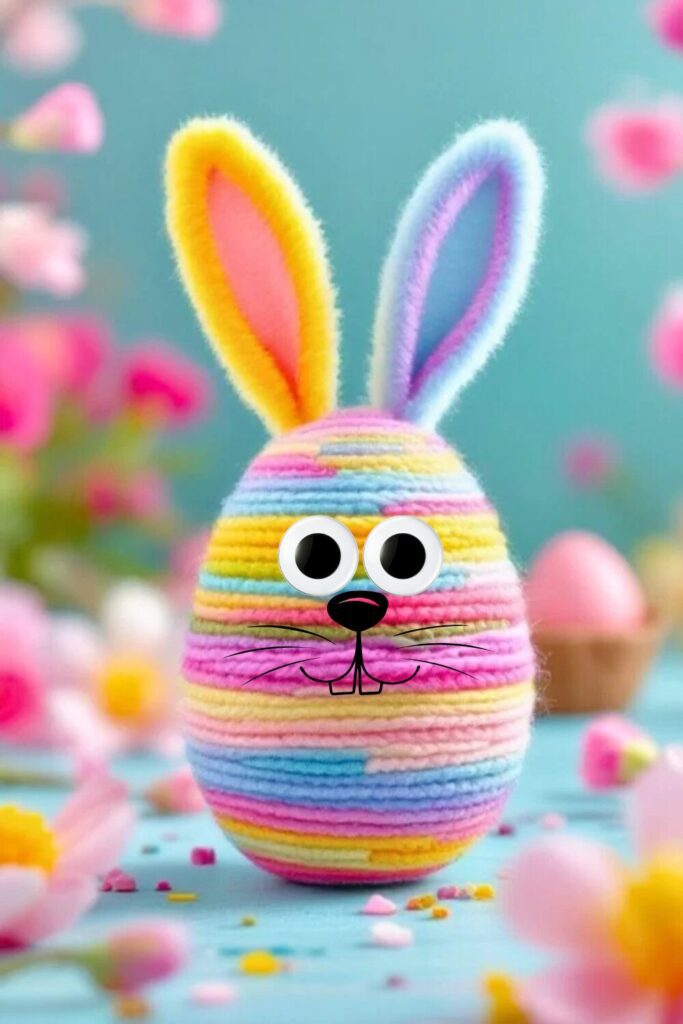
Once the egg is fully covered with yarn, place the safety eyes onto the front of the egg. Gently push the eyes through the yarn where you’d like the bunny’s face to be. After that, use a small piece of black yarn or embroidery floss to create a simple “V” shape for the bunny’s mouth just below the eyes.
Step 4: Make and Attach Bunny Ears
Take a pipe cleaner and bend it into the shape of bunny ears. Attach the pipe cleaner to the top of the egg using hot glue. You can twist it into a small loop to resemble bunny ears. For an extra touch, feel free to add a piece of fabric or felt to the pipe cleaner for a more detailed look.
Step 5: Final Touches
Add a small pom-pom or a tiny piece of yarn at the back of the egg to create a cute bunny tail. You can also glue small ribbons or decorations around the base for added charm.
Your DIY yarn-wrapped bunny is now ready! This cute craft makes a perfect addition to your Easter decorations or a lovely handmade gift. 🐰🌸
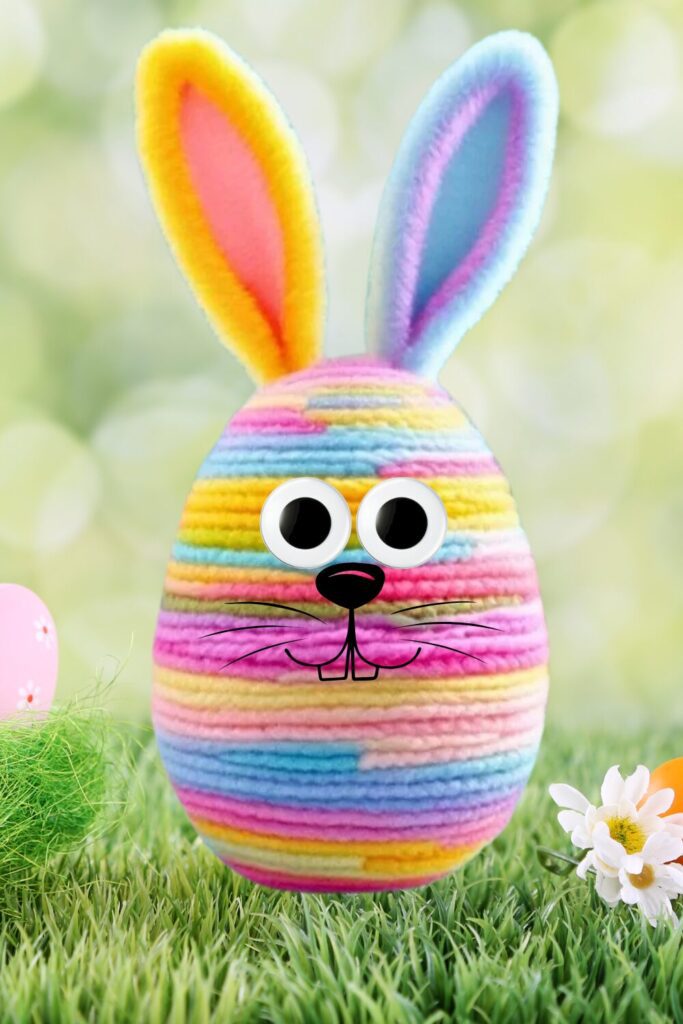
In this fun craft, you’ll start by creating the bunny’s body using wrapped yarn around a plastic egg. Begin by making a small slit in the egg to insert the yarn and start wrapping it in different directions until the body is fully covered. You can use chunky yarn for a fuller, more textured look, or experiment with different types of yarn for a colorful effect. For the bunny’s ears, cut a triangle shape from burlap or yellow yarn, and then glue them to the back of the bunny’s head. To add the finishing touches, glue on googly eyes, a small pom-pom for the tail, and a small piece of orange paper for the carrot’s top. Once everything is glued in place, your adorable yarn-wrapped bunny will be ready to display in your home!
This easy craft can be made with supplies from your local dollar store or affiliate links that offer affordable craft materials. It’s a great activity to do with kids or as a personal DIY project to get ready for the Easter holiday. You can also create variations of this craft by making cute little bunnies, small pom-pom carrots, or even Easter bunny cards to gift to family and friends. The free printable templates for this craft project make it even easier to get started, and you’ll enjoy every step of the process. This DIY yarn craft is the perfect way to brighten up your Easter holiday and create some fun Easter decorations that will make your space feel festive and warm.
Overall, this DIY yarn-wrapped bunny craft is a simple yet beautiful way to celebrate Easter and get into the spirit of the season. With a couple of swipes of glue, a little creativity, and a wire loop for hanging, you’ll have an adorable and functional addition to your home. Whether you’re creating this craft for your Easter basket, to hang on your door, or to give as a sweet gift, it’s a delightful project that’s sure to impress. Don’t forget to share your finished bunnies on TikTok or your favorite social media platform to show off your adorable creations! Happy crafting, and enjoy creating your own adorable Easter bunny wreath!


Click Here for My Ravelry Patterns

Crochet Hats for Beginners Book For Sale — Click Here


You May Also Like
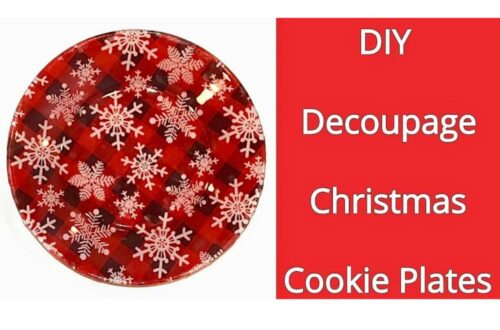
Step-by-Step Guide: Decoupage a Christmas Cookie Plate
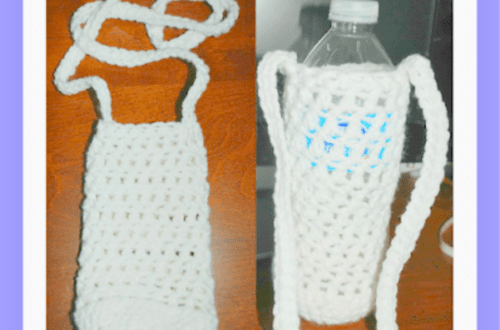
How to Crochet a Simple Water Bottle Holder Pattern
