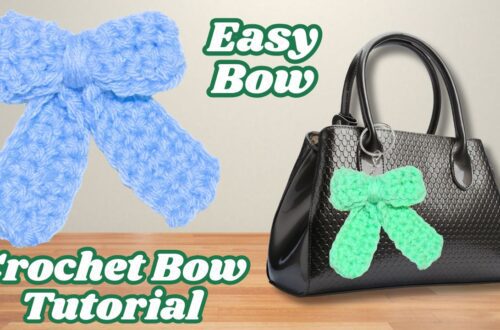
Easy Crochet Wristlet Keychain for Quick Gifts

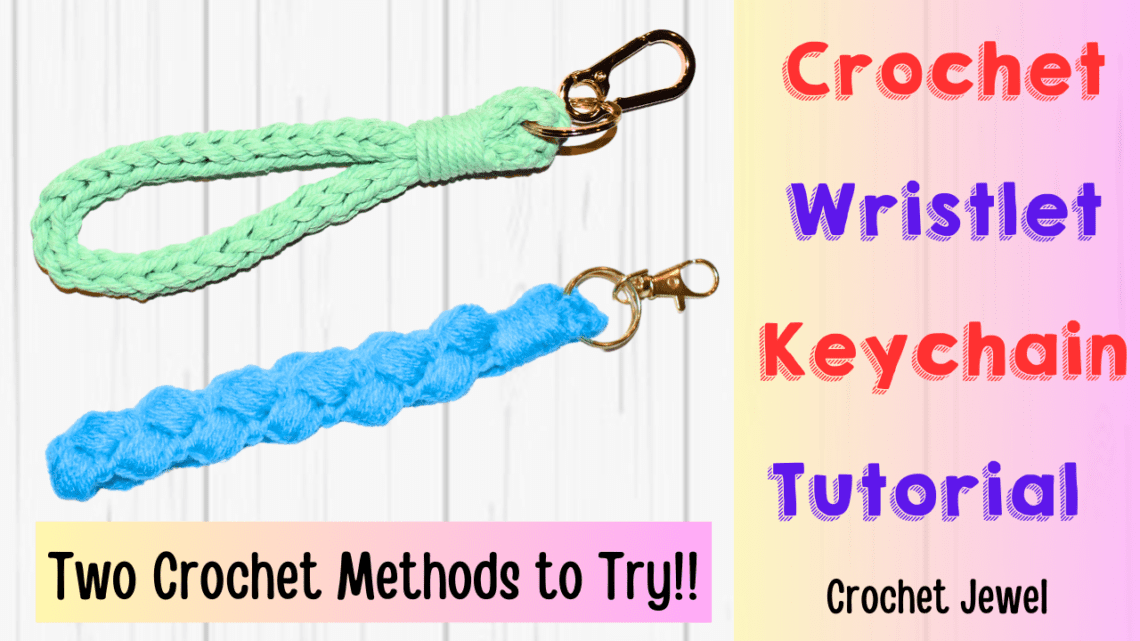
Crochet Wristlet Keychain
Looking to add a touch of handmade charm to your everyday accessories? A crochet wristlet keychain is a perfect way to combine functionality with creativity. Whether new to crochet or an experienced crafter, this easy project is ideal for quick gifts or personal use. Using basic crochet stitches and worsted-weight yarn, you can whip up a stylish key chain in no time.
This post contains affiliate links. If you purchase through these links, I may earn a modest commission at no extra cost. Please review my privacy policy for more details.
To start, gather your materials: a H crochet hook, worsted weight yarn in your favorite color, a key ring or swivel lobster clasp, and a tapestry needle for the finishing touches. Begin with a foundation chain and work single crochet stitches to create a sturdy base. Add a decorative touch with bead or star stitches to personalize your keychain. Repeat rows until you achieve the desired length, then attach the key ring or clasp using a secure double knot.
✨ We hope you enjoyed these photos! If so, please consider sharing them on Pinterest by clicking the Pin Button on each image. Your support helps us connect with more people and spread creativity. Thank you so much! 💖
How to Watch Videos in Slow Motion — if the video is too fast — Click Here!
How to Crochet For Beginners Playlist — Click Here
H hook, Keychain
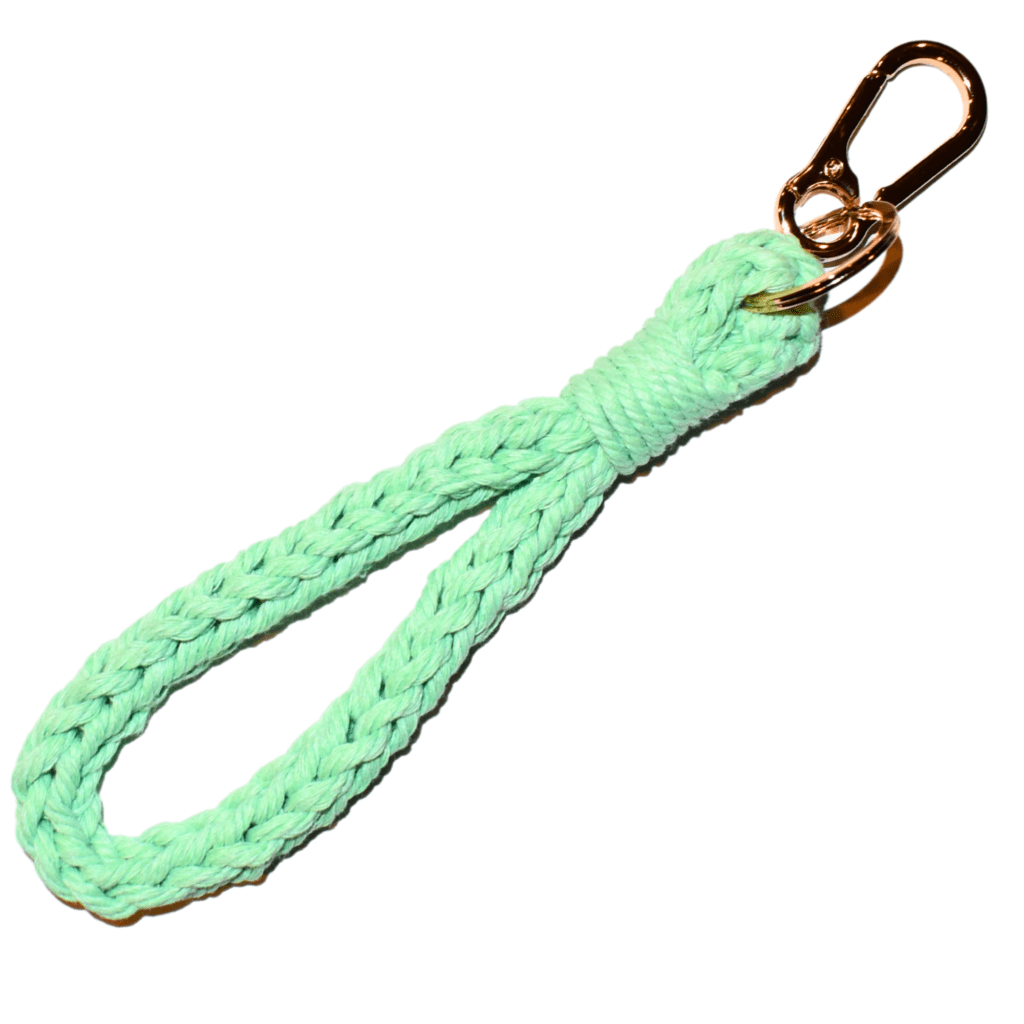
It measures around 12–13 inches; you may need it longer, so test it around your wrist. If it’s too small, add more rows.
How to Make a Crochet Cord with Natural Macrame Yarn
Click the Links for Your Materials
- Crochet hook
- Tapestry needle
- Stitch marker
Getting Started
1. **Create a Slip Knot**: Begin by creating a slip knot and placing it onto your crochet hook.
2. **Chain Three**: Yarn over and create three chains by pulling the yarn through each time.
Working the Cord
1. **Insert Hook**: Insert your hook into the second chain from the hook and draw up a loop.
2. **Draw Up Loops**: Insert your hook again into the last chain and draw up another loop.
3. **Drop Loops**: You should now have three loops on your hook. Drop the last two loops while holding onto them to avoid losing them.
4. **Yarn Over**: Yarn over and pull through the first loop on your hook.
5. **Reinsert Hook**: Insert your hook back into the loop you dropped earlier, yarn over, and pull through.
6. **Complete the Loop**: Insert your hook into the last loop, yarn over, and pull through. This completes your first row of the cord.
Repeating the Pattern
1. **Repeat the Process**: Continue the pattern by repeating the steps above.
2. **Drop and Hold Loops**: Drop the last two loops each time, holding onto them to keep your place.
3. **Yarn Over and Pull Through**: Yarn over and pull through each loop sequentially.
Finishing the Cord
1. **Final Stitches**: Once you’ve reached your desired length, yarn over and pull through all three loops on your hook.
2. **Chain One**: Yarn over once more to create a chain one.
3. **Cut and Weave**: Cut your yarn and weave in the ends to secure your cord.
Add your keychain around the cord. Yarn over and pull through the loops. Sew the ends together. Place the keychain by the sewn ends. On the top next to the keychain, leave a tail and loop it, then Wrap your yarn around the top around 8 times, but leave the loop hanging out. Take the tail and pull through the loop tightly. Cut the ends to secure it. (Best shown in the video)
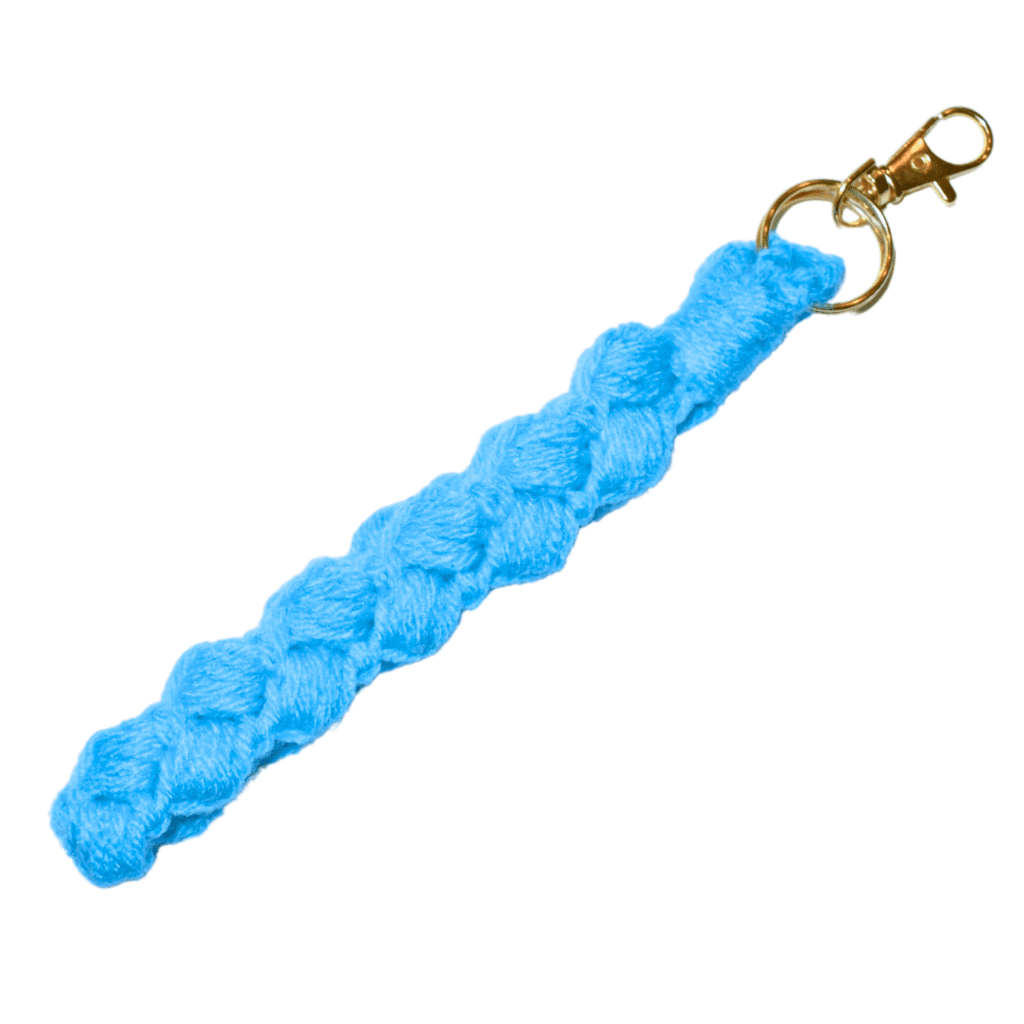
Crochet Zig Zag Wristlet
H hook, Medium Worsted yarn, To begin, place a slip knot on your hook—chain four.
Next, yarn over and pull the yarn through for your chains, creating a ring. Chain four more. Insert your hook into the first chain and create a slip stitch to form a small circle.
Now, chain two. Yarn over, insert your hook into the center of the ring, and draw up a loop. Repeat this five times in total. Yarn over, insert your hook, draw up a loop again—repeat this sequence until you have 10 loops on your hook.
Yarn over and pull through all the loops except for the last one. Yarn over again and pull through the remaining two loops on your hook. Chain two to complete this segment.
Turn your work over to the side where your chains are exposed. In that space, repeat the pattern: yarn over, insert your hook, draw up a loop five times, yarn over, pull through all loops except the last one, yarn over, pull through the remaining two loops, and chain two.
Continue working this pattern back and forth to create the zigzag effect. Each row begins with chaining two, then repeating the sequence of yarn overs and loops across the row.
At the end of your project, finish with a chain one, cut your yarn, and weave in the ends. The link for a printable version of this pattern is provided below in the description.
Add your keychain around the cord. Yarn over and pull through the loops. Sew the ends together. Place the keychain by the sewn ends. On the top next to the keychain, leave a tail and loop it, then Wrap your yarn around the top around 8 times, but leave the loop hanging out. Take the tail and pull through the loop tightly. Cut the ends to secure it. (Best shown in the video)
If you want to expand your crochet repertoire, wristlet patterns offer a gateway to more intricate designs. Experiment with different yarn weights, such as worsted-weight cotton for durability or thinner yarns for a delicate touch. Craft stores often offer a variety of yarns to suit any project, and you can find inspiration on Pinterest boards or in crochet communities on social media platforms. Don’t hesitate to mix and match colors and textures to create a keychain that matches your style perfectly.
Once you’ve mastered the basics, share your creations with fellow crafters in crochet groups or on your favorite social media channels. Include affiliate links to your favorite yarns or tools, which can earn you a small commission from sales. Consider making video tutorials on TikTok or YouTube to inspire others and showcase your skills step by step. Whether you’re making key fobs, bag charms, or even luggage tags, crochet projects like these are a great way to express your creativity and make thoughtful gifts for loved ones.
Click Here for Crochet Amigurumi Patterns
These paragraphs explore different patterns and yarn options in more depth. They also suggest ways to share your creations and possibly earn from your craft through affiliate links and video tutorials.
Crochet wristlet keychains make great gifts or party favors. You can find free crochet patterns and creative ideas online, including video tutorials on platforms like TikTok for visual learners. Experiment with different yarns or add embellishments like beads or charms for a unique look. Whether making one for yourself or crafting a collection for friends, these keychains are a fun and practical way to showcase your crochet skills. This structure introduces the project, guides the process without detailing the steps, and concludes with encouragement and ideas for customization and further exploration.
To Find All My Crochet Jewel Patterns, Click Here

Click Here for My Ravelry Patterns


Crochet Hats for Beginners Book For Sale — Click Here

Crochet For Beginners Book for Sale — Click Here
Click Here fo Lion Brand Yarn and Free Patterns
I’m using Rakuten to get Cash Back at my favorite stores. Hate for you to miss out, so join now with my invite and you’ll get $30 after you spend $30.* Click Here for Cash Back