Granny Square Pouch Crochet: A Delightful and Creative Project
Granny Square Pouch Crochet
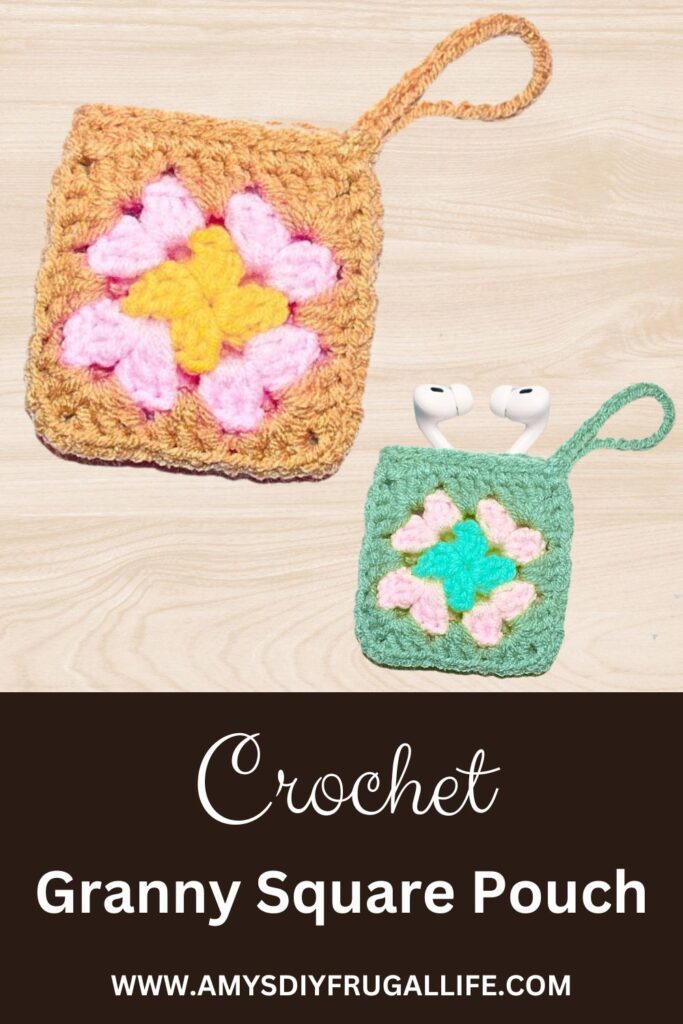
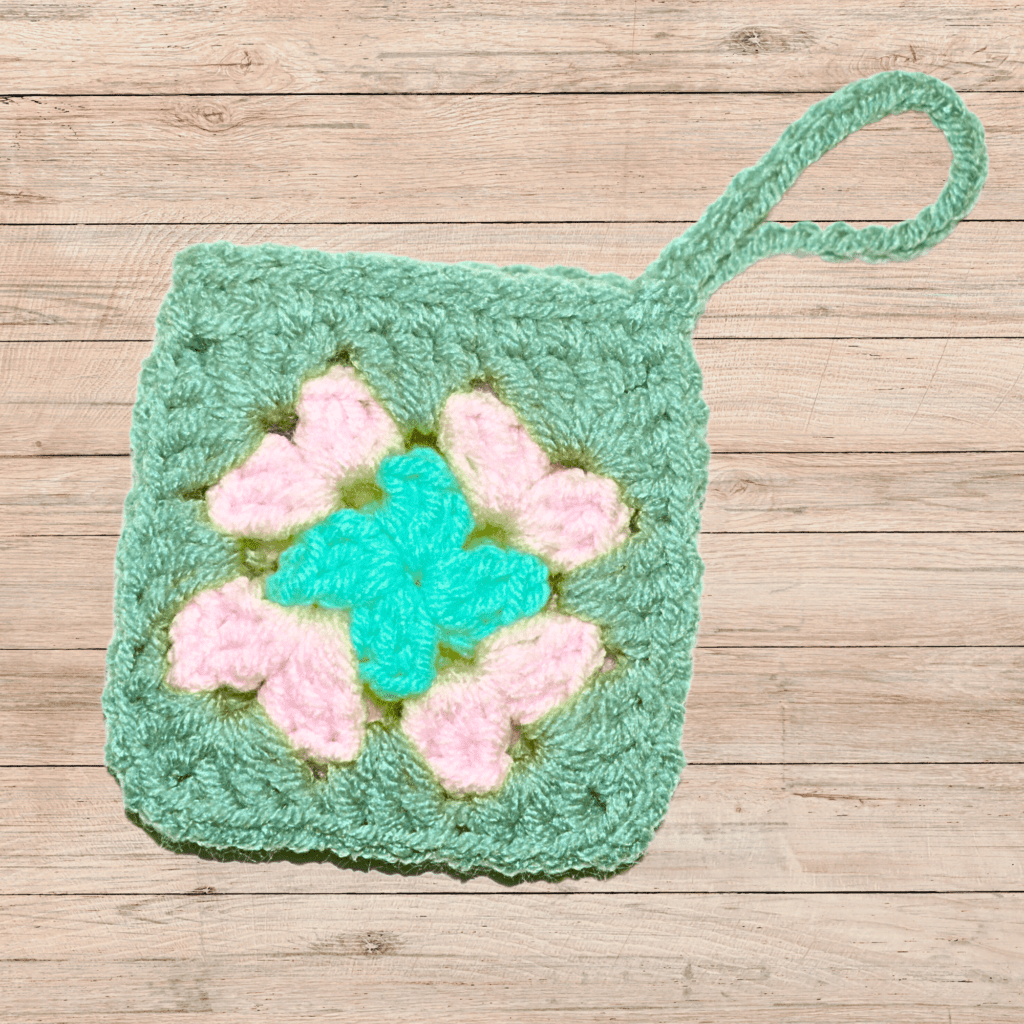
Creating a granny square pouch is a delightful project that combines classic crochet techniques with a touch of creativity. Whether you’re a seasoned crocheter or just starting out, this free crochet pattern offers a fun and easy way to make a charming little pouch that can serve various purposes. From holding small items to functioning as a stylish accessory, a granny square pouch is versatile and customizable. In this blog post, we’ll explore the process of crafting this pouch using a solid color or a mix of different color combinations, and how to follow along with our video tutorial for an enjoyable crafting experience.
To begin, gather your materials: a worsted weight yarn, a suitable mm crochet hook, and stitch markers to help track your progress. The pattern involves creating a classic granny square, a traditional motif that’s perfect for beginners and seasoned crocheters alike. Start by making a magic ring and crocheting your first round of double crochet stitches into it. As you work through the pattern, use slip stitches (sl st) to join rounds and single crochet stitches to reinforce the structure. When crocheting the square pouch pattern, be mindful of the odd number of stitches in each round and adjust as needed to maintain a balanced design.
This post contains affiliate links. If you purchase through these links, I may earn a modest commission at no extra cost. Please review my privacy policy for more details.
✨ We hope you enjoyed these photos! If so, please consider sharing them on Pinterest by clicking the Pin Button on each image. Your support helps us connect with more people and spread creativity. Thank you so much! 💖
Click the Links for Your Materials
All Colors of Yarn Click Here
- Safety eyes
- Crochet hook
- Tapestry needle
- Stitch marker
Abbreviations:
ch=chain
sc=single crochet
hdc=half double crochet
dc=double crochet
sl st=slip stitch
Make 2
F hook, Medium Worsted Yarn
Rnd 1: In the Magic Circle, ch 3, 2 dc, ch 2, (3 dc, ch 2)x3, sl st
Rnd 2: sl st with new color of yarn, sl st in the chain space, ch 3, 2 dc, ch 2, 3 dc (in between the 3dc), in each chain 2 space, (3 dc, ch 2, 3 dc)x3, sl st beg of the ch 3
Rnd 3: sl st with new color of yarn, *sl st between the chain space, (ch 3, 2 dc, ch 2, 3 dc) 3 dc, in the ch 2 space, 3 dc, ch 2, 3 dc, *Repeat around, sl st in the chain 3
Connect the two squares together, insert hook in back loop and connect the other square in the front loop. Do this on all 3 sides and leave the top open.
Sc around the top and then sl st around the top.
Create a chain of about 50 on the side for a loop and sl st.
The next step is assembling your pouch. Once you’ve completed your square, fold it and whip stitch the sides together. For a neat finish, consider using a yarn needle to weave in any yarn tails and ensure there are no gaps. Adding a sturdy strap or a leather strap can enhance both functionality and style. If you prefer a more personal touch, you can add a button hole or sew on a button for a cute closure. For extra tips and tricks, check out our free pattern and video tutorial on our YouTube channel, and feel free to join our Facebook group for the latest updates and a supportive community.
Click Here for More Crochet Amigurmi Patterns
A granny square pouch is a wonderful project that showcases the beauty of traditional crochet techniques while allowing for modern customization. With this free crochet pattern and accompanying video tutorial, you’re well-equipped to create a cute and practical pouch in no time. Whether you choose a solid color or a vibrant mix, this project is a great way to use up leftover yarn and make something special. Happy crocheting, and don’t forget to share your finished pouches on social media or in our crochet community for a chance to inspire others. For more easy crochet tutorials and free crochet bag patterns, keep an eye on our blog and YouTube channel.


