Create an Adorable Baby Butterfly and Heart Headband with Our Easy-to-Follow Pattern Tutorial!
by Amy Lehman | October 26, 2023 3:01 am
How to Crochet a Baby Headband
Welcome to the world of adorable and practical crochet baby accessories! In this guide, we’ll explore the delightful art of crocheting a baby headband, a charming and versatile accessory perfect for keeping your little one stylish and comfortable.
Crocheted baby headbands are not only adorable but also practical. They provide a soft and gentle way to keep your baby’s hair out of their eyes while adding a touch of sweetness to any outfit. Whether dressing up for a special occasion or simply going for a stroll in the park, a crocheted headband is the perfect finishing touch to your baby’s ensemble.
This post contains affiliate links. If you purchase through these links, I may earn a modest commission at no extra cost. Please review my privacy policy[1] for more details.
✨ We hope you enjoyed these photos! If so, please consider sharing them on Pinterest by clicking the Pin Button on each image. Your support helps us connect with more people and spread creativity. Thank you so much! 💖
Video tutorials are invaluable to your WordPress site. They provide step-by-step instructions for crochet headband patterns. These videos demonstrate crochet techniques, such as the “sc 2nd ch,” “repeat row,” “sc blo,” and “insert hook,” making it easy for viewers to follow along and create their headbands.
How to Crochet For Beginners Playlist — Click Here[2]
Incorporate affiliate links strategically, suggesting the perfect crochet hook size, the best yarn options, and the ideal tapestry needle to complement your free crochet pattern. WordPress allows you to generate a small commission to support your crafting endeavors and maintain your website.
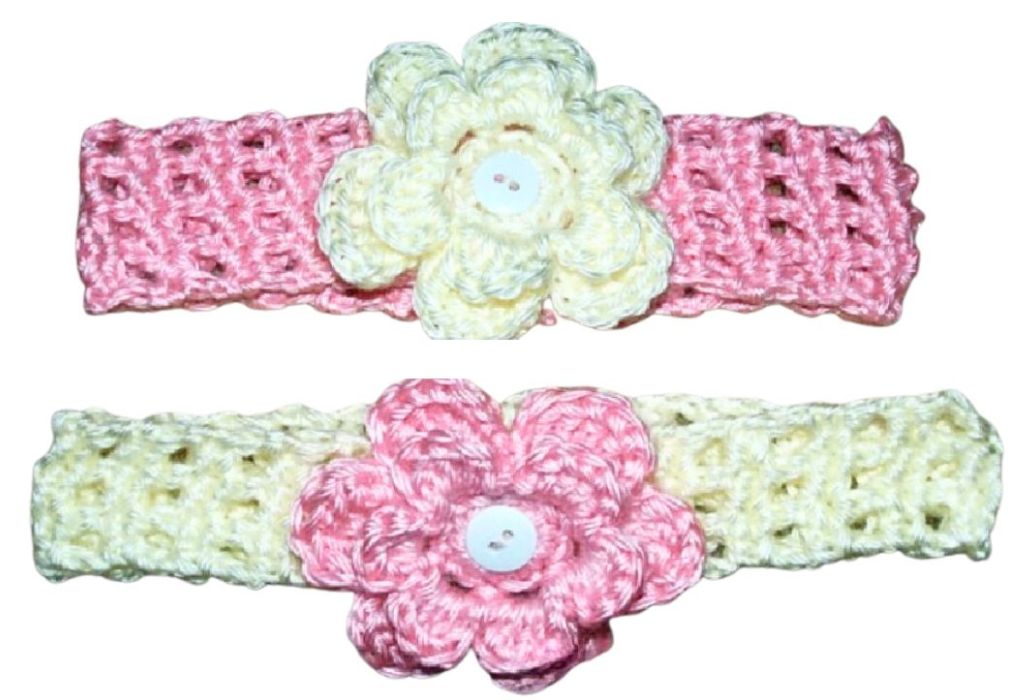
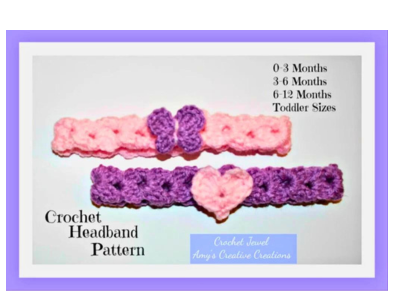
Create this cute little headband for your baby or toddler. I used an F hook and medium worsted yarn. Add a little heart or butterfly on top.
Click the Links for Your Materials
All Colors of Yarn Click Here[3]
- Crochet hook
- Tapestry needle
- Stitch marker
Purple and Pink Yarn
Abbreviations:
Ch=Chain
Sl St=Slip Stitch
Sc=single crochet
Dc=double crochet
Tr=Treble Crochet
3dctog=3 double crochet together decrease=yarn over, Yarn over hook, insert hook in stitch, pull up a loop, 3 loops on hook. Yarn over hook, pull through 2 loops. Yarn over, insert in the next stitch, pull up a loop, 4 loops on the hook. Yarn over, pull through 2 loops, 3 loops on hook. Yarn over, insert hook in the next stitch, Yarn over, pull up a loop, 5 loops on the hooks, Yarn over, draw through 2 loops, 4 loops left on hook. Yarn over. Draw through all 4 loops left on hook. Or YouTube has Great Video tutorials on this type of stitch.
Sizes:
0–3 Months= The circumference of the head is 13″ to 14″= take 2 inches less than or subtract 13 to 14 inches or so, it will be about 11–12 inches, which is about 19 shells.
3–6 Months=14″-17″=take 2 inches less than 14 to 17 inches or so, it will be about 12–14 inches, which is about 21 shells.
6–12 Months=16″-19″=take 2 inches less than 16 to 19 inches or so, it will be about 14–16 inches, which is about 23 shells.
Toddler Size=18″-20″=take 2 inches less than 18 to 20 inches or so, it will be about 16–18 inches, which is about 26 shells.
You may need to check the child’s head to see if its a good fit and when to stop the shells, but that is a good estimate with the circumference of the child’s head.
Row 1. F hook, Ch 4, Sl st to join to create a ring.
Row 2. *Ch 2 (Counts as a Dc), 2 dctog with the (ch 2), ch 2, 3dctog, ch 1, Turn, sl st in the ch 2 space.
Headband: *Repeat Row 2 for your desired length.
Materials:
E and F Hook
Red Heart Medium Worsted Pink and Purple Yarn
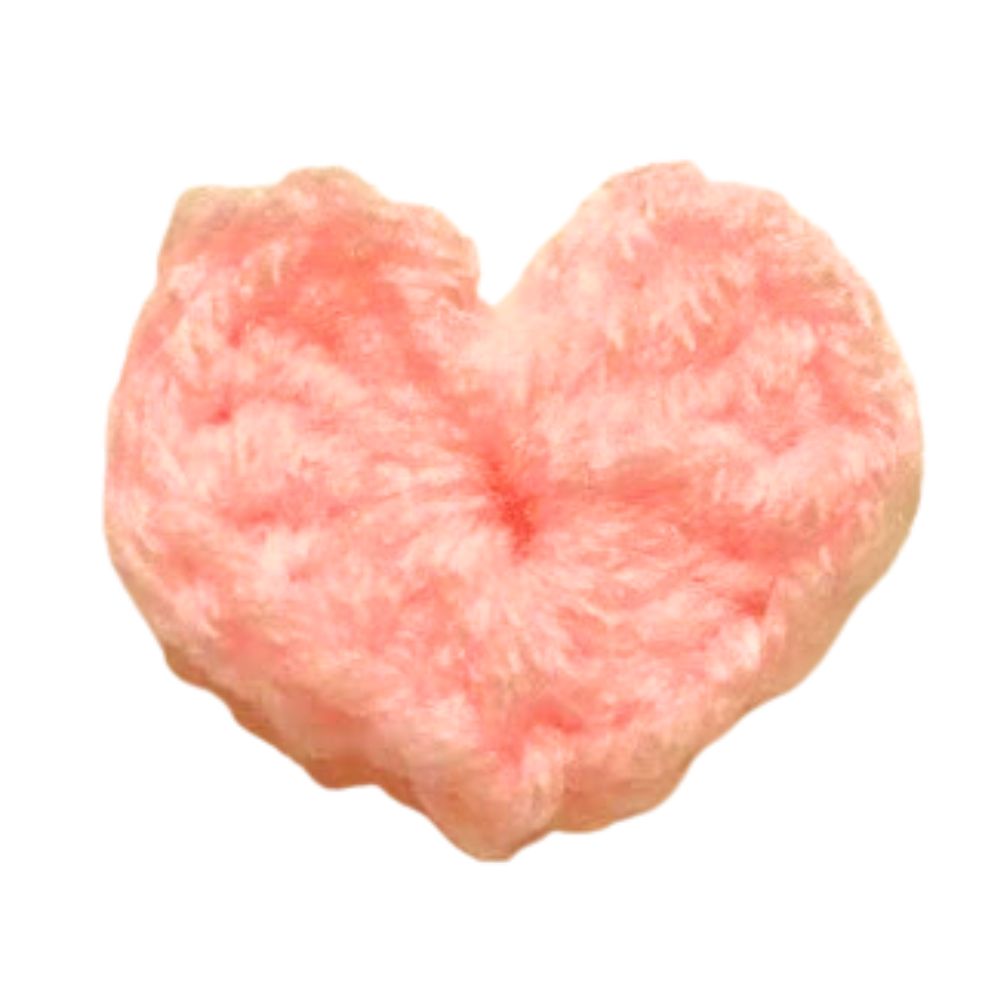
Heart:
E hook, Magic Circle, ch 3 in the magic circle, tr, tr, tr, dc,hdc, hdc, sc, ch 2, sl st, sl st in the 2nd chain from the hook all in the magic circle, Continue: sc, hdc, hdc, dc, tr, tr, tr, ch 3, sl st in the magic circle, ch 1 and pull yarn through, now take the tail from the magic circle and pull tight.
Fasten off and Weave in the ends. Sew on the butterfly on the heart.
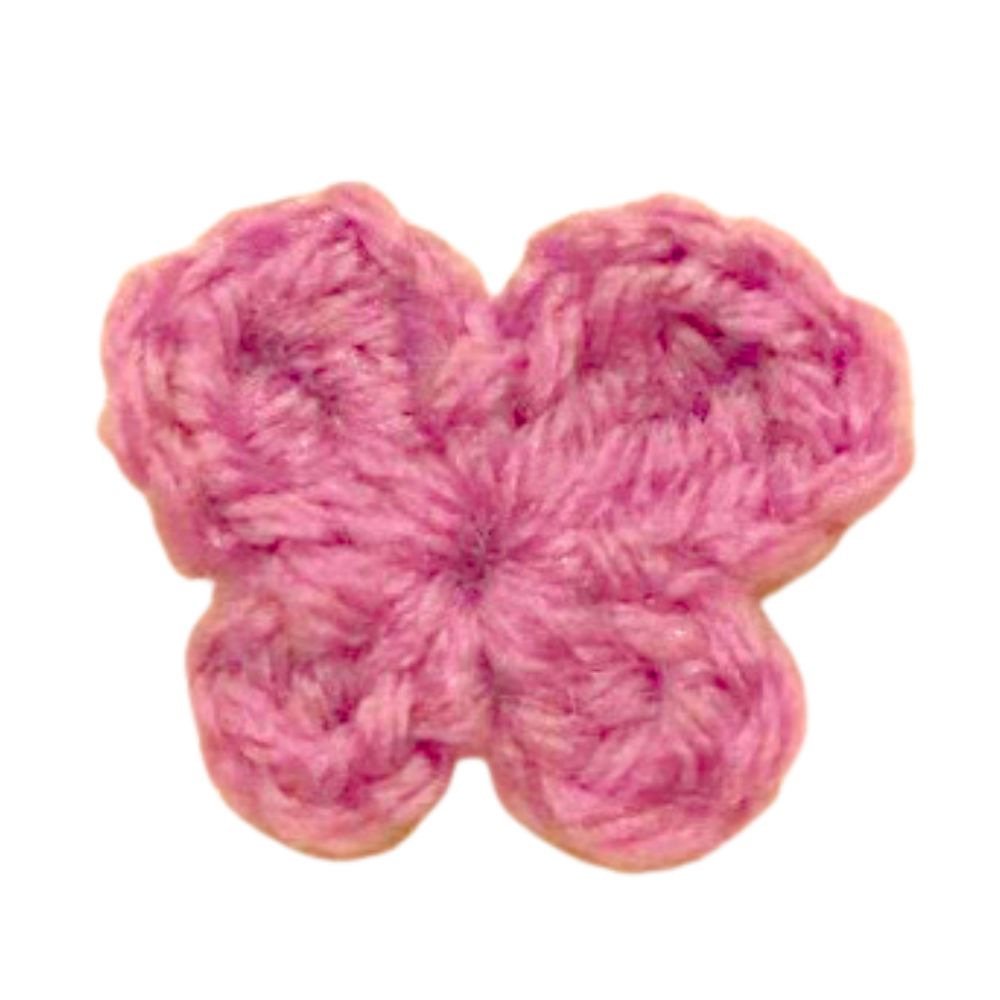
Butterfly:
E hook, Magic Circle, ch 2 in the magic circle, dc, all in the magic circle then ch 2, sl st in the 2nd chain from the hook in the magic circle
Continue: ch 3, tr, tr, ch 3, sl st in the magic circle
Continue: ch 3, tr tr ch 3, sl st in the magic circle
Continue: ch 2, dc, ch 2, sl st, ch 1 pull yarn through to complete, now take the tail from the magic circle and pull tight.
Fasten off and Weave in the ends. Take your yarn needle and sew in the center circle, making dash lines in the center to finish. Sew on the butterfly on the headband.
Print the entry at the top of the page to print the pattern!

- privacy policy: https://amysdiyfrugallife.com/privacy-policy/
- How to Crochet For Beginners Playlist — Click Here: https://www.youtube.com/playlist?list=PLDU4IrQAuYqrUtVH0UWJUUdqljBIUV4ZD
- All Colors of Yarn Click Here: https://amzn.to/3C32rNX
- [Image]: https://amysdiyfrugallife.com/how-to-crochet-a-headband-pattern-tutorial/
- [Image]: https://www.ravelry.com/people/amray767
- [Image]: https://www.awin1.com/cread.php?awinmid=6220&awinaffid=470125&platform=dl&ued=https%3A%2F%2Fwww.etsy.com%2Fshop%2FAmyCreativeCreations%3Fref%3Dseller-platform-mcnav
- [Image]: https://amzn.to/2ILFrGN
- [Image]: https://amzn.to/2HVIis6
Source URL: https://amysdiyfrugallife.com/how-to-crochet-a-baby-butterfly-and-heart-headband-pattern/


