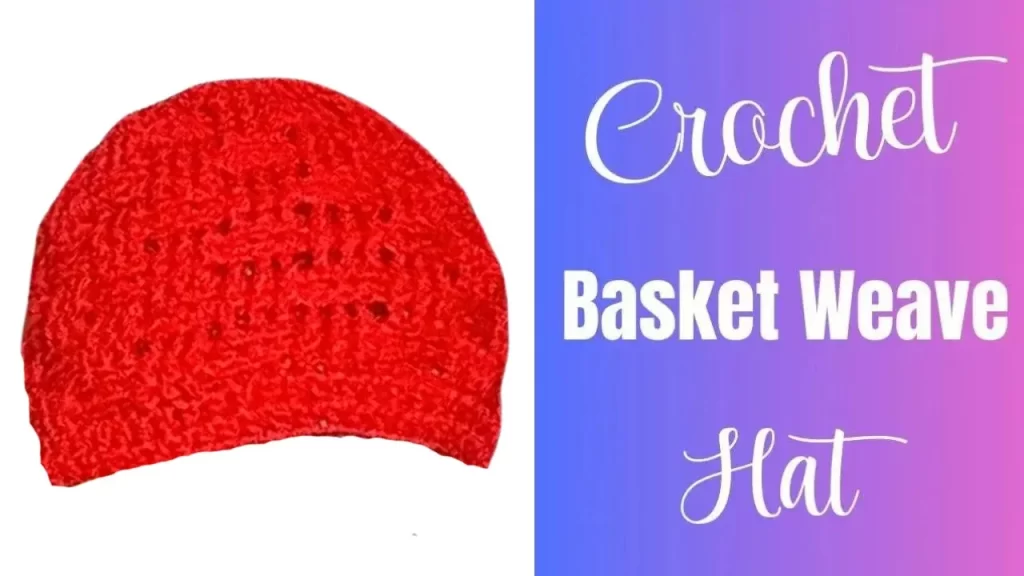
Crochet a Stylish Basketweave Hat: Step-by-Step Guide
by Amy Lehman | October 18, 2023 6:10 am
How to Crochet a Basketweave Hat
Welcome to the crochet world, where creativity and warmth intertwine to create beautiful and functional accessories. In this guide, we’ll explore the art of crocheting a basketweave hat, a timeless and stylish addition to any winter wardrobe. Whether you’re new to crochet or a seasoned enthusiast, this project offers a delightful opportunity to hone your skills and create something special.
With its textured and woven appearance, the basketweave stitch pattern adds a touch of sophistication to this classic winter essential. Not only will you learn how to craft a cozy hat to keep you warm during chilly days, but you’ll also discover the satisfaction of mastering a versatile stitch pattern that can be applied to various crochet projects.
You’ll find affiliate links within this post. If you decide to purchase through these links, I may earn a modest commission at no extra cost. Additionally, please review my privacy policy[1] for more details.
**Choosing the Right Yarn and Hook Size**: The first step in crocheting this hat is selecting the best yarn for the job. You can use a variety of yarn weights, from worsted weight yarn to super bulky yarn, depending on the hat’s intended style and warmth. Be sure to check out our crochet hat size chart to find the perfect fit for your head size.
**Basic Crochet Stitches**: You’ll be using basic crochet stitches like double crochet, chains, and slip stitches to create the basket weave pattern. These stitches will give your hat texture and warmth, making it perfect for the cold weather.
**Basket Weave Stitch Pattern**: The basket weave pattern is achieved by alternating between front loop and back loop stitches. This adds a unique texture to the hat. Don’t forget to use a stitch marker to keep track of your rows, and repeat the row until your hat reaches the desired height. Once you’ve reached the top of the hat, you’ll be shaping it with decreases and slip stitches (sl st). Follow the instructions carefully to ensure a snug and comfortable fit.
✨ We hope you enjoyed these photos! If so, please consider sharing them on Pinterest by clicking the Pin Button on each image. Your support helps us connect with more people and spread creativity. Thank you so much! 💖
Abbreviations:
sc=single crochet
dc=double crochet
sl st=slip stitch
bpdc=back post double crochet
fpdc=front post double crochet
J hook for an Adult size
rnd 1: ch 5- slip stitch to form a ring, ch 3 (counts as a Dc), 11 dc in the magic ring, join with sl st. on top of ch 3. ‑12 sts.
rnd 2. ch 2, dc in same st. as joining, 2dc in each st. around. join with sl st on top of chain 2. ‑24 sts.
Print the Entry on the top of the page to print the pattern!
Click Here for Crochet Hat Patterns[2]

Click Here for Crochet Hat Patterns[4]
After completing the last row, finish off your hat with a slip stitch. Fasten off and use a tapestry needle to weave in the yarn tail, giving your hat a polished look. To make your hat extra special, consider adding a yarn or faux fur pom pom to the top. It’s a fun way to personalize your creation.
Crocheting an easy basket weave hat is a great project for crocheters of all levels. With the free pattern and video tutorial provided, you can create a variety of hat styles, from slouchy hats to classic beanie hats. Don’t forget to share your finished crocheted beanies on social media or join our Facebook group to connect with other crocheters and get inspired by their projects.
In addition, if you purchase yarn or supplies through our affiliate links, you can support our site with a small commission at no extra cost to you. We hope this tutorial has helped you create the perfect crochet hat pattern for the winter season. Happy crocheting! For more crochet patterns, be sure to explore our collection of free crochet hat patterns and other great crochet projects. If you have any questions about our patterns or would like to learn more about our privacy policy, feel free to reach out.
To Find All My Crochet Jewel Patterns, Click Here

Click Here for My Ravelry Patterns


Crochet Hats for Beginners Book For Sale — Click Here

Crochet For Beginners Book for Sale — Click Here
- privacy policy: https://amysdiyfrugallife.com/privacy-policy/
- Click Here for Crochet Hat Patterns: https://amysdiyfrugallife.com/crochet-hat/
- [Image]: https://amysdiyfrugallife.com/34-hat-pattern-tutorials-for-every-style-and-skill-level/
- Click Here for Crochet Hat Patterns: https://amysdiyfrugallife.com/34-hat-pattern-tutorials-for-every-style-and-skill-level/
- [Image]: https://www.ravelry.com/people/amray767
- [Image]: https://www.awin1.com/cread.php?awinmid=6220&awinaffid=470125&platform=dl&ued=https%3A%2F%2Fwww.etsy.com%2Fshop%2FAmyCreativeCreations%3Fref%3Dseller-platform-mcnav
- [Image]: https://amzn.to/2ILFrGN
- [Image]: https://amzn.to/2HVIis6
Source URL: https://amysdiyfrugallife.com/how-to-crochet-a-basket-weave-hat-pattern-tutorial/

