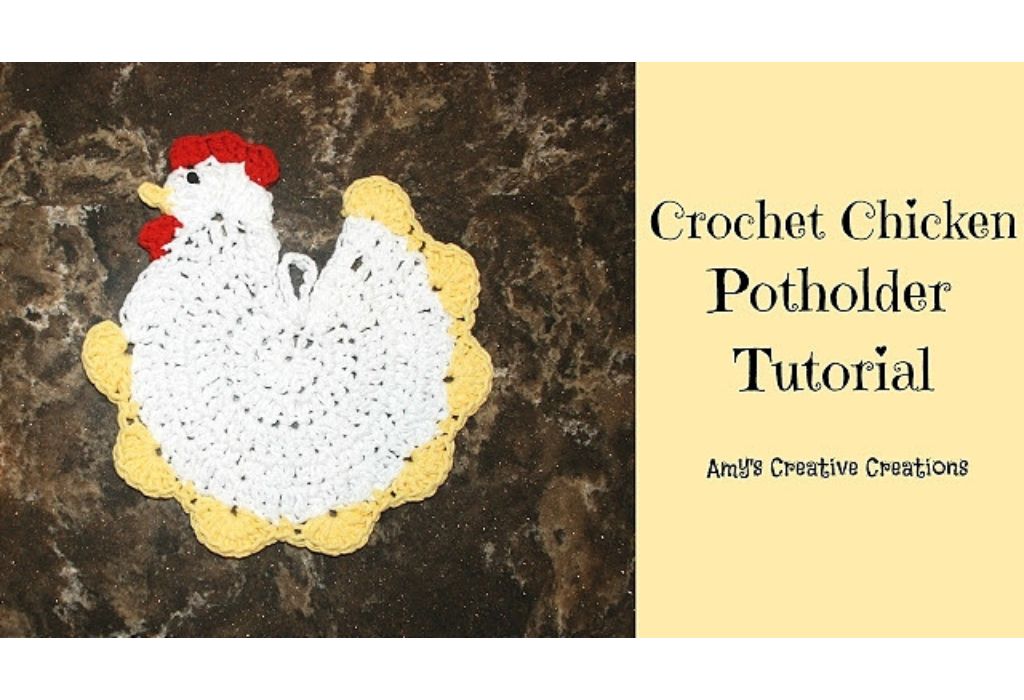
Crochet a Stunning Chicken Potholder: Step-by-Step Tutorial
How to Crochet a Chicken Potholder Pattern
Welcome to our Crochet Chicken Potholder Tutorial, where we’ll embark on a delightful crochet journey to create a functional and charming kitchen accessory. Whether you’re a seasoned crocheter or a beginner, this project is the perfect way to add a whimsy to your kitchen decor while using your crochet skills.
This potholder crochet pattern is perfect for creating a fun and functional crochet pot holder, and for those who love quirky kitchen decor, a crochet chicken potholder adds a charming touch to your cooking space.
This pattern is copyrighted by Amy Lehman. Please do not copy or duplicate this pattern. You are welcome to link back to my pattern, but do NOT post the pattern on your website. Thank you for respecting my work!
Click the Social Icons to Stay Connected
This post contains affiliate links. If you purchase through these links, I may earn a modest commission at no extra cost. Please review my privacy policy for more details.
✨ We hope you enjoyed these photos! If so, please consider sharing them on Pinterest by clicking the Pin Button on each image. Your support helps us connect with more people and spread creativity. Thank you so much! 💖
With our free pattern and step-by-step instructions, even a beginner crocheter can easily tackle this project. We’ve designed this chicken potholder to be a fun and practical addition to your kitchen. The single crochet stitches and continuous rounds create flat circles that mimic the look of a chicken’s body. As you crochet, you’ll witness your chicken potholder taking shape, and soon, you’ll have a set of these adorable hot pads hanging in your kitchen.
Our crochet chicken potholder is a charming decoration that protects your hands and countertops from hot pans. The hanging loop adds functionality, making it easily accessible in your kitchen. Plus, we’ve provided affiliate links to help you find the materials you need to get started. So, whether you’re a farm animal enthusiast, a senior aide who enjoys adding a personal touch to your kitchen, or simply someone looking for a great crochet project, our Crochet Chicken Potholder Tutorial is the perfect choice. Let’s get started on this fun and creative adventure in crochet!
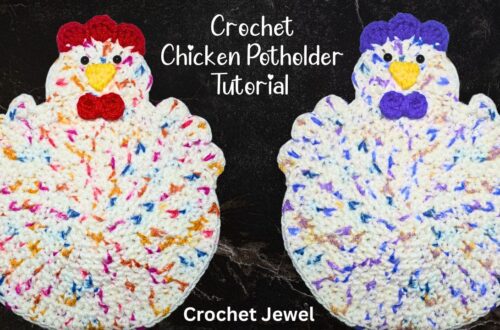
This How to Crochet a Chicken Potholder Tutorial will show you how to create a beautiful crocheted chicken potholder! This potholder is a great way to show your crochet skills and make a lovely gift for someone special. If you’re looking for a simple and easy way to crochet a chicken potholder, this tutorial is for you! This guide will show you how to crochet a chicken potholder, from starting the pattern to finishing the potholder. With this tutorial, you can crochet a beautiful chicken potholder quickly! I’m delighted with how charming this crochet chicken potholder has turned out. It’s a delightful gift and a practical addition to the kitchen.
Click the Links for Your Materials
Materials:
White Cotton Yarn
Yellow Cotton Yarn
Red Cotton Yarn
Black Thread Yarn
- A crochet hook
- A tapestry needle
- Stitch marker
I and H Hook Size
Abbreviations:
ch=chain
dc=double crochet
sc=single crochet
sl st=slip stitch
hdc=half double crochet
In this Crochet Chicken Potholder Tutorial, we’ll walk you through creating an adorable and practical kitchen accessory. This project is ideal for all skill levels, from beginners to seasoned crocheters, and it’s perfect for adding a new look to your kitchen or gifting to fellow farm animal enthusiasts.
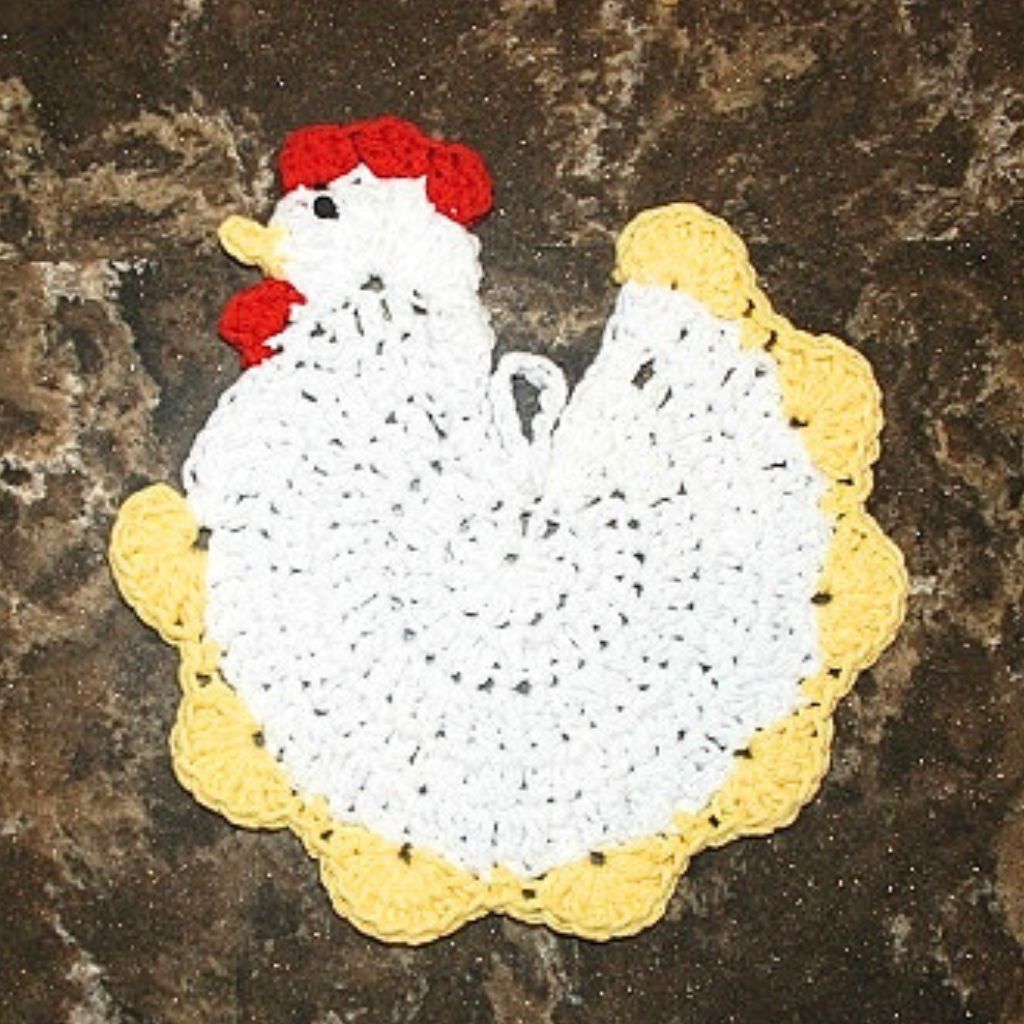
First, you’ll need a free pattern to get started, which you can easily access through our website. We’ve designed this crochet potholder to resemble a cute chicken, and it’s not only a charming addition to your kitchen but also a functional hot pad. Combining single crochet stitches and continuous rounds helps create flat circles that mimic a chicken’s body.
Rnd 1. You can always create two and sew them with a whip stitch to make them thicker.
In Magic Circle work Chain 3(Counts as Dc), work 10 more dc in the circle, Slip Stitch on top of the Chain 3 ‑11 dc
Row 2. Chain 3 (Counts as Dc), dc in the same stitch, 2 dc in the next and each stitch across, Do Not Connect, Turn ‑22 dc
Row 3. Chain 3 (Counts as Dc), work 2 dc in the next, *dc in the next, work 2 dc in the next *Repeat across, Do Not Connect, Turn ‑33 dc
Row 4. Chain 3 (Counts as Dc), *dc in the next stitch, work 2 dc in the next, *work dc in the next two stitches, work 2 dc in the next, *Repeat across, Do Not Connect, Turn ‑44 dc
Row 5. Chain 3 (Counts as Dc), dc in the next two stitches, work 2 dc in the next stitch, *work dc in the next three stitches, work 2 dc in the next stitch, *Repeat across, Do Not Connect, Turn ‑55 dc
Now with a H hook, Sc (or you can slip stitch instead) down toward the center circle along the edge. Then Chain 10 and sl st in the circle. Then sc back up the edge. Skip the beginning Chain 3.
Head: Now Switch back to an I hook, sc, hdc, dc in the same stitch, in the next stitch, dc, work 6 triple crochet, dc in the next stitch, dc, hdc, sc in the next stitch.
Continue on, sc in the next 7 stitches, then sl st in the next and fasten off.
Top of Head: Sl st with Red Cotton Yarn, in the 4 stitch which is a previous dc from Head Row, work hdc, dc, hdc in that stitch, skip next stitch, work hdc, dc, hdc in the next, skip next, work hdc, dc, hdc in the next, ch 1, fasten off.
Beak: After the Top of the head, skip a stitch, sl st with Yellow Yarn, with H hook, Chain 3, sc in the 2nd chain from the hook, sl st in the next chain, sl st in the next stitch, ch 1, Fasten off.
Eye: Thread Black yarn, Take Needle and Thread and sew in an eye on the top of head.
Waddle: H hook, Skip next stitch after the Beak, sl st with the Red Yarn, sc in the next stitch, hdc, dc, sc in the same stitch, sl st in the next stitch, ch 1, Fasten off.
Shells: Sl st with Yellow yarn in the sl st of sl st from the 7 sc from the head, work 7 dc in the stitch, skip two stitches, sc, skip two stitches, *work 7 dc in the next stitch, skip two stitches, sc in the next, skip two stitches,*Repeat around to end, Last one, then sl st in the next stitch. Fasten off.
Weave in all your Ends with a Yarn Needle! I hope you enjoyed this free crochet chicken potholder pattern!
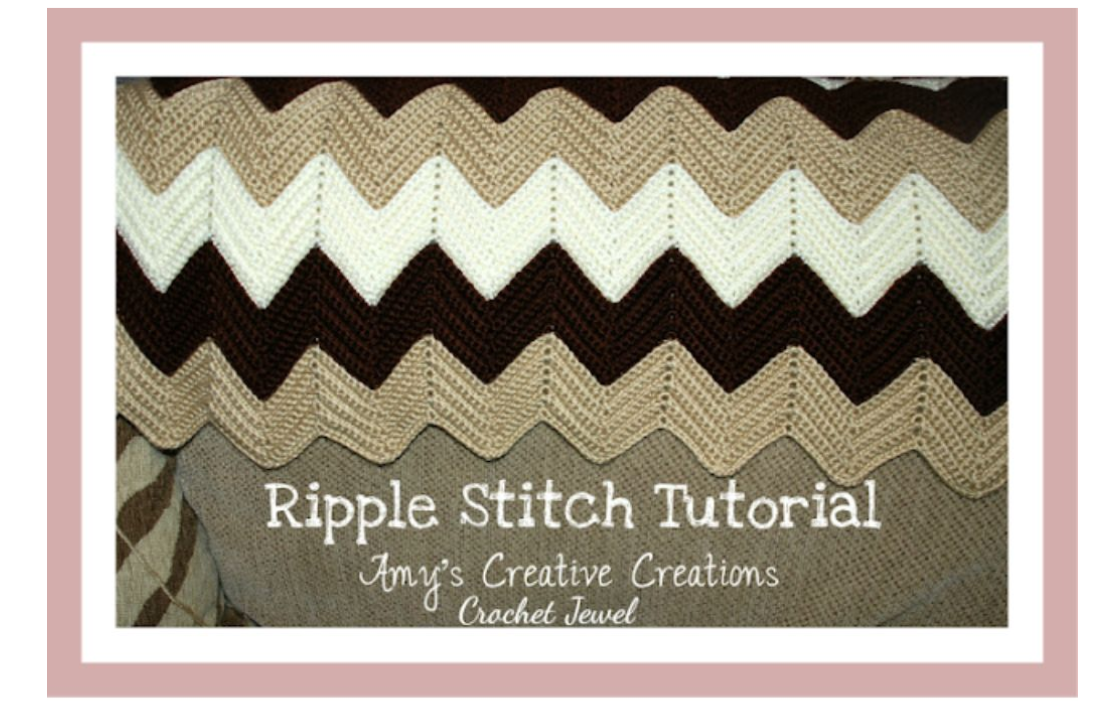
Click Here for the Ripple Pattern
For beginners, don’t be intimidated! This project is easy, making it a great way to start your crochet journey. You can begin crafting this fun and functional pot holder with some cotton yarn, a size H hook (or a larger one if you prefer), and your trusty yarn needle.
We’ve also included a hanging loop for easier access in your kitchen, and our affiliate links can help you find the materials you need. For more crochet inspiration and tips, join our Facebook group, where fellow crocheters share their favorite features and ideas.
This crochet chicken potholder tutorial is a fantastic project to add a touch of farm animal charm to your kitchen, and it’s a super-liked creation for sure! So, let’s grab our cotton yarn and crochet hooks and start on this delightful journey to create chicken potholders that will protect your hands and add a touch of whimsy to your kitchen.
In conclusion, this Crochet Chicken Potholder Tutorial provides an excellent opportunity for beginners and experienced crocheters to create a charming and functional kitchen accessory. The free pattern and easy-to-follow instructions make it accessible for all skill levels, and the resulting chicken potholder adds a delightful new look to your kitchen. The hanging loop ensures easy access, and you can find the necessary materials through our affiliate links.
With a touch of farm animal charm and a creative twist, this project is a fantastic way to combine practicality with whimsy. Whether using it to handle hot pans or simply as a decorative accent, these chicken potholders will surely bring a smile. So, pick up your crochet hooks, gather your materials, and enjoy the process of crafting these adorable chicken potholders for your kitchen or to share with friends and fellow crochet enthusiasts. Happy crocheting!
I absolutely love Amazon for its unbeatable Crochet deals and amazing selection!—click here to discover your next great deal!
Amazon Prime: Unlock fast, free shipping, exclusive Prime Video shows, and more with Amazon Prime! Click here to start your 30-day free trial today!
Audible Plus: Access thousands of audiobooks and podcasts with Audible Plus! Click here for Audible Plus on Amazon!
Kindle: Discover millions of books with Kindle—read anywhere, anytime! Click here to buy on Amazon!
Amazon Prime Video: Enjoy unlimited streaming of top movies and TV shows with Amazon Prime Video! Click here to start watching!
Amazon Music: Stream millions of songs and playlists with Amazon Music! Click here to start listening!
To Find All My Crochet Jewel Patterns, Click Here
Click Here for My Ravelry Patterns
Crochet Hats for Beginners Book For Sale — Click Here
Crochet For Beginners Book for Sale — Click Here


