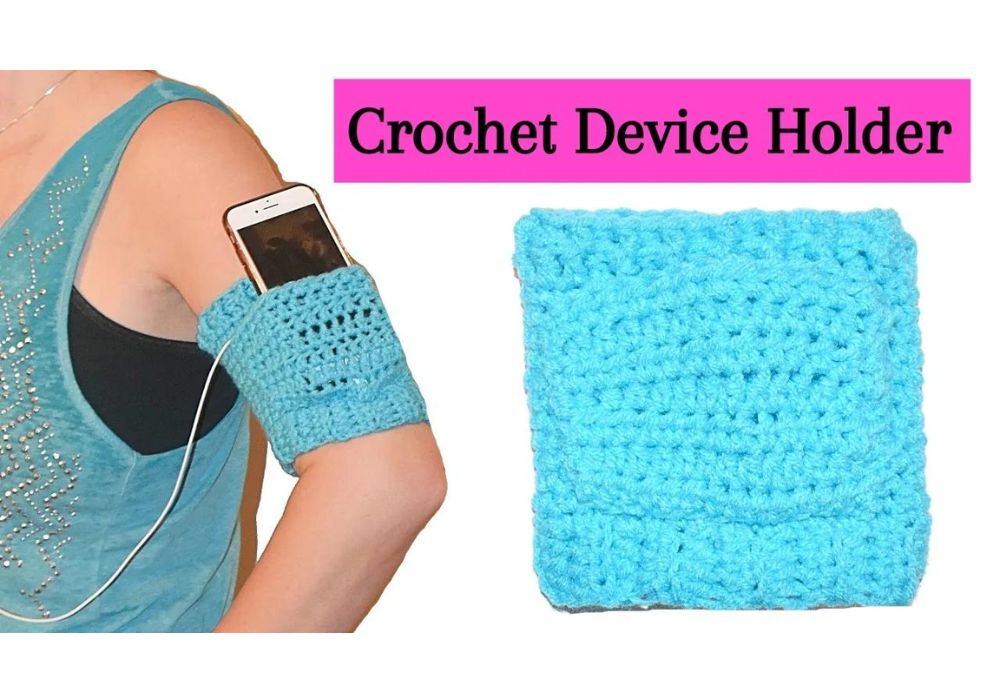
How to Crochet a Device Holder Tutorial for Beginners
How to Crochet a Device Holder
Crocheting a device holder is a fantastic and practical project for beginners who want to blend creativity with functionality. Whether you’re a tech enthusiast or simply looking for a handmade touch to your gadgets, this tutorial will guide you through the process step by step. With just a few basic crochet techniques, you can craft a stylish and personalized device holder that suits your taste and protects your favorite gadgets.
You’ll find affiliate links within this post. If you decide to purchase through these links, I may earn a modest commission at no extra cost. Additionally, please review my privacy policy for more details.
To begin this crochet journey, gather your materials: a crochet hook, yarn in your chosen color, and the device you want to create a holder for. Choose a yarn that complements your style and offers the right amount of durability for your device’s protection. Worsted weight yarn is famous for its balance of thickness and flexibility.
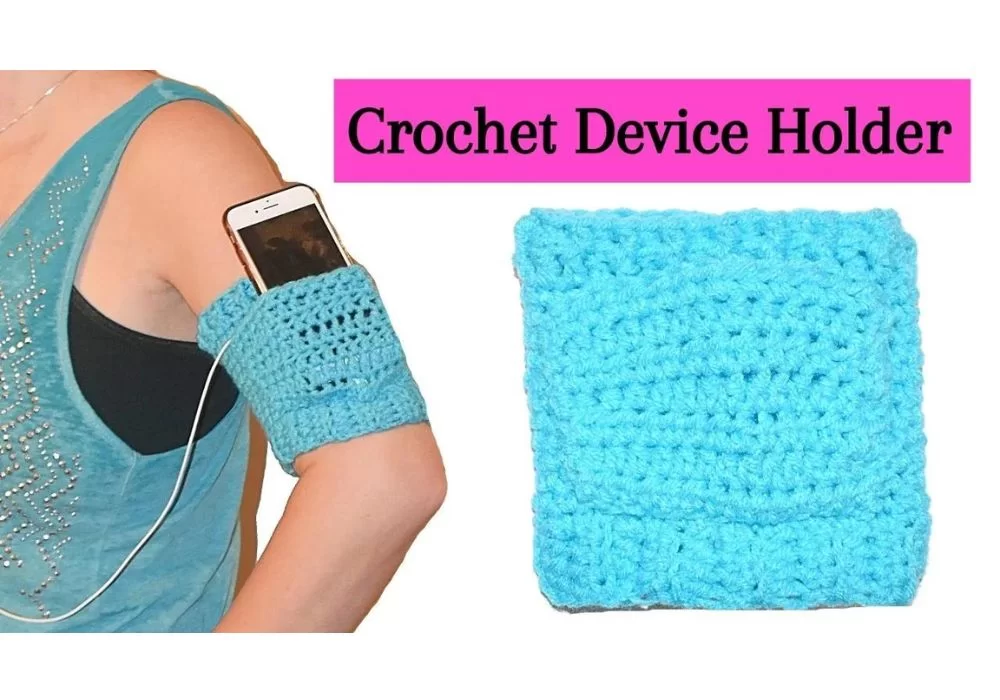
I created this crochet device holder with an H hook and medium worsted yarn. Ensure your pocket can hold your device so it doesn’t fall out! I love how it fits nicely onto my arm. The cuff part of the pattern will determine the size of your holder’s sleeve. I uploaded a video if you need more help. Crochet is a versatile craft that can be used to create a variety of accessories.
This accessory is perfect for your next outfit. It’s simple to crochet, so you’ll have it done in no time. Get ready to take your crochet skills to the next level!
✨ We hope you enjoyed these photos! If so, please consider sharing them on Pinterest by clicking the Pin Button on each image. Your support helps us connect with more people and spread creativity. Thank you so much! 💖
How to Watch Videos in Slow Motion — if the video is too fast — Click Here!
How to Crochet For Beginners Playlist — Click Here
Click the Links for Your Materials
All Colors of Yarn Click Here
- Crochet hook
- Tapestry needle
- Stitch marker
H hook, Chain 5, hdc in the 2nd chain from the hook, hdc in each chain across, Turn
Rows 2–35: Ch1, hdc in each stitch across, Turn
Now, Make sure that goes around your arm. If not, make it bigger or smaller, depending on your arm size.
Sew the ends together. Now sc around the border.
Rnds 2–12: sc in each stitch around, continual rounds
Cuff: Ch 3, dc in each stitch around, sl st on top of the ch 3.
Next Rnd, back post dc around the dc, front post dc in the next, Alternate between the back and front post dc
Fasten off. Weave in your ends.
Pocket: H hook
Chain 15, make sure fits your phone across.
Row 2: hdc in each chain across, Turn
Rows 3–7: hdc in each stitch across. Turn
Then, sew on your pocket in between the cuffs.
Print the entry at the top of the page to print the pattern!
How to Crochet Cowls and Scarf Patterns — Click Here
Start with a slipknot and create a foundation chain that matches the width of your device. This will be the base of your holder. Once the foundation chain is complete, work in rows, using basic crochet stitches like single crochet or half-double crochet. Adjust the stitch count to ensure a snug fit for your device.
Consider incorporating simple stitch patterns or color changes to add visual interest to your holder. This is where you can unleash your creativity and make the project uniquely yours. If you’re feeling adventurous, try experimenting with different textures or adding a button closure for extra security.
As you work through the tutorial, pay attention to the sizing and test the fit periodically. The goal is to create a snug and secure pocket for your device. Feel free to customize the length and add embellishments matching your style.
Congratulations! You’ve just completed your very own crocheted device holder. This beginner-friendly tutorial has equipped you with the skills to protect your gadgets and express your creativity through handmade craftsmanship. As you admire your finished project, revel in the satisfaction of creating a functional and personalized accessory that seamlessly blends technology with the timeless art of crochet. Whether you’ve made it for yourself or as a thoughtful gift, your handcrafted device holder will surely be a unique and cherished addition to your crochet repertoire.
To Find All My Crochet Jewel Patterns, Click Here
Click Here for My Ravelry Patterns
Crochet Hats for Beginners Book For Sale — Click Here
Crochet For Beginners Book for Sale — Click Here


