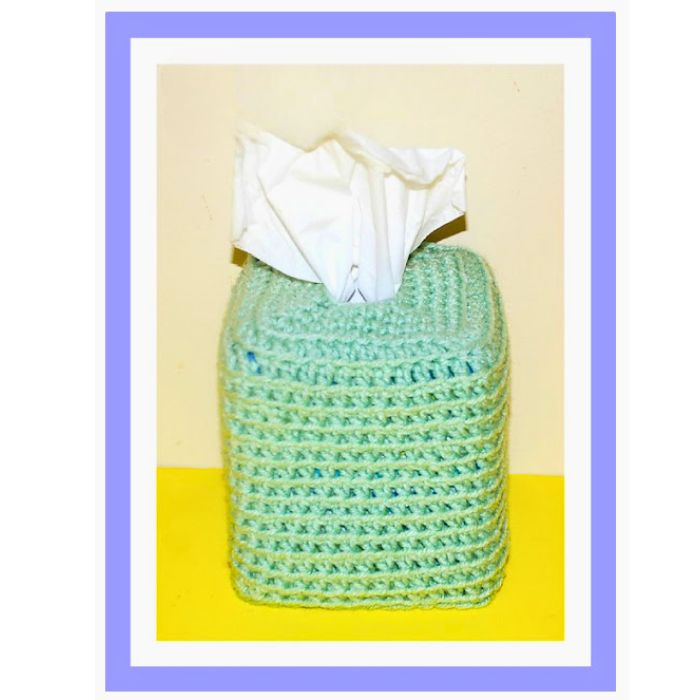
Crochet a Cozy Tissue Box Cover: Step-by-Step Guide
How to Crochet a Tissue Box Cozy
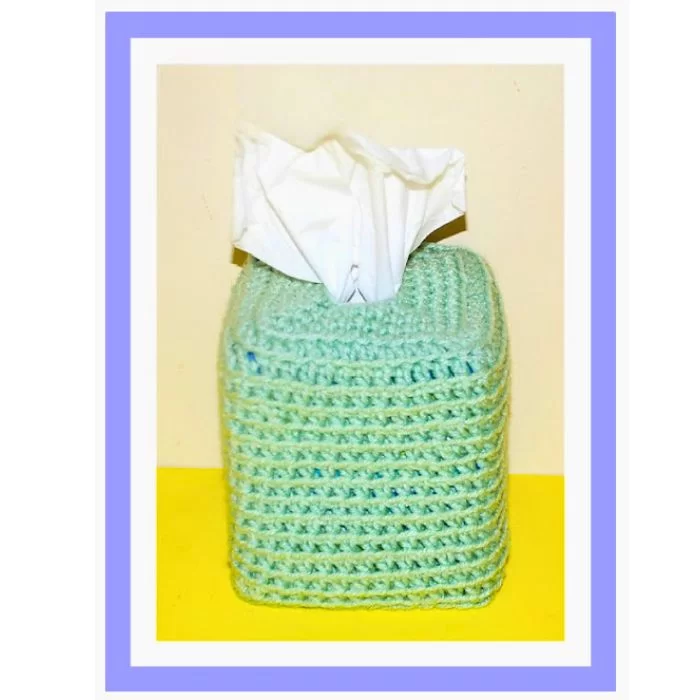
Crochet tissue box covers are a fun and practical project that can add a touch of personality and charm to your home decor. This free crochet pattern will guide beginner crocheters through creating a cozy tissue box cover using worsted weight yarn and basic crochet stitches like single crochet (sc) and slip stitch (sl st). Whether making one for personal use or to give as a thoughtful gift, this project is a great way to showcase your crochet skills.
Within this post, you’ll find affiliate links. If you decide to purchase through these links, I may earn a modest commission at no extra cost. Additionally, please review my privacy policy for more details.
✨ We hope you enjoyed these photos! If so, please consider sharing them on Pinterest by clicking the Pin Button on each image. Your support helps us connect with more people and spread creativity. Thank you so much! 💖
Body:
**Materials Needed:**
- Worsted weight yarn in your preferred color
- K crochet hook
- Yarn needle
How to Crochet For Beginners Playlist — Click Here
Click the Links for Your Materials
All Colors of Yarn Click Here
- Crochet hook
- Tapestry needle
- Stitch marker
K hook
Red Heart Light Green yarn
Tissue Box, Fits standard square tissue boxes that are 4 ½” x 4 ½” x 5”, I bought a Great Value Facial Tissues, Each Sheet 8.2 IN X 8.4 IN (20.8 cm X 21.3 cm)
sl st=slip stitch
Rnd 1: sc in the same st as the first chain and next 3 sts, work 3 sc in the next, *sc in the next 4 sts, 3 sc in the next st, Repeat from *. Join to the first sc. ‑28 sc
Rnd 2: *sc in the next 6 sc, work 3 sc in middle of the last 3 sc, *Repeat around. Join to the first sc.
Rnds 3–4: Repeat Round 2 for a total of 2 times. But instead of the sc in the next 6 sc, it will be the sc in next 7 sc, and the last round it will be sc in the next 8 sc, After round 4, you will have 52 sc.
Rnd 5: Ch 2, hdc each sc back loop st around. Join to the top of the ch 2.
Rnd 6: Ch 2, hdc in each back loop hdc around. Join to the top of the ch 2.
Rnds 8–18: Repeat round 6 for a Total of 11 times.
Rnd 19: Ch 1, sc in each back loop around, sl st. Fasten off. Weave in your ends. Place the Cover in your tissue box.
Print the entry at the top of the page to print the pattern!
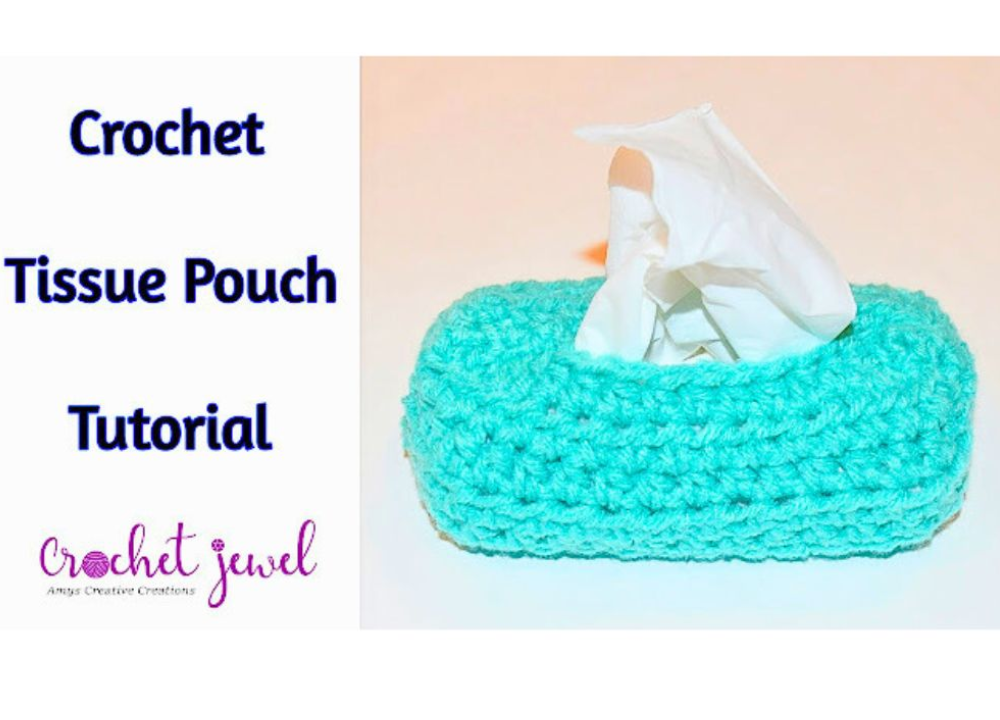
Fold your crocheted piece in half and seam up the sides, leaving an opening for the tissues. Slip stitch the top and bottom edges to secure them. Weave in any loose ends with a yarn needle.
Click Here for the Crochet Pouch Pattern
Don’t forget to explore free crochet patterns on your favorite platforms, like Ravelry, to find inspiration for your crochet tissue box covers. For beginner crocheters, video tutorials on YouTube channels can be incredibly helpful in mastering stitches like single crochet, double crochet, and slip stitch. The ripple tissue box pattern adds an appealing texture to your project, while the horizontal opening at the end of each row ensures easy access to your pack of tissues. Finish your project neatly with a slip stitch and a yarn needle, and don’t forget to make a matching lid cover to complete the set. Crocheting these covers can become one of your Ravelry favorites, and you might find yourself hooked on creating more using different colors and stitch variations.
Crocheting your own Kleenex tissue box cover cozy is a great way to keep your tissues handy and stylish and a fantastic project for beginner crocheters. You can personalize it with your favorite yarn colors and patterns. Feel free to explore different ripples and textures, and don’t forget to check out video tutorials on platforms like YouTube to assist you with the process. These crochet tissue box covers make fantastic gifts and can be added to your Ravelry favorites. Enjoy your crafting journey!
To Find All My Crochet Jewel Patterns, Click Here
Click Here for My Ravelry Patterns
Crochet Hats for Beginners Book For Sale — Click Here
Crochet For Beginners Book for Sale — Click Here


