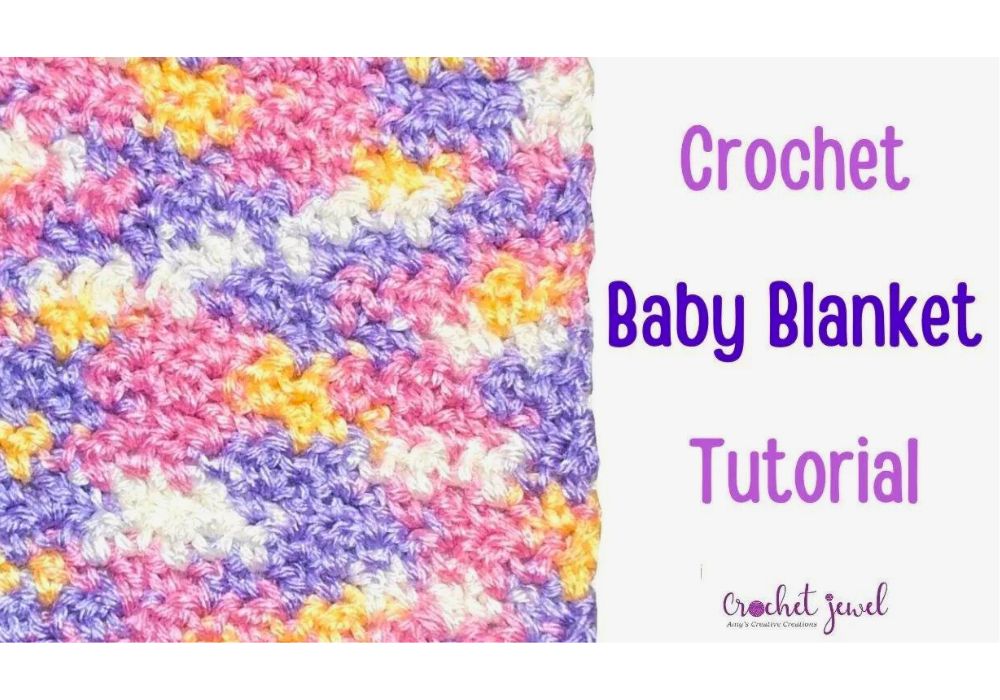
How to Crochet a Seed Stitch Blanket Afghan Tutorial
Crochet a Seed Stitch Blanket
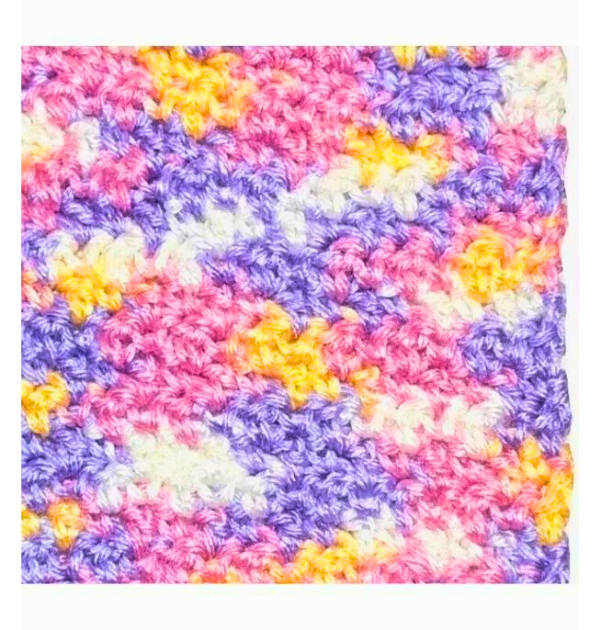
The seed stitch blanket is a classic, versatile knitting project that produces a beautifully textured fabric. With its simple yet elegant pattern, the seed stitch creates a cozy and inviting blanket perfect for snuggling up on chilly evenings or adding a decorative touch to any room.
Its unique texture sets the seed stitch apart. It is achieved by alternating knit and purl stitches in a checkerboard-like pattern. This results in a fabric with tiny raised bumps resembling the seeds of a plant, hence the name “seed stitch.” The texture adds visual interest and provides extra warmth and softness, making the seed stitch blanket visually appealing and tactilely pleasing.
You’ll find affiliate links within this post. If you decide to purchase through these links, I may earn a modest commission at no extra cost. Additionally, please review my privacy policy for more details.
✨ We hope you enjoyed these photos! If so, please consider sharing them on Pinterest by clicking the Pin Button on each image. Your support helps us connect with more people and spread creativity. Thank you so much! 💖
**Choosing the Right Yarn:**
When starting your crochet blanket, the type of yarn you select is crucial. Consider using bulky or chunky yarn for a warm and cozy blanket. Worsted weight yarn is another popular choice, and acrylic yarn is readily available in various colors. The yarn weight you choose will determine your afghan’s overall look and feel.
**Basic Crochet Stitches:**
For beginners, it’s essential to start with simple stitches. The single crochet, double crochet, and chain stitches are the foundation of most crochet blankets. You can experiment with these basic crochet stitches to create different textures and patterns in your blanket.
**Color Changes:**
Adding different colors to your crochet blanket can make it visually appealing. You can create stripes, patterns, or unique designs by changing colors at specific points in your project. Just be sure to weave in your yarn ends neatly to maintain a tidy appearance.
**Starting Your Project:**
Begin with a starting chain, then work your first row of stitches. The turning chain is vital to the structure of your blanket, ensuring that each row is level and consistent.
How to Watch Videos in Slow Motion — if the video is too fast — Click Here!
How to Crochet For Beginners Playlist — Click Here
Click the Links for Your Materials
All Colors of Yarn Click Here
- Crochet hook
- Tapestry needle
- Stitch marker
I will use an H hook for this project. However, you can use any yarn and hook for this stitch. To get started, you must begin with a slip knot onto your hook and create a chain with an odd number. In this demonstration, I’ll use a chain of 15.
Now, let’s begin with a single crochet. In the second chain from the hook, create a single crochet by inserting your hook, grabbing the yarn, pulling it through, and then yarn over to pull through two loops. After that, yarn over and create a double crochet in the next chain by pulling through the loop, then yarn over and pull through two loops twice. Continue alternating between a single crochet and a double crochet: single, double, single, double, until you reach the end, finishing with a double crochet.
Chain one and turn your work. In the first stitch, work a single crochet, followed by a double crochet in the next. Since you’re right on top of the previous single crochet, you’re doing the opposite now: double, single, double, single, and so on. Keep alternating until you reach the end of the row.
To finish the row, ensure the last stitch corresponds to a double crochet. Chain one, turn your work, and repeat each row the same way. Start with a chain one, a single crochet in that same stitch, and then a double crochet in the next. Continue alternating between single and double crochets until you reach the end.
That’s how you create this type of stitch. Thank you for watching, and please subscribe if you haven’t already done so. To complete your project, finish the very end with a double crochet.
**Changing Colors (Optional):** If you wish to incorporate multiple colors, change your yarn color at the end of a row, ensuring you complete the row’s last single crochet with the new color. Weave in any loose ends as you go along.
Print the entry at the top of the page to print the pattern!


