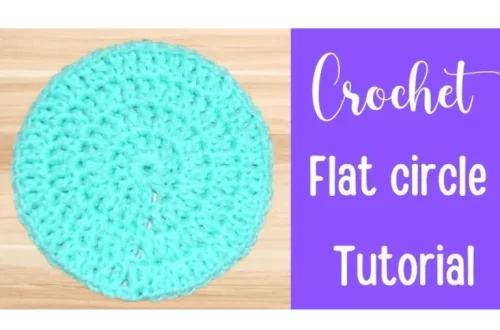
Crochet a Stunning Spiral Flower Coaster: Step-by-Step Guide
How to Crochet a Flower Coaster
Introducing our latest crochet creation: the Crochet Spiral Flower Coaster! This delightful accessory brings a touch of handmade charm to your table settings while serving a practical purpose. Crafted with care and creativity, these coasters feature intricate spiral flower designs that impress your guests. Join us as we explore the art of crochet and learn how to create these beautiful coasters, perfect for adding a pop of color and personality to any dining experience. Let’s dive into this fun and rewarding crochet project together!
This post contains affiliate links. If you purchase through these links, I may earn a modest commission at no extra cost. Please review my privacy policy for more details.
Are you a beginner in the crochet world, looking for an easy and fun project to start your crochet journey? Or maybe you’re an advanced crocheter seeking a quick, satisfying crochet project. Well, you’re in the right place! This tutorial will guide you through creating beautiful crochet coasters using a simple pattern and basic stitches. Crochet coasters are practical for protecting your coffee table from hot or cold drinks, but they also make great gifts and can be a delightful addition to your home decor. We’ll be using a combination of words like “sl st,” “cotton yarn,” “double crochet,” and more to help you create a unique look for your coasters. So, grab your favorite yarn and a crochet hook, and let’s start on this easy crochet coaster pattern.
✨ We hope you enjoyed these photos! If so, please consider sharing them on Pinterest by clicking the Pin Button on each image. Your support helps us connect with more people and spread creativity. Thank you so much! 💖
**Materials Needed:**
To begin your crochet coaster project, you’ll need a few materials. Gather some cotton yarn or a cotton blend, which is the best yarn for absorbing moisture from your drinks. You can also use worsted-weight yarn if you prefer. A 4 mm crochet hook (or the appropriate size for your yarn) will work perfectly for the hook.
**Basic Stitches:**
We’ll use basic crochet stitches, such as “double crochet” and “single crochet stitches,” to create our round coasters. These stitches are perfect for crochet beginners and make for a simple pattern.
**Color Variations:**
Don’t hesitate to get creative with your coasters by using different colors. You can make a set of coasters in various colors or even experiment with a contrasting color for the edging. It’s a great way to use smaller yarn or tackle a scrap yarn project.
**Pattern Details:**
The pattern is easy to follow and written in US crochet terms. For beginners, this is a perfect opportunity to learn the crochet language.
**Repeat Rows:**
You’ll repeat rows to create the circular shape of your coasters. This is the best part, as the pattern becomes more intuitive with each round.
How to Watch Videos in Slow Motion — if the video is too fast — Click Here!
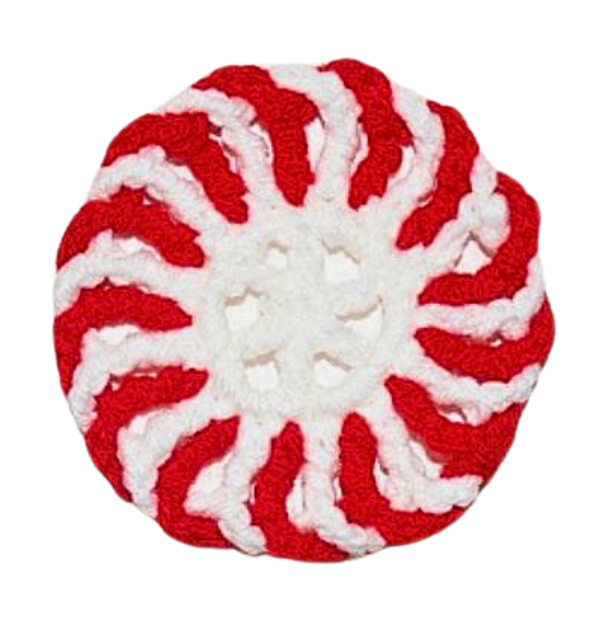
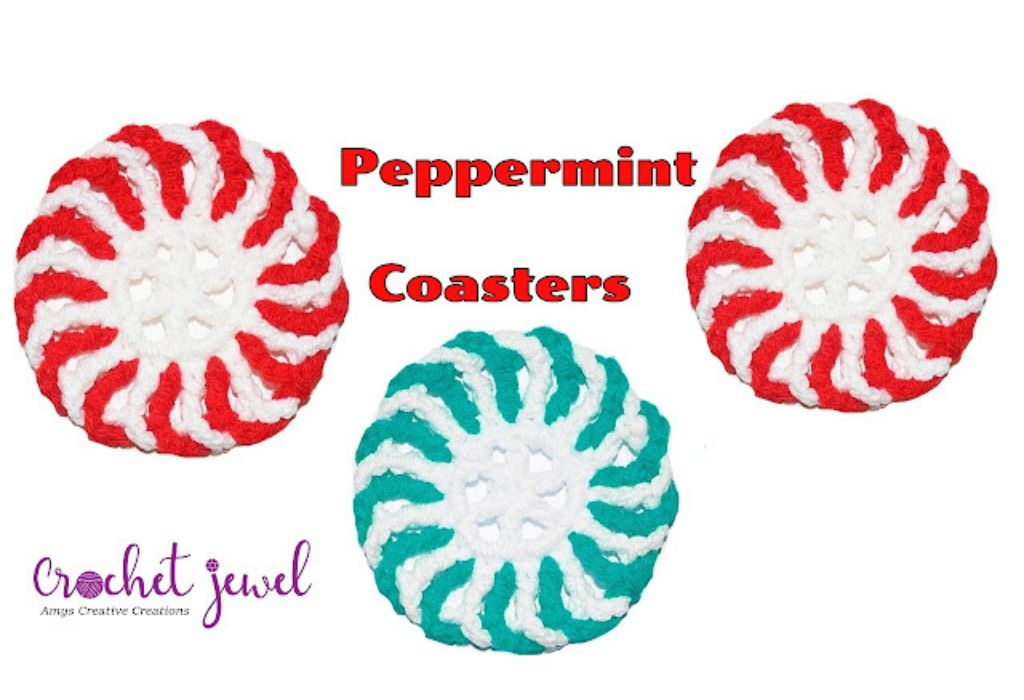
I created these crochet peppermint coasters with a G hook and medium worsted yarn. These spiral coasters are great for gifts and holidays. These crochet spiral coasters turned out so cute!
Click the Links for Your Materials
Rnd 4: ch 6, skip next stitch, tr in the next stitch, *ch 4, skip the next stitch, tr in the next stitch, *Repeat around, end with a ch 4, sl st in ch 4, Fasten off
Fasten off. Weave in your ends. I hope you enjoyed these crochet spiral coasters!
Print the entry at the top of the page to print the pattern!
To complete the pattern, you must weave in your yarn ends with a tapestry needle. It’s the last step to make your coasters look polished and ready for use.
Now, you have all the information you need to create a beautiful set of crochet coasters. These easy crochet coasters are a perfect project for beginners and a quick and satisfying endeavor for advanced crocheters. The best part is that they make great gifts; you can personalize them by choosing different colors or working with leftover yarn. So, pick your favorite yarn, grab your 4 mm crochet hook, and get started on this easy crochet coaster pattern. Happy crocheting! If you’d like a guided video tutorial or a free PDF of this pattern with affiliate links to the best yarn options, you can find those online to enhance your crochet skills and enjoy this fun and practical home decor project.
To Find All My Crochet Jewel Patterns, Click Here
Click Here for My Ravelry Patterns
Crochet Hats for Beginners Book For Sale — Click Here
Crochet For Beginners Book for Sale — Click Here


