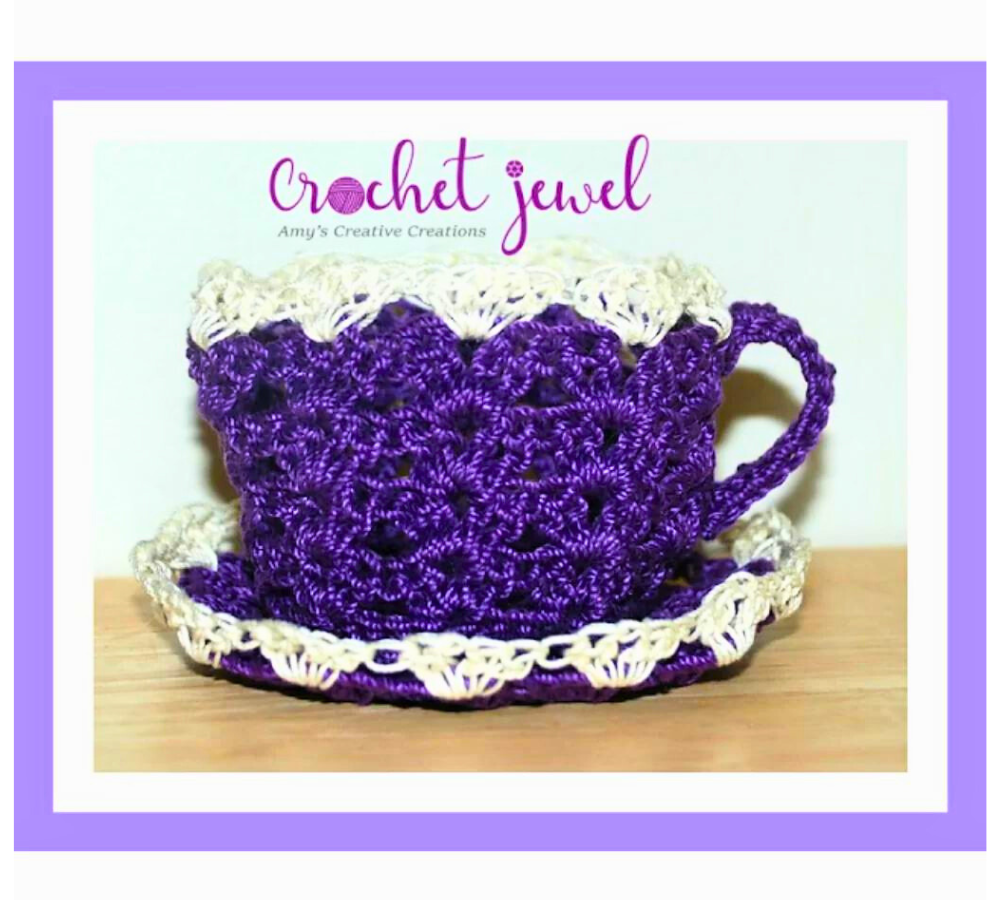
How to Crochet a Stunning Tea Cup Pattern
by Amy Lehman | November 16, 2023 2:00 am
How to Crochet a Tea Cup!
To begin your crochet tea cup journey, gather your materials. You’ll need yarn in your preferred color, an appropriately sized crochet hook, and a yarn needle. Choose a yarn that complements your taste—perhaps a soothing pastel for a classic look or a vibrant hue to add a modern twist.
You’ll find affiliate links within this post. If you decide to purchase through these links, I may earn a modest commission at no extra cost. Additionally, please review my privacy policy[1] for more details.
Start with the base of the teacup, creating a sturdy foundation for the project. Employ basic crochet stitches, such as single or half-double crochet, to craft a solid and stable bottom. Experiment with stitch patterns to add texture and visual interest as you progress to the sides. Consider incorporating shell stitches or simple lacework for a touch of elegance.
Moving on to the body of the teacup, pay attention to the shape to capture the distinctive form. Adjust the stitch count and placement strategically to achieve the desired curve, mimicking the gentle slope of a real teacup. You can customize the size and style according to your preferences, making it a unique piece that reflects your flair.
Rnd 1: chain 2, work sc in the 2nd chain from the hook, sc in 9 more times, sl st ‑10 sc
Rnd 2: work 2sc in each sc around, sl st ‑20 sc
Rnd 3: sc in each sc around, sl st ‑20 sc
Rnd 5: *sc in the next two sc, 2sc in the next sc, *Repeat around, sl st ‑40 sc
Rnd 6: sc in each front loop around, sl st ‑40 sc
Rnd 7: Ch 2(counts as a dc), dc, ch 1, 2 dc (shell made), *skip 3 sc, 2 dc, ch 1, 2 dc, sl st. *Repeat around
Rnd 8: Sl st into the chain 1 space, Ch 2(counts as a dc), dc, ch 1, 2 dc (shell made), 2 dc, ch 1, 2 dc in the next chain 1 space, sl st. *Repeat around
Rnds 9–10: *Repeat Rnd 8 Twice
Rnd 1: chain 2, work sc in the 2nd chain from the hook, sc in 9 more times, sl st ‑10 sc
Rnd 2: work 2sc in each sc around, sl st ‑20 sc
Rnd 3: sc in each sc around, sl st ‑20 sc
Rnd 4: *sc, 2sc in the next sc, *Repeat around, sl st ‑30 sc
Rnd 5: *sc in the next two sc, 2sc in the next sc, *Repeat around, sl st ‑40 sc
Rnd 7: *sc in the next four sc, 2sc in the next sc, *Repeat around, sl st ‑60
Rnd 8: *sc in the next five sc, 2sc in the next sc, *Repeat around, sl st ‑70
Rnd 9: Ch 2(counts as a dc), dc, ch 1, 2 dc (shell made), *skip 3 sc, 2 dc, ch 1, 2 dc, sl st. *Repeat around
Print the entry at the top of the page to print the pattern!
Enhance the teacup’s visual appeal by adding handles, perhaps opting for a classic curved design or a more whimsical touch. The handle serves a functional purpose and contributes to the overall aesthetic. Secure it firmly to the sides, ensuring it complements the proportions of your crochet creation.
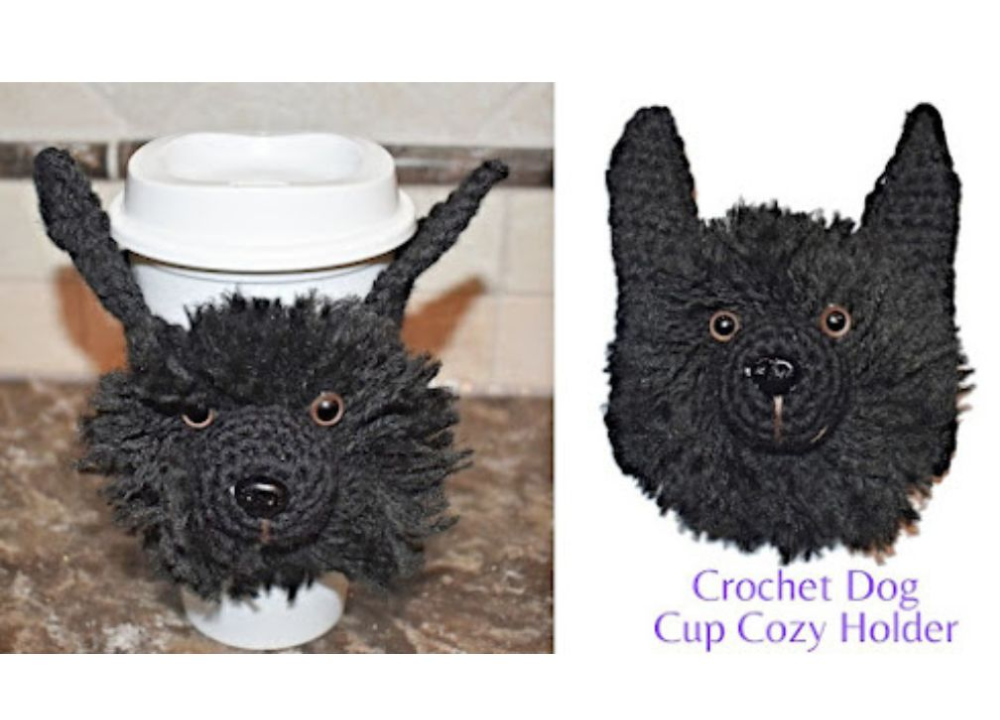
Click Here for the Dog Cup Cozy Pattern
Crocheting a tea cup is a rewarding and enjoyable project that allows you to blend practicality with artistic expression. As you finish your teacup masterpiece, take a moment to appreciate the craftsmanship and the joy it will bring to your teatime rituals or make for a thoughtful handmade gift. With this crochet tea cup, you’ve crafted a functional item and a piece of art that embodies the warmth and creativity of handmade craftsmanship.
To Find All My Crochet Jewel Patterns, Click Here

Click Here for My Ravelry Patterns

- privacy policy: https://amysdiyfrugallife.com/privacy-policy/
- [Image]: https://www.ravelry.com/people/amray767
- [Image]: https://www.etsy.com/shop/AmyCreativeCreations?ref=seller-platform-mcnav
Source URL: https://amysdiyfrugallife.com/how-to-crochet-a-tea-cup-pattern/


