How to Crochet a Cute Hello Kitty Amigurumi Plushie Pattern
by Amy Lehman | November 22, 2023 2:23 am
How to Crochet a Hello Kitty
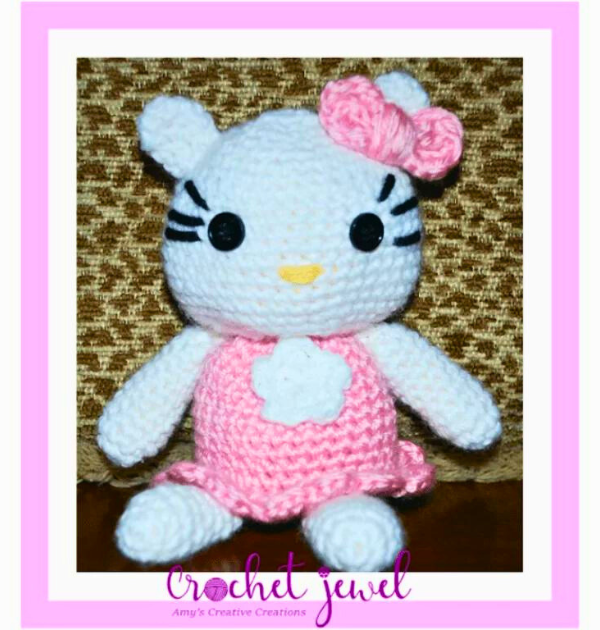
Embark on a delightful crochet journey with our free pattern for a Hello Kitty Amigurumi Plushie. Whether you’re a seasoned crocheter or an absolute beginner, this project offers a perfect opportunity to create an adorable toy using the Japanese art of crocheting, known as amigurumi. In this comprehensive guide, we’ll cover everything from essential materials like safety eyes, stitch markers, and the best yarn to use to step-by-step instructions, video tutorials, and free amigurumi patterns that cater to various skill levels.
Amigurumi, which translates to “knitted or crocheted stuffed toy” in Japanese, has gained immense popularity for its cute and compact creations. To achieve a seamless and polished look, we recommend using basic stitches such as single crochet and the magic circle technique for this Hello Kitty project. Dive into the world of amigurumi animals and explore the magic loop, color change, and different patterns to bring your Hello Kitty to life.
You’ll find affiliate links within this post. If you decide to purchase through these links, I may earn a modest commission at no extra cost. Additionally, please review my privacy policy[1] for more details.
✨ We hope you enjoyed these photos! If so, please consider sharing them on Pinterest by clicking the Pin Button on each image. Your support helps us connect with more people and spread creativity. Thank you so much! 💖
Choosing the suitable yarn is crucial for the perfect amigurumi project. Whether you opt for acrylic, cotton, or DK yarn, selecting the appropriate weight and texture can significantly influence the final result. Explore using scrap yarn or experimenting with different colors to add a personal touch to your creation. Don’t forget to consider safety eyes and stitch markers to enhance the plushie’s features.
My daughter loves Hello Kitty toys, so I wanted to make her this cute crochet Hello Kitty softie. She enjoyed playing with this crochet toy and her other stuffed animals.
Click the Links for Your Materials
All Colors of Yarn Click Here[2]
G and F Hook
Head: white yarn, with G hook
Rnds 10–16. work 1 sc in each stitch around. Repeat this 7 times in each round. ‑45sc
(Now before you make a decrease on the head and stuff it, add the button eyes in the middle of the head about 1.5″ apart. Then sew three 3/4″ inch long black lines on the side of the eyes. Then, sew on a half-inch yellow nose below the eyes in the center. Sew a yellow line by sewing a horizontal line about 4 times.)
Rnd 18. *2sctog in the next two stitches, *Repeat around, fasten off, and weave in the ends.
Row 6. sc around the border of the bow. Take the yarn and wrap it around the center 7–8 times. Sew the bow on the left ear.
Rnd 21. 2sctog in the next two stitches around until it closes. Fasten off. Weave in the ends. Sew the body to the bottom of the head with the ruffles at the bottom.
Rnd 12. *2sctog in the next two stitches, *repeat until the arm closes, and fasten off. Sew the arms on the sides of the body next to the head.
Print the entry at the top of the page to print the pattern!
Click Here For More Christmas Patterns
The skill level required for this project is flexible, making it an ideal choice for both beginners and experienced crocheters. Follow our detailed instructions and video tutorials to master techniques like the magic ring, continuous rounds, and the use of a tapestry needle for seamless finishing. This Hello Kitty Amigurumi Plushie is not just an easy project; it’s a fantastic way to learn and practice the art of amigurumi.
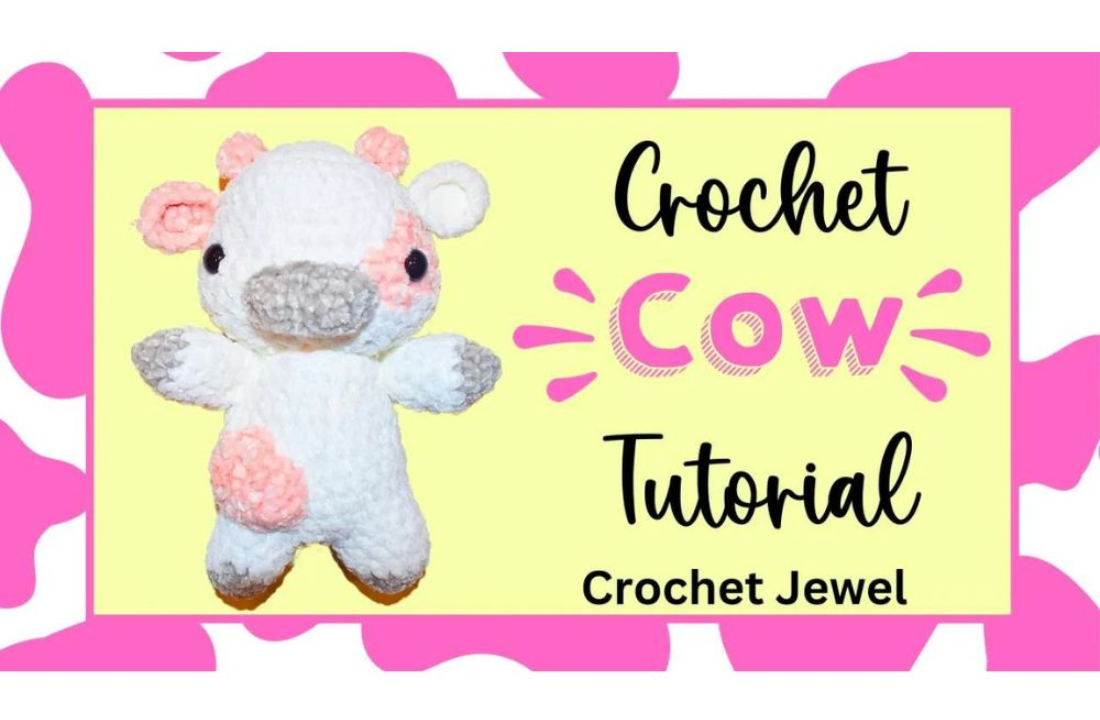
Click Here for the Cow Pattern
As you embark on your Hello Kitty Amigurumi journey, let the whimsical world of Japanese craft and crochet plushies unfold before you. With a mm crochet hook in hand, dive into the enchanting realm of fantasy creatures, creating white spots and charming details with simple stitches. Don’t be afraid to experiment with different colors and yarn textures; the magic loop and color change techniques provide endless possibilities. Whether you’re an absolute beginner or an experienced crocheter, this pattern modification, complete with a magic ring and continuous rounds, ensures a seamless and cute appearance. Let the joy of crafting adorable crochet toys become your next favorite pastime. Your Hello Kitty Amigurumi Plushie is not just a project; it’s the perfect gift, a little different and a lot of fun, representing the Japanese art of crocheting at its finest.
In conclusion, our free crochet pattern for the Hello Kitty Amigurumi Plushie perfectly blends fun and creativity. Whether you’re a little girl dreaming of cute toys or an experienced crocheter seeking a new and exciting project, this amigurumi creation offers many possibilities. Join our community on Facebook, where you can share your progress, find inspiration, and connect with fellow crochet enthusiasts. With step-by-step instructions, video tutorials, and a variety of free amigurumi patterns, this Hello Kitty project is bound to become a favorite among those who love the art of crocheting and the joy of crafting adorable yarn creatures.
To Find All My Crochet Jewel Patterns, Click Here

Click Here for My Ravelry Patterns


Crochet Hats for Beginners Book For Sale — Click Here

Crochet For Beginners Book for Sale — Click Here
- privacy policy: https://amysdiyfrugallife.com/privacy-policy/
- All Colors of Yarn Click Here: https://amzn.to/3C32rNX
- http://attic24.typepad.com/weblog/teeny-tiny-flowers.html: http://attic24.typepad.com/weblog/teeny-tiny-flowers.html
- [Image]: https://www.ravelry.com/people/amray767
- [Image]: https://www.awin1.com/cread.php?awinmid=6220&awinaffid=470125&platform=dl&ued=https%3A%2F%2Fwww.etsy.com%2Fshop%2FAmyCreativeCreations%3Fref%3Dseller-platform-mcnav
- [Image]: https://amzn.to/2ILFrGN
- [Image]: https://amzn.to/2HVIis6
Source URL: https://amysdiyfrugallife.com/how-to-crochet-hello-kitty-amigurumi-plushie-pattern/


