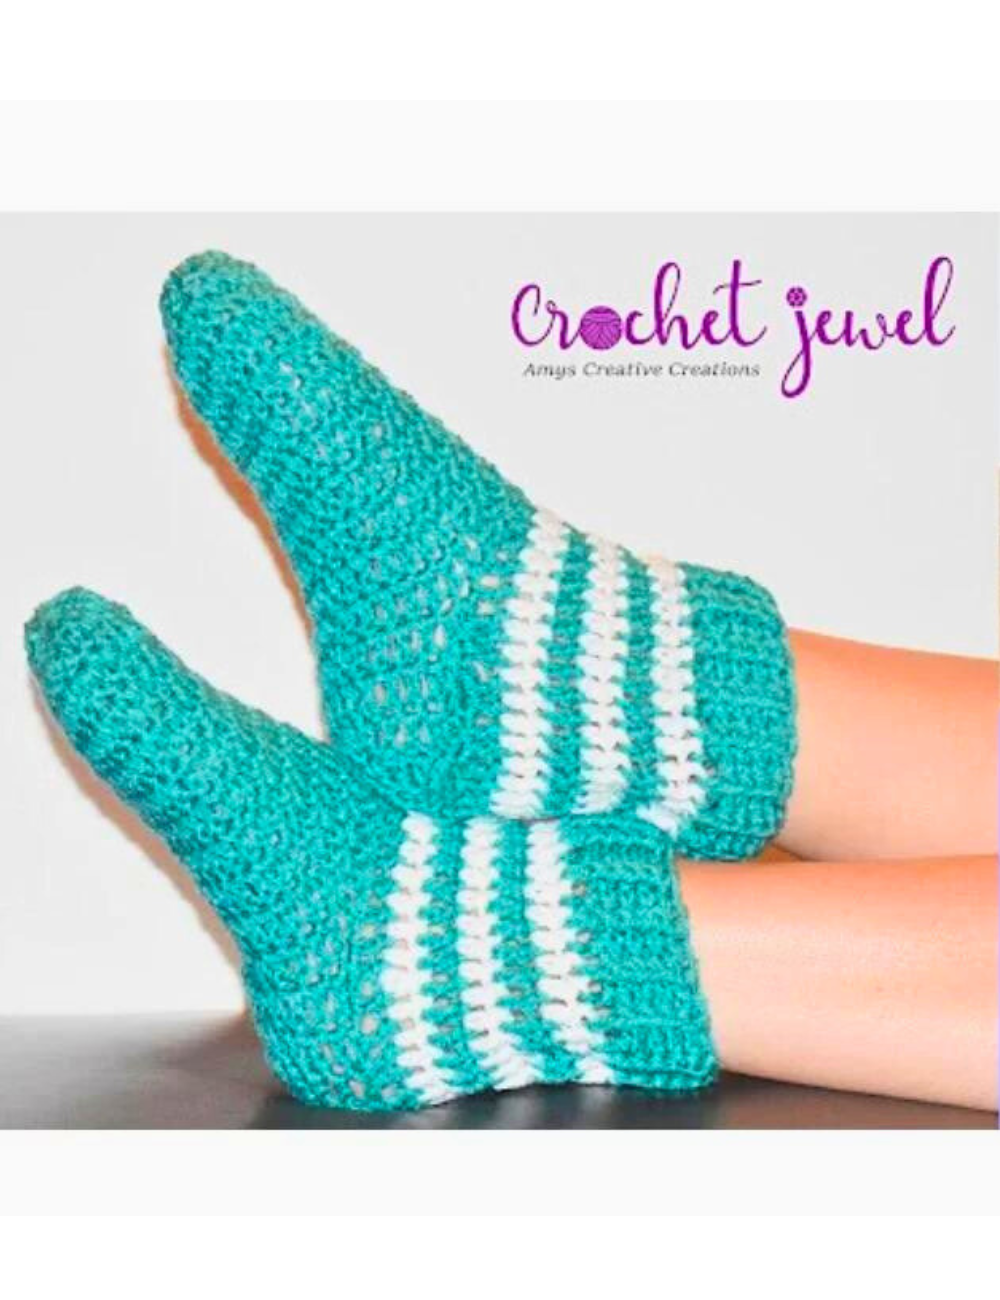
Crochet Striped Socks: A Step-by-Step Guide
by Amy Lehman | November 2, 2023 3:14 am
How to Crochet Striped Socks!
Creating your very own crochet striped sock is a rewarding project that allows you to showcase your crochet skills. Whether you’re an experienced crocheter or a beginner looking for a free crochet pattern and video tutorial, this guide will provide step-by-step instructions to help you craft the perfect pair of socks. You can make comfy and stylish handmade socks using sock yarn in different colors and yarn weights.
You’ll find affiliate links within this post. If you decide to purchase through these links, I may earn a modest commission at no extra cost. Additionally, please review my privacy policy[1] for more details.
To begin, select your preferred sock yarn and consider the yarn weight that suits your needs, whether bulky, fingering, worsted, or aran weight yarn. Choose a crochet hook size, typically around 4mm, and grab a yarn needle for the finishing touches. This easy crochet sock pattern suits various skill levels, making it an excellent project for beginners and intermediate crocheters.
Create these cozy crochet socks with an I hook and medium worsted yarn. These socks are great for an adult size. I wear a size eight, so they fit perfectly. The socks will have a nice stretch, so they should work if you are a size 6–9. If you need to go smaller, I suggest going down a hook size or omitting one of the DC rounds. If you need to go larger, go up a hook size and add another round of dc. Are you looking for a quick and easy way to add crochet stripes to your socks? Look no further! In this video, we’ll show you how to make crochet-striped socks in just a few easy steps. Crochet striped socks are a great way to use leftover yarn and a quick and easy way to add a little personality to your socks. Whether you’re a beginner or an experienced crocheter, this tutorial will teach you how to make crochet-striped socks quickly and easily!
How to Watch Videos in Slow Motion — if the video is too fast — Click Here!
How to Crochet For Beginners Playlist — Click Here[2]
Abbreviations:
dc=double crochet
sc=single crochet
sl st=slip stitch
fpdc=front post double crochet
bpdc=back post double crochet
ch=chain
2dctog=2 double crochet together decrease
I hook
Rnd 1: In the Magic Circle, Work 14 dc, sl st in the first dc to complete
Rnd 2: Ch 3 (Counts as first dc), dc in the same stitch, *dc in the next stitch, work 2 dc in the next, *Repeat until the end, sl st on top of the beg chain 3.
Rnd 3: Ch 3 (Counts as first dc), dc in the same stitch, *dc in the next 2 stitches, work 2 dc in the next stitch, *Repeat until the end, sl st on top of the beg chain 3.
Rnds 4–11: Ch 3 (Counts as first dc), dc in each stitch around, sl st on top of the beg chain 3. Total of 8 rounds, you may need more or less depending if your foot is smaller than size 6 and larger if bigger than size 9
Rnd12: Fold your sock in half. The bottom of the sock will have all the chain 3’s, so from the chain 3, count over 7, sl st in your yarn and ch 3 (counts as dc), dc in the next 13 stitches,
Rnd 13: Turn, ch 3 (counts as dc), dc in the next 13 stitches,
Rnd 14 Ch 3 (Counts as first dc), dc in the next 4 dc, 2dctog in the next dc 3 times, dc in the next remaining stitches, sl st on top of the beg chain 3.
Rnd 15: ch 3 (Counts as first dc), dc in the next 3 stitches, 2dctog in the next stitch, dc in the next stich, 2dctog in the next stitch, dc in the next remaining stitches, sl st on top of the beg chain 3.
Rnd 16: Now you can turn the sock inside out now, then fold your ends together for the heal, so fold the Rnd 13 in half and slip stitch it together. Then turn it right side out. Fasten off. Weave in ends.
On top of the back of the heel, sl st in your yarn, ch 3 (counts as first dc), now dc in each stitch around; this maybe a little tricky since its not real stitches, but I would suggest about 30 dc around, so its not too loose or tight.
Rnd 17: sl st with a new color, ch 3 (counts as first dc), dc in each stitch around, sl st on top of the chain 3.
Rnds 18–22: sl st with a new color, ch 3 (counts as first dc), dc in each stitch around, sl st on top of the chain 3. (5 more rounds of two colors), you can create stripes by alternating between colors.
Rnds 23–27: Now with one Color of yarn, ch 3 (counts as first dc), *front post dc in the next dc, back post dc in the next dc, *Repeat by alternating between the fpdc and bpdc, sl st on top of ch 3.
Repeat for a total of 5 rounds. Fasten off and Weave in your ends. I hope you enjoyed this easy crochet socks for beginners tutorial!
Print the entry at the top of the page to print the pattern!
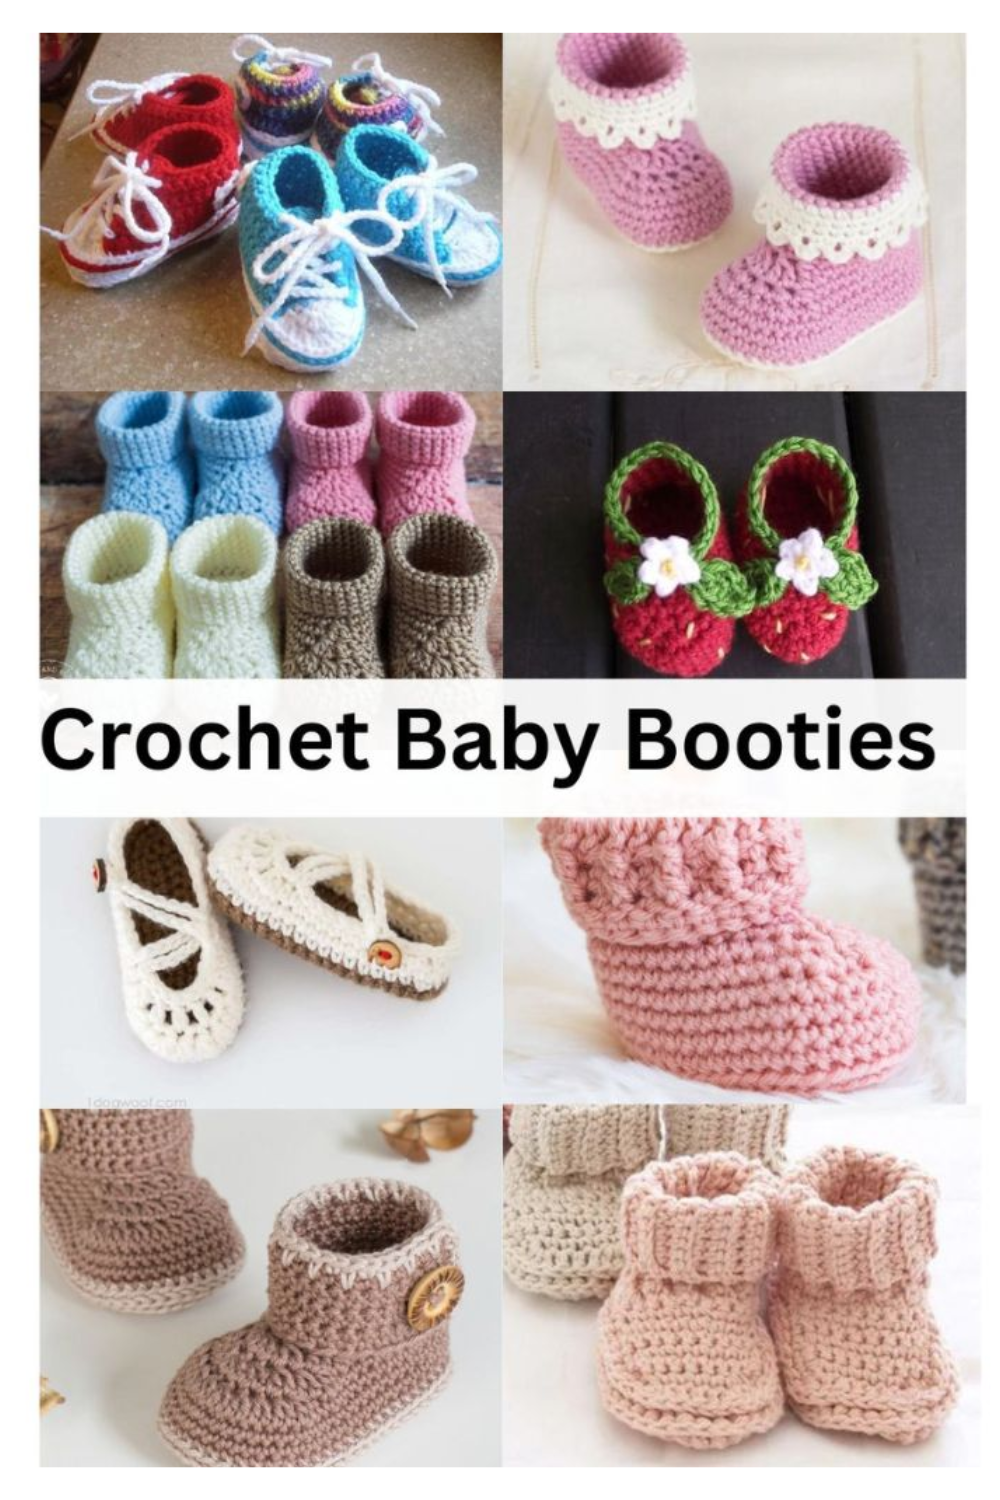
Click Here for More Crochet Bootie Patterns
Start with a magic circle and create the first stitch with single crochet stitches. Follow a simple stitch pattern and repeat rows to craft ankle, knee-high, or cozy yoga socks. Use short rows to shape the sock’s heel, making it comfortable and easy to wear. You can also explore different colors to make your crocheted socks uniquely yours.
Incorporate features like a short-row heel or an afterthought heel to customize your sock’s fit and style. Place markers to keep track of your stitch count and ensure your sock is the right size with a gauge swatch. Additionally, consider using removable stitch markers to make the process even smoother.
As you complete your crochet striped sock, be sure to wash and care for it properly, as many of these handmade socks are designed to be machine washable. You can also explore affiliate links to find the best yarn for your next project and share your accomplishments on social media. Crocheted socks make great gifts.
In summary, crocheting striped socks is a fantastic way to create a cozy, stylish, and uniquely your own pair of socks. This free pattern offers a good idea for beginner crocheters and a satisfying project for those looking to showcase their crochet skills. Enjoy making these lightweight, comfortable socks in various colors and yarn weights, and stay warm and fashionable all year round.
To Find All My Crochet Jewel Patterns, Click Here

Click Here for My Ravelry Patterns

- privacy policy: https://amysdiyfrugallife.com/privacy-policy/
- How to Crochet For Beginners Playlist — Click Here: https://www.youtube.com/playlist?list=PLDU4IrQAuYqrUtVH0UWJUUdqljBIUV4ZD
- [Image]: https://www.ravelry.com/people/amray767
- [Image]: https://www.etsy.com/shop/AmyCreativeCreations?ref=seller-platform-mcnav
Source URL: https://amysdiyfrugallife.com/how-to-crochet-striped-sock-pattern-tutorial/


