How to Crochet the Solomon’s Knot Scarf Tutorial
by Amy Lehman | November 7, 2023 10:49 am
How to Crochet a Solomon’s Knot Scarf
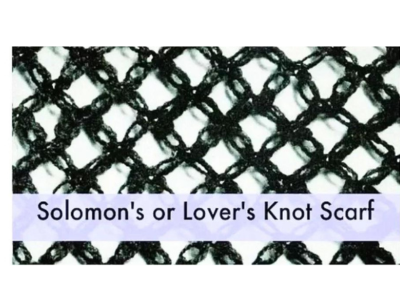
Step into timeless elegance and intricate crochet techniques with the Solomon’s Knot Scarf. This exquisite accessory combines simplicity with sophistication, creating a beautifully textured scarf that adds a touch of refinement to any ensemble.
The Solomon’s Knot, also known as the lover’s knot or lover’s knot stitch, is a classic crochet stitch characterized by its open and airy design. With its delicate loops and graceful drape, the Solomon’s Knot creates a lightweight and warm scarf, making it ideal for layering during the cooler months.
You’ll find affiliate links within this post. If you decide to purchase through these links, I may earn a modest commission at no extra cost. Additionally, please review my privacy policy[1] for more details.
✨ We hope you enjoyed these photos! If so, please consider sharing them on Pinterest by clicking the Pin Button on each image. Your support helps us connect with more people and spread creativity. Thank you so much! 💖
To start, you’ll need the following materials:
Click the Links for Your Materials
All Colors of Yarn Click Here[2]
- Crochet hook
- Tapestry needle
- Stitch marker
- Bulky weight yarn in your favorite color(s)
- A larger hook (mm hook size) appropriate for your yarn weight
- A tapestry needle for weaving in ends
- Stitch markers (optional)
- Lion Brand Wool-Ease Thick & Quick or a similar bulky weight yarn is a great choice.
A Solomon’s Knot, also known as a Lover’s Knot or Hail Stone Stitch, is a lovely and delicate crochet stitch that can create a lightweight and lacy scarf. Here’s a step-by-step guide on how to make a Solomon’s Knot scarf:
Materials you’ll need:
1. Crochet hook: Choose a hook size that complements your yarn. A larger hook will result in a more open and lacy pattern.
2. Yarn: You can select any yarn you like, but lightweight yarn like fingering, lace, or sport weight works best for this stitch.
Instructions:
1. Start with a slip knot: Make a slip knot at the end of your yarn, leaving a tail for weaving in later. Insert your crochet hook into the slip knot.
How to Watch Videos in Slow Motion — if the video is too fast — Click Here!
How to Crochet For Beginners Playlist — Click Here[3]
Start by creating a slip knot onto your hook.
Adjust the number of chains based on your desired scarf width.
To create the Lover’s Knot:
- Pull up the yarn, leaving about an inch or two of space.
- Use your thumb as a guide to measure about an inch.
- Take your thumb out; you should have approximately an inch of yarn pulled up.
- Create the Lover’s Knot by grabbing the yarn and pulling it through.
- This will give you three strands: two on one side and one on the other.
- Return to the first strand and work a single crochet into it, completing your first Lover’s Knot.
Repeat this process of creating Lover’s Knots and single crocheting into the single crochet, alternating between the rows.
Every other row will feature a triangle at the end:
- Create two Lover’s Knots.
- Turn in your work.
- Work your single crochet into the single crochet that is not connected, forming the first triangle.
Continue alternating between the two rows to achieve your desired scarf length.
To finish your scarf, you can add fringe to the ends. Wrap the yarn around your hand about 10 times, cut the looped yarn, and attach the fringe to the end of your scarf.
Finishing:
- When your scarf is the desired length, fasten off the yarn and weave in any loose ends.
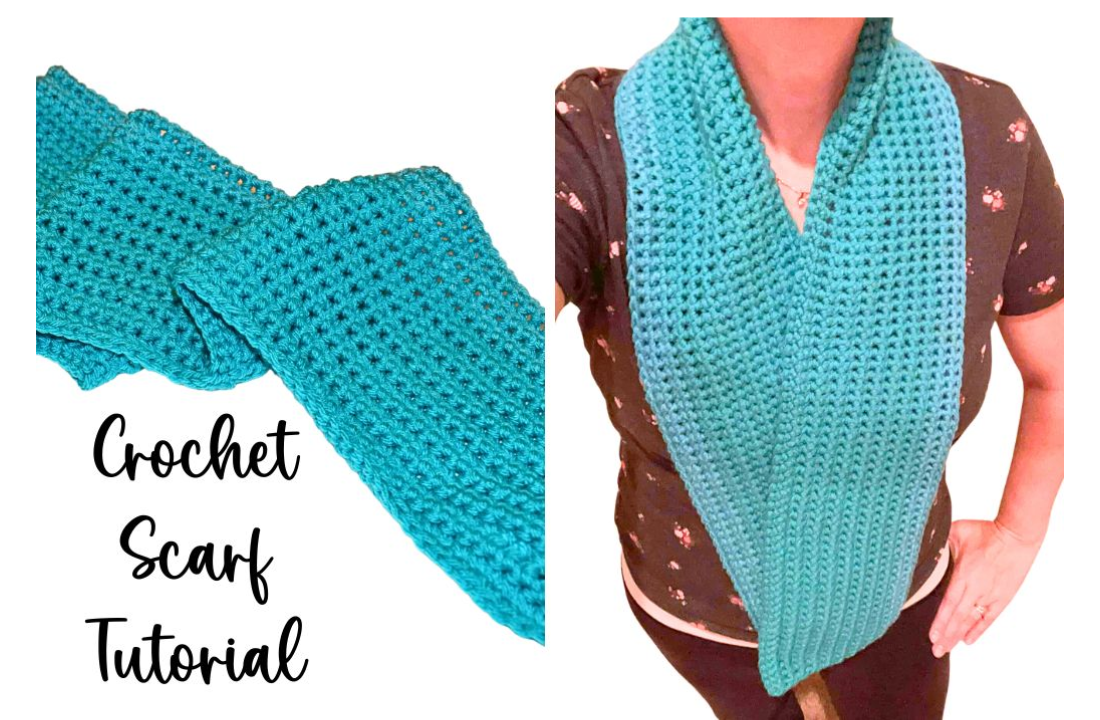
This simple crochet scarf pattern is an excellent project for crocheters of all skill levels. It’s a quick and easy project that produces a warm and chunky scarf, making it a great gift or a fantastic addition to your winter wardrobe. Experiment with different yarn colors to match your style and preferences. For more inspiration, you can check out free scarf patterns in our extensive experience. If you have any questions or want to share your progress, please join our Facebook group for support and connect with fellow crocheters. Plus, using the affiliate links provided, you can help support this website at no extra cost. Enjoy your crocheting journey, and stay warm with your new chunky scarf!
That’s it! You’ve created a lovely Solomon’s Knot scarf. Solomon’s Knots’ open and delicate pattern creates a beautiful and lightweight accessory. Feel free to experiment with different yarn colors and styles to make your scarf unique.
Print the entry at the top of the page to print the pattern!
Click Here for Scarf Patterns[4]
Incorporating a larger hook into your crochet project is a great way to create a super scarf in no time. The larger mm hook size makes it an easy pattern for beginner crocheters. This free crochet pattern utilizes basic stitches, such as double and chain stitches, making it an ideal choice for those with basic crochet skills. The foundation chain is simple to create, and as you work the repeat row, you’ll see your scarf quickly taking shape.
Click Here for the Scarf Pattern
One of the best aspects of this project is the ability to play with different colors, allowing you to express your creativity and experiment with your favorite yarns. Bulky weight yarn in various shades will enable you to make your scarf in your favorite color combination. Whether you prefer traditional scarf colors or want to try something unique, the scarf can be tailored to your taste. Once you’ve reached the end of the row, a slip stitch creates a straight edge for a polished finish. This chunky scarf is a quick gift and a great idea, especially for someone looking for a warm and stylish accessory during the colder months. To support this website, consider using affiliate links provided at no extra cost. For further assistance, our Facebook group offers extensive experience and is an excellent resource for crochet enthusiasts.
To Find All My Crochet Jewel Patterns, Click Here

Click Here for My Ravelry Patterns


Crochet Hats for Beginners Book For Sale — Click Here

Crochet For Beginners Book for Sale — Click Here
- privacy policy: https://amysdiyfrugallife.com/privacy-policy/
- All Colors of Yarn Click Here: https://amzn.to/3C32rNX
- How to Crochet For Beginners Playlist — Click Here: https://www.youtube.com/playlist?list=PLDU4IrQAuYqrUtVH0UWJUUdqljBIUV4ZD
- Click Here for Scarf Patterns: https://amysdiyfrugallife.com/scarves/
- [Image]: https://www.ravelry.com/people/amray767
- [Image]: https://www.awin1.com/cread.php?awinmid=6220&awinaffid=470125&platform=dl&ued=https%3A%2F%2Fwww.etsy.com%2Fshop%2FAmyCreativeCreations%3Fref%3Dseller-platform-mcnav
- [Image]: https://amzn.to/2ILFrGN
- [Image]: https://amzn.to/2HVIis6
Source URL: https://amysdiyfrugallife.com/how-to-crochet-the-solomons-knot-scarf-tutorial/


