How to Make a DIY 3D flower POP UP Card Tutorial
by Amy Lehman | November 10, 2023 9:12 pm
How to Make a DIY 3D flower POP-UP Card
Creating a personalized and heartfelt greeting card adds a special touch to any occasion. This tutorial will guide you through making a charming DIY 3D flower pop-up card. This project combines the art of paper crafting with the beauty of three-dimensional floral designs, making it a perfect choice for expressing your creativity and love. Gather your materials, follow the instructions, and embark on a delightful journey of crafting a unique and memorable card.
You’ll find affiliate links within this post. If you decide to purchase through these links, I may earn a modest commission at no extra cost. Additionally, please review my privacy policy[1] for more details.
**Materials Needed:*
Before diving into crafting, ensure you have the necessary materials. You’ll need colored cardstock, scissors, glue, and a pencil. Select vibrant hues for your flowers and coordinating colors for the card base. Add glitter, sequins, or other embellishments to enhance the card’s visual appeal.
Begin by folding the colored cardstock in half to create the card base. This serves as the canvas for your artistic creation. Choose a size that suits your preference, considering the space needed for the 3D element.
**Sketching the Flowers:**
Using a pencil, sketch the outline of your chosen flowers on different colored cardstock. Opt for various shapes and sizes to add depth and dimension to your pop-up design. Cut out the flower shapes carefully.
**Creating the Pop-Up Effect:**
To achieve the 3D effect, cut a parallel slit in the folded card base where you want the flowers to pop up. Carefully fold the slit section inwards, creating a small accordion-style fold. Attach the flower cutouts to the folded sections, ensuring they stand out when opening the card.
✨ We hope you enjoyed these photos! If so, please consider sharing them on Pinterest by clicking the Pin Button on each image. Your support helps us connect with more people and spread creativity. Thank you so much! 💖
*Adding Details:**
Enhance the visual appeal by incorporating details like leaves, stems, or additional layers for a more realistic effect. Experiment with different arrangements until you find a composition that pleases you.
Creating a heartfelt and personalized card for special occasions like Mother’s Day or Father’s Day is a great way to show your love and appreciation. With this easy tutorial, even little kids can join in the fun and craft a unique piece of paper art. Start by selecting a piece of cardstock paper for the card base, and folding it in half to create a sturdy foundation. For a creative touch, use construction paper in different colors to cut out a folded heart, placing it strategically on the front of the card.
To make this pop-up card extra special, add paper flowers inside. Cut out smaller hearts in various colors and attach them to the inside of the card using a glue stick. The step-by-step tutorial ensures that even those with simple craft skills can create a beautiful and personalized card. Whether it’s for Valentine’s Day or any other special occasion, this craft is a fun way to engage kids, enhance their fine motor skills, and create lasting memories. Share your finished creations on social media and spread the joy of homemade cards, bypassing commercial options. Don’t forget to include a personalized message inside the card to make it truly meaningful for the recipient.
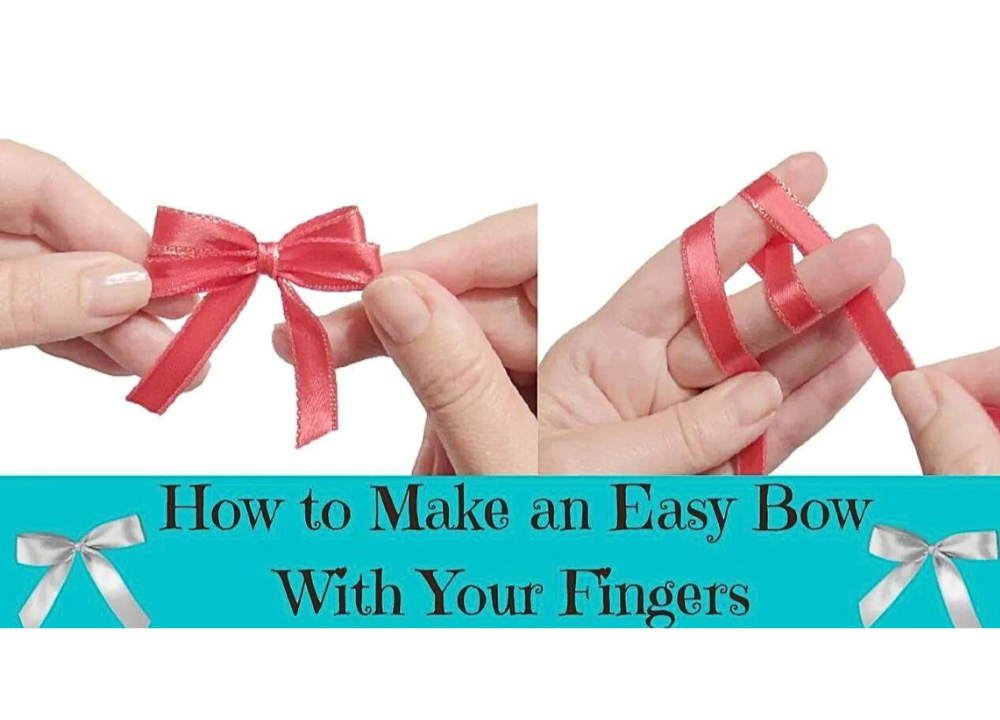
Click Here for the Bow Tutorial
Note: This tutorial may include affiliate links. Please refer to our disclosure policy for more information. Now, gather your materials, follow the simple steps, and enjoy the much fun in crafting these easy and delightful cards with your loved ones.
**Decorate and Personalize:**
Add embellishments, such as glitter, sequins, or even small messages, to let your creativity shine. Personalize the card to suit the occasion, whether it’s a birthday, anniversary, or thoughtful gesture.
In conclusion, crafting a DIY 3D flower pop-up card is a delightful and rewarding experience. It allows you to express your creativity while creating a unique and memorable keepsake for your loved ones. This handmade card is not just a piece of paper; it’s a manifestation of your thoughtfulness and effort. So, gather your supplies, follow the steps, and enjoy the satisfaction of presenting a one-of-a-kind card that its recipient will surely cherish.
To Find All My Crochet Jewel Patterns, Click Here

Click Here for My Ravelry Patterns


Crochet Hats for Beginners Book For Sale — Click Here

Crochet For Beginners Book for Sale — Click Here
- privacy policy: https://amysdiyfrugallife.com/privacy-policy/
- [Image]: https://www.ravelry.com/people/amray767
- [Image]: https://www.awin1.com/cread.php?awinmid=6220&awinaffid=470125&platform=dl&ued=https%3A%2F%2Fwww.etsy.com%2Fshop%2FAmyCreativeCreations%3Fref%3Dseller-platform-mcnav
- [Image]: https://amzn.to/2ILFrGN
- [Image]: https://amzn.to/2HVIis6
Source URL: https://amysdiyfrugallife.com/how-to-make-a-diy-3d-flower-pop-up-card-tutorial/

