How to Make a DIY Bouncy Ball: Fun and Easy Science Project

How to Make a DIY Bouncy Ball
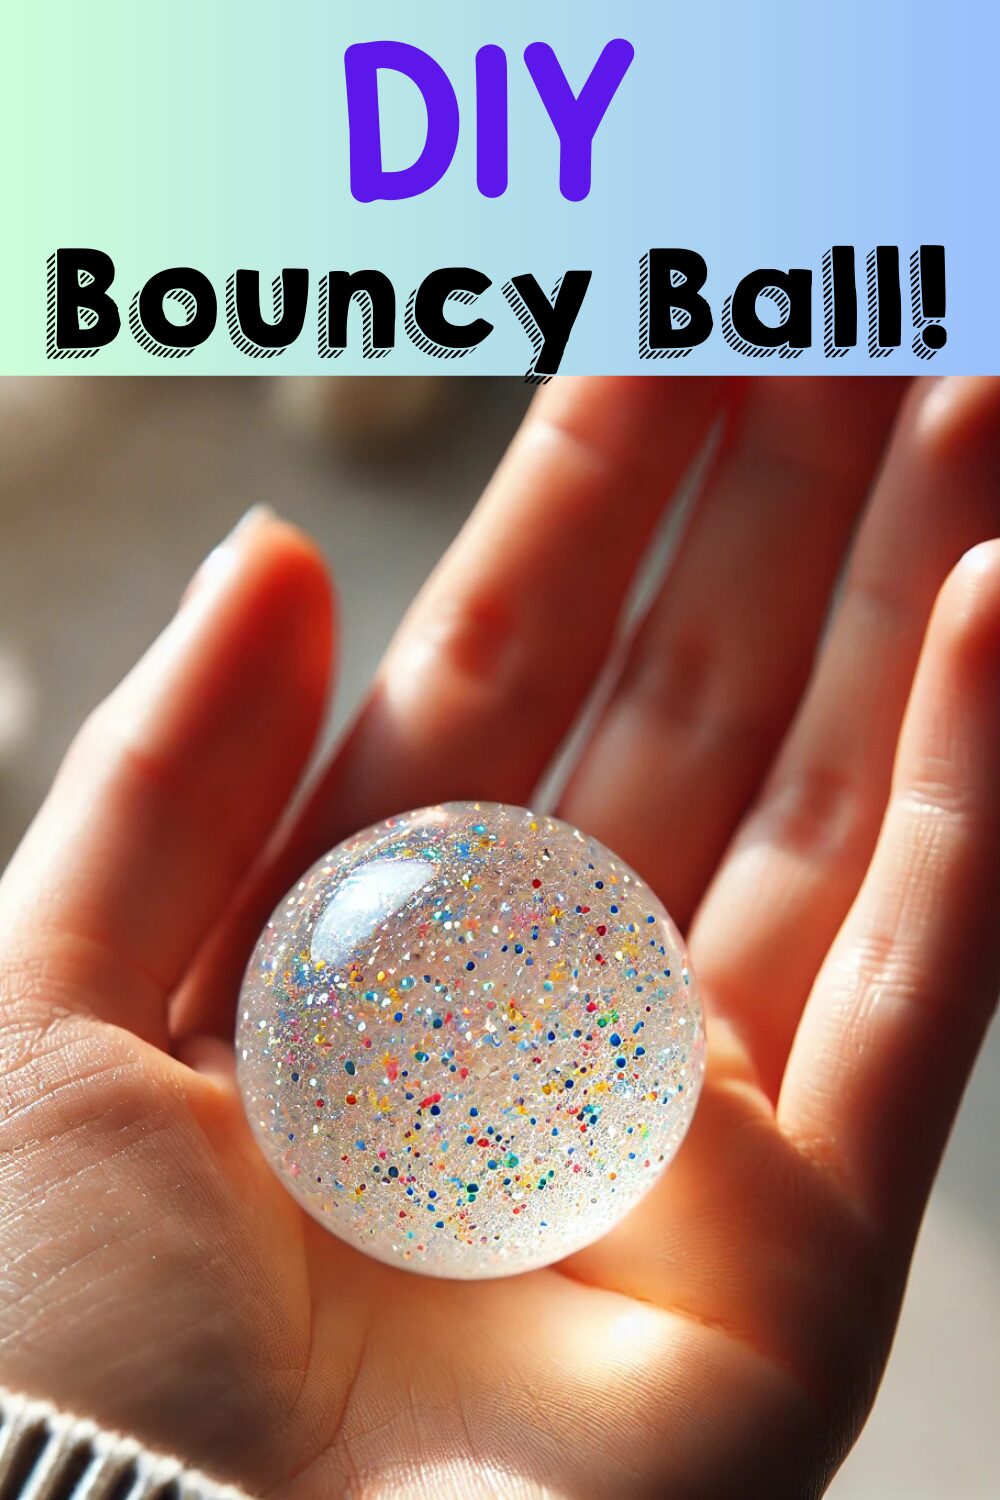
Making your own bouncy ball at home is a fun and easy science experiment that kids of all ages will enjoy. With a few simple ingredients, including glue, cornstarch, and borax, you can create a super bouncy ball that you can play with right away. This project is not only a great way to learn about chemical reactions and polymer science, but it’s also an engaging DIY craft that will keep children entertained. Whether you’re hosting a birthday party or just looking for a fun afternoon activity, making your own bouncy ball is sure to impress!
Within this post, you’ll find affiliate links. If you decide to purchase through these links, I may earn a modest commission at no extra cost to you. Additionally, please review my privacy policy for more details.
✨ We hope you enjoyed these photos! If so, please consider sharing them on Pinterest by clicking the Pin Button on each image. Your support helps us connect with more people and spread creativity. Thank you so much! 💖
Click the Social Icons to Stay Connected
![]()
![]()
![]()
![]()
![]()
![]()
![]()
![]()

How to Make a DIY Bouncy Ball: A Step-by-Step Guide
Step 1: Gather Materials
Before starting, make sure you have all the necessary supplies. You’ll need:
- White school glue (or clear glue for a better see-through effect)
- Cornstarch
- Borax solution (mix 1 teaspoon of borax with 1 cup of warm water)
- Food coloring (optional, to add some fun color)
- Glitter (optional, for a sparkly effect)
- A plastic cup or bowl for mixing
- A spoon or craft stick for stirring
- A plastic bag or airtight container to store the mixture
Step 2: Prepare the Borax Solution
Start by carefully pouring warm water into a plastic cup. Add 1 teaspoon of borax powder and stir well until it fully dissolves. Set this solution aside to cool while you prepare the other ingredients.
Step 3: Mix the Glitter Glue
Take a small bowl and add a tablespoon of clear glue to it. If you want a bit of sparkle, add glitter (around 1/4 teaspoon should be enough). Stir the glitter well until it’s evenly mixed into the glue. If you want a transparent bouncy ball, be sure to avoid adding too much glitter.
Next, add 1 teaspoon of the borax solution to your glitter glue, stirring as you go. You’ll notice the mixture starting to thicken and turn jelly-like. Add another teaspoon of borax solution and keep stirring until it becomes difficult to mix, and the slime-like consistency becomes more solid.
Step 4: Shape the Bouncy Ball
Grab the thickened slime and begin squishing it with your hands, making sure there are no sticky spots left. Start rolling it between your palms, like you would with cookie dough. It may be a bit wet at first, but with continued rolling, the mixture will firm up.
To achieve the perfect round shape, keep rolling until you have a smooth ball. If necessary, wet your fingertips with extra borax solution to smooth out any rough edges. If you have a round mold, you can use that to give your bouncy ball an even more uniform shape.
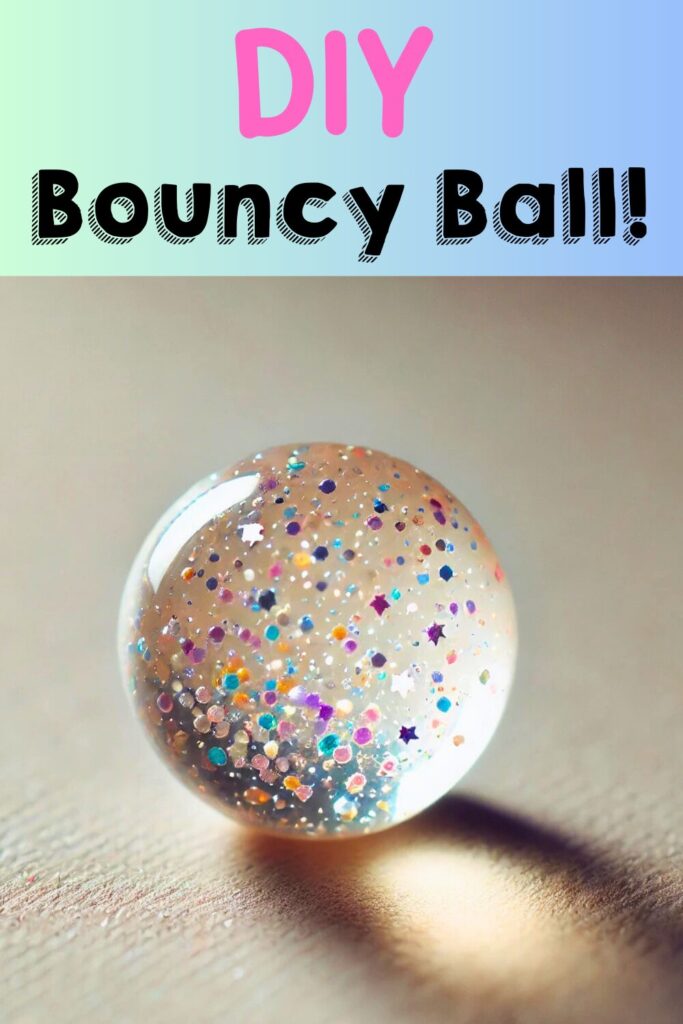
Once you’re happy with your ball, set it aside to dry for a few minutes, and voilà! You’ve made your very own bouncy ball. Now that you’ve completed your DIY bouncy ball, it’s time to enjoy it! This fun and easy science craft uses simple materials to create something bouncy and cool. Not only is it a great project for kids, but it also helps teach about chemical reactions and polymers. Get ready to bounce your homemade creation around and have some fun!

Click Here for My Ravelry Patterns


Crochet Hats for Beginners Book For Sale — Click Here


You May Also Like
How to Crochet a Simple Water Bottle Holder Pattern
15 Free Coloring Pages & Worksheets for Kids