How to Make Your Own DIY Clay at Home Easily

Make Your Own Clay
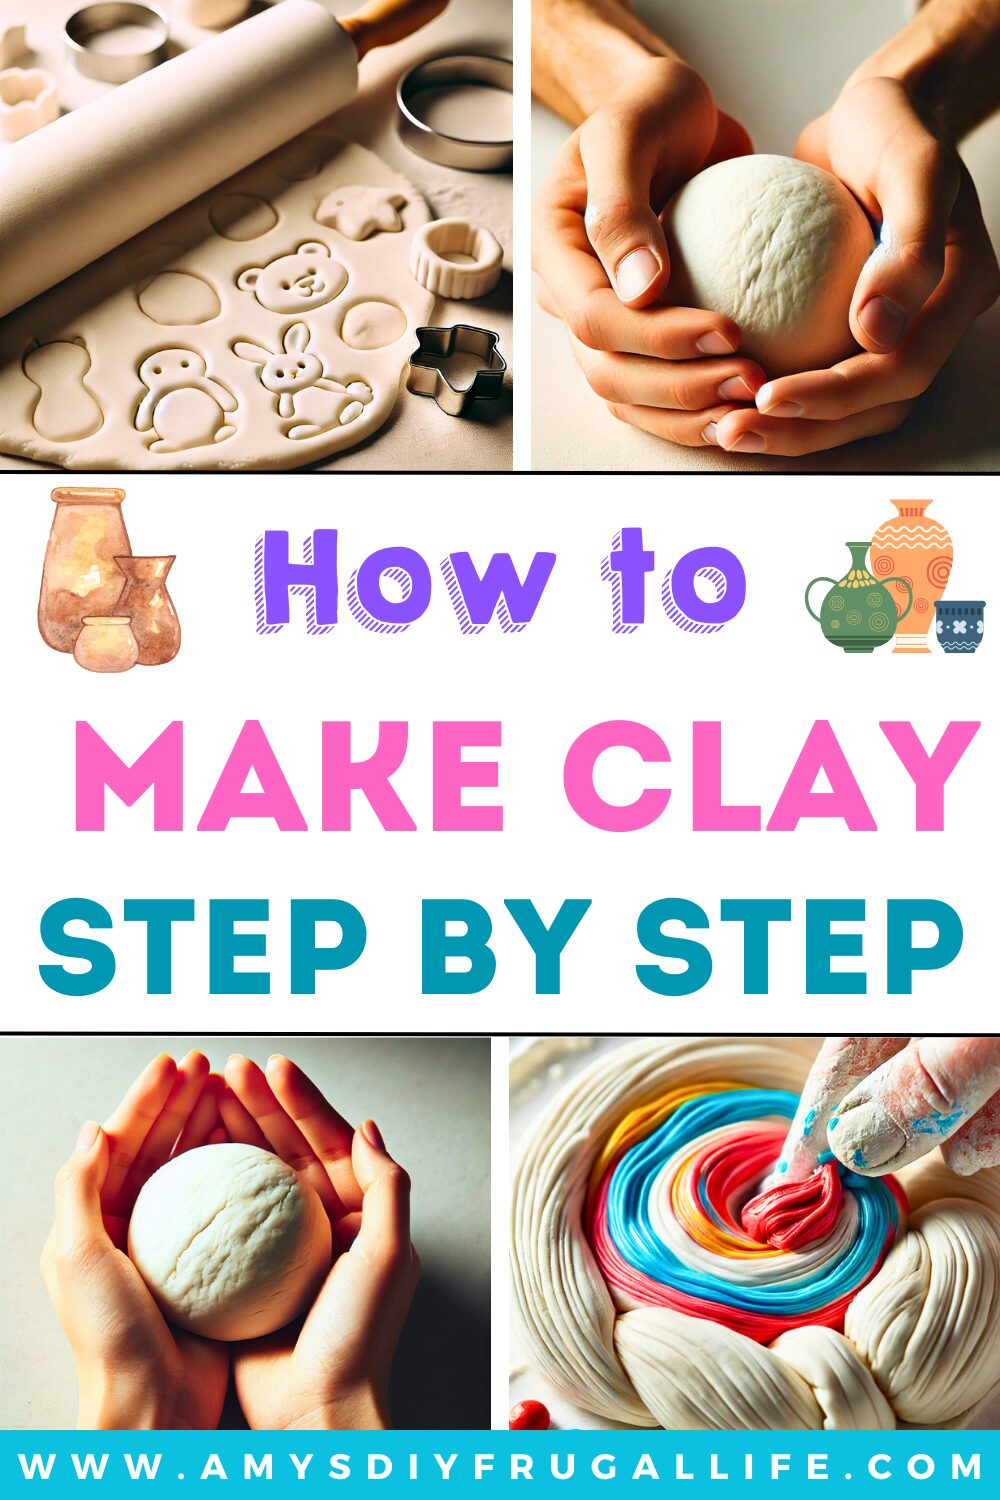
Making your own DIY clay at home can be a fun and creative way to spend time with the whole family. With just a few basic ingredients like cornstarch, corn starch, you can create pliable clay for a wide variety of craft projects. Whether you’re making small figurines, Christmas ornaments, or other fun crafts, this homemade air dry clay recipe will save you tons of money and give you a great medium for your artistic ideas. Best of all, it’s easy to make and requires little effort!
Once the clay has cooled to room temperature, you’ll have a perfect medium for your craft project. Use your hands or cookie cutters to create various shapes, from small figurines to decorative Christmas trees. The possibilities are endless!
This post contains affiliate links. If you purchase through these links, I may earn a modest commission at no extra cost. Please review my privacy policy for more details.
Click the Social Icons to Stay Connected
![]()
![]()
![]()
![]()
![]()
![]()
![]()
![]()

✨ We hope you enjoyed these photos! If so, please consider sharing them on Pinterest by clicking the Pin Button on each image. Your support helps us connect with more people and spread creativity. Thank you so much! 💖
Ingredients:
- 3/4 cup Baking Soda
- 1/3 cup Cornstarch
- 1/2 cup Water, Double this Recipe to Make twice as Much!
Tools:
- Measuring cups
- Saucepan
- Spoon
- Food Coloring
Steps:
Step 1: Cook the Clay
Combine the baking soda, cornstarch, and water in a saucepan.
Heat the mixture on low to medium heat, stirring constantly. Keep stirring until it thickens and starts pulling away from the edges of the pot, resembling the texture of mashed potatoes.
Once it reaches this stage, remove it from the heat right away to prevent overcooking.
Step 2: Let the Clay Cool
Pour the clay out onto a bowl or a baking sheet to cool down. Allow it to rest for at least 30 minutes until it’s back to room temperature.

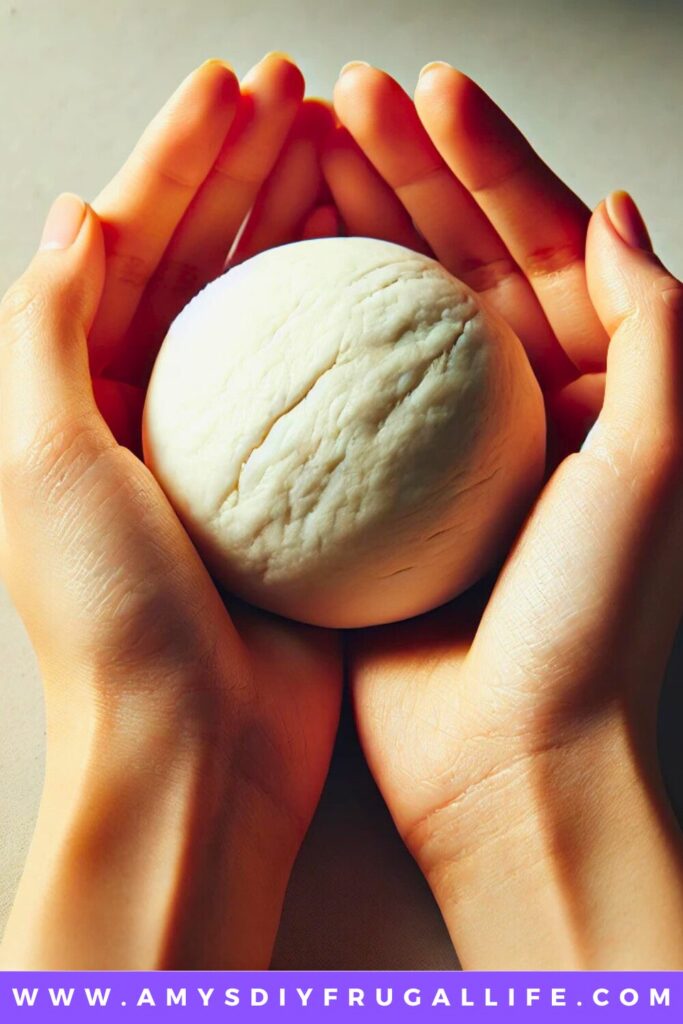
Step 3: Mold the Clay
The clay should be soft and easy to mold, but not overly sticky. If it sticks to your hands or surface, dust it with a little cornstarch.
Use cookie cutters, your hands, or any other tools to create shapes like ornaments or small sculptures.
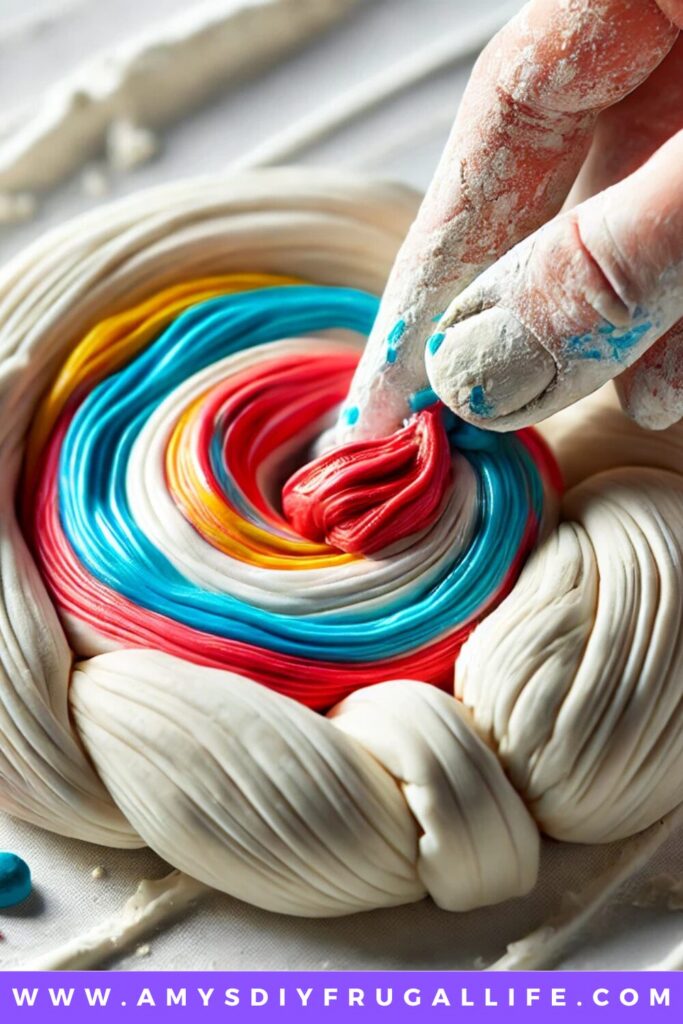
Optional: Add Food Coloring for Fun Colors! Add a Few drops and make sure to wear gloves!
Let the clay dry naturally for 2–3 days, depending on how thick it is. Alternatively, you can bake the pieces at 200°F for an hour, flipping them halfway through to ensure they dry evenly.
Tip:
If you’re sculpting and the clay isn’t sticking together, wet the area with a small amount of water to help it bond.
To store any leftover clay, wrap it tightly in plastic wrap and seal it in a Ziploc bag or an airtight container.
Making your own homemade clay is a wonderful and easy craft project that can be enjoyed by kids and adults alike. Whether you’re using it for small figurines, Christmas ornaments, or other creative crafts, it’s a perfect way to express your artistic side without spending a fortune on polymer clay. Remember to store any leftover clay in an airtight container or plastic wrap to keep it fresh for future use. With just a few basic ingredients, you can create tons of fun crafts and bring your ideas to life with minimal cost and effort. For more fun ideas, check out the affiliate links at the bottom of the page to explore more air dry clay recipes and craft supplies.


Crochet Hats for Beginners Book For Sale — Click Here


You May Also Like

Crafting Cheer: DIY Yarn Gnome Ornament Tutorial
How to Crochet a Sun Granny Square – Step-by-Step Tutorial