How to Sew a Headband: A Step-by-Step Tutorial
by Amy Lehman | April 29, 2024 12:09 am
 [1]
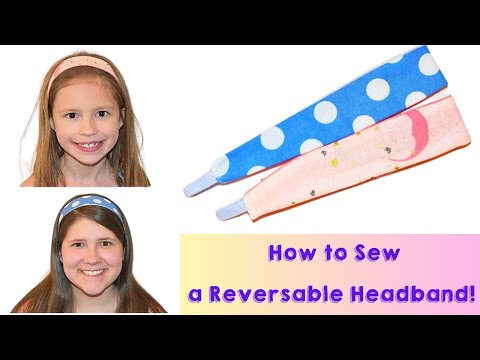
[1]How to Sew a Headband!
Looking for a fun and easy sewing project to spruce up your wardrobe? A DIY headband might be just the thing you need! Whether you’re a seasoned seamstress or just starting with your sewing machine, crafting your headbands is a great way to add a personal touch to your hair accessories collection. In this headband tutorial, we’ll walk you through the steps to create a stylish headband using fabric scraps and basic sewing techniques. So, grab your favorite fabrics, and let’s get started!
This post contains affiliate links. If you purchase through these links, I may earn a modest commission at no extra cost. Please review my privacy policy[2] for more details.
To begin this DIY fabric headband project, you’ll need a few supplies: fabric scraps, a sewing machine, scissors, pins, and measuring tape. Start by selecting your main fabric piece and cutting it into a rectangle. The size of the rectangle will depend on the head circumference you’re aiming for. If you’re making the headband for yourself, measure around your head and add an inch gap for seam allowance.
Next, fold the fabric rectangle in half with the right sides facing each other. Pin along the long edge, leaving a small opening at the bottom of the headband to turn it right side out later. If you’re using stretchy fabric, sew along the pinned edge using a stretch stitch to ensure good recovery and a comfortable fit.
Once sewn along the long edge, trim excess fabric and turn the fabric tube right side out through the small opening. Use a safety pin to help push out the pointy ends and achieve a smooth finish. Then, press the fabric tube flat with an iron, ensuring the seams are along the edges.
Now it’s time to add the elastic band for a comfortable and secure fit. Measure the elastic length by wrapping it around your head snugly but not too tight. Attach a safety pin to one end of the elastic band and thread it through the fabric tube, securing both ends with a few stitches.
With the elastic in place, stitch the open end of the fabric tube closed using a ladder stitch or blind stitch for an invisible finish. Trim any excess thread and fabric, and your DIY headband is almost complete! Congratulations, you’ve just made your very own headband! This simple tutorial allows you to create headbands in different colors, widths, and styles to suit your preferences. The possibilities are endless, whether you prefer a wide headband to keep your hair in place during workouts or a knotted headband for a chic accessory. Experiment with fabrics, patterns, and embellishments to achieve the perfect look. These DIY headbands also make great gifts for friends and family, so why not share the joy of sewing with others? Happy sewing!
 [3]
[3]
Click Here for My Ravelry Patterns
 [4]
[4]
- [Image]: #
- privacy policy: https://amysdiyfrugallife.com/privacy-policy/
- [Image]: https://www.ravelry.com/people/amray767
- [Image]: https://www.etsy.com/shop/AmyCreativeCreations?ref=seller-platform-mcnav
Source URL: https://amysdiyfrugallife.com/how-to-sew-a-headband-a-step-by-step-tutorial/