Crafting Cheer: DIY Yarn Gnome Ornament Tutorial
Yarn Gnome Pattern
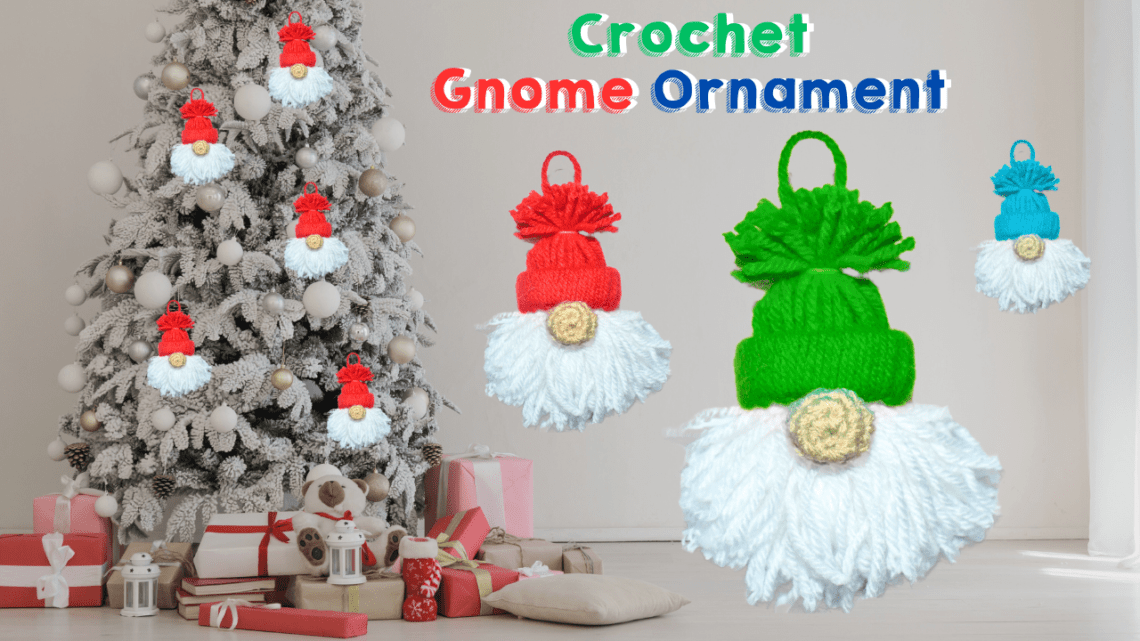
The holiday season is the perfect time to get crafty, and what better way to spread some holiday cheer than by making your own yarn gnome ornaments? These charming little figures add a whimsical touch to your Christmas tree and are incredibly fun to create! Using simple materials like a toilet paper roll, wooden beads, and leftover yarn, you can craft your very own DIY gnome ornaments. In this guide, we’ll walk you through the steps to create these adorable decorations, including tips on choosing the right type of yarn and the gnome hat pattern.
This post contains affiliate links. If you purchase through these links, I may earn a modest commission at no extra cost. Please review my privacy policy for more details.
To start, gather your materials: a toilet paper roll, wood ball for the gnome’s nose, cotton balls for the gnome’s beard, and a hot glue gun for assembling everything. If you’re looking to create a vibrant red hat for your gnome, opt for thicker yarn to give it a cozy feel. The brim of the hat can be fashioned from a cardboard ring, providing a sturdy base. Begin by wrapping the yarn around the roll and securing the end of the yarn with a tight knot at the top of the hat.
Next, it’s time to shape the gnome’s beard! Using a pom pom maker or simply wrapping strands of yarn around your palm, create fluffy white beards that will give your gnome that classic woodland look. Attach the beard to the front of the hat with your hot glue gun, making sure it covers the bottom of the wood ball. The gnome’s nose can be added just above the beard to create a delightful face.
Abbreviations:
ch=chain
sc=single crochet
sl st=slip stitch
Materials:
Tapestry needle
F hook
✨ We hope you enjoyed these photos! If so, please consider sharing them on Pinterest by clicking the Pin Button on each image. Your support helps us connect with more people and spread creativity. Thank you so much! 💖
Creating the Gnome Hat
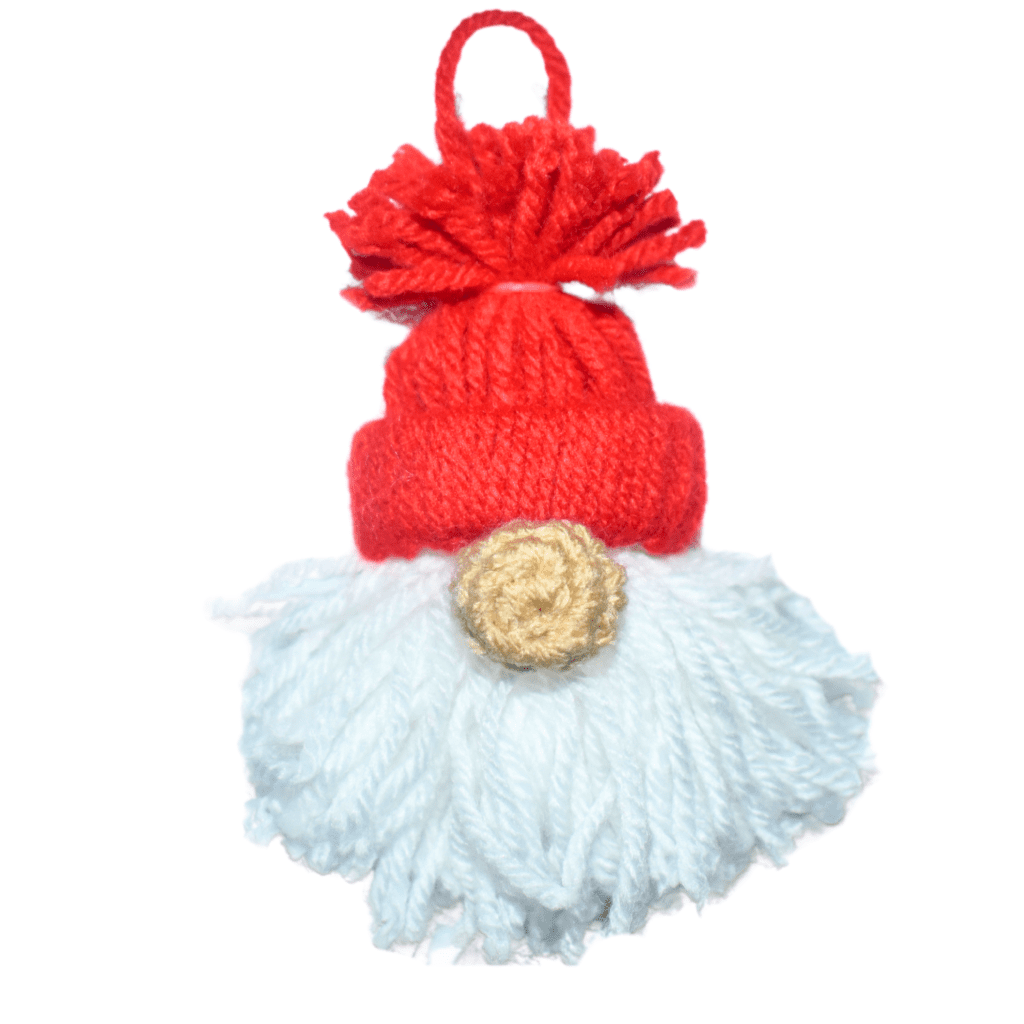
To craft the gnome’s hat, start by cutting a toilet paper roll down to about 1 inch in height. Next, take a piece of cardboard that measures 5 inches and begin wrapping red yarn around it approximately 20–25 times. Cut across the top with scissors.
Gather the ends of the yarn strands so they meet, and then position this wrapped yarn around the top of the 1‑inch toilet paper roll. Pull the two strands through the loop you’ve created and tighten it to secure the hat in place. This method is best demonstrated in the accompanying video for clarity. Repeat this process until the entire toilet paper roll is covered, creating a festive hat for your gnome! Now take the strand of yarn and pull it through the other side. Take a rubber band and create a pony tail with it. Then cut the strands of yarn to about 1.5 inches. Take a cotton ball and insert into the hat.
Creating the Gnome’s Beard
To make the gnome’s beard, start with a piece of cardboard measuring 5 inches. Wrap red yarn around it approximately 90 times. Once you’ve finished wrapping, carefully slide the yarn off the cardboard while keeping the loops intact.
Next, tie a knot around the center of the yarn bundle to secure it, and trim the top down to less than half an inch. Then, cut through the loops at the bottom to form the beard.
Now, grab your hot glue gun! Apply glue around the inside brim of the gnome’s hat, and then insert the short end of the beard into the hat, securing it in place. Your gnome will soon have a delightful beard that adds to its charm!
Nose: F hook, ch 2, work 4 sc in the first chain. sl st,
Rnd 2: *sc, 2 sc, *Repeat around, sl st — 6 sc
Rnds 3–4: *sc in each stitch around, *Repeat twice
Rnd 5: *2sctog, *Repeat around three times. Fasten off and Weave in your ends. Then take the nose and sew it or hot glue it on right below the hat brim.
For those interested in a video tutorial, there are many available online that provide step-by-step guidance. Once your DIY gnome is complete, consider making a few more to create a charming holiday garland.
Creating DIY yarn gnomes is a delightful way to bring holiday cheer into your home. Not only are these ornaments easy to make, but they also provide an excellent opportunity to use up leftover yarn from previous projects. With just a few simple materials and some creativity, you can craft a variety of gnomes that will brighten up your Christmas tree for years to come. Plus, if you share your creations on social media, you might inspire others to join in on the fun! So grab your supplies, settle in for a cozy crafting session, and enjoy the magic of the season with these adorable yarn gnome ornaments. Happy crafting!
Click Here for My Ravelry Patterns
Crochet Hats for Beginners Book For Sale — Click Here
Crochet For Beginners Book for Sale — Click Here


