Crochet Cookie Monster Inspired Hat: A Step-by-Step Guide
How to Make a Cookie Monster Hat
Crocheting a Cookie Monster Hat can be a fun and creative project, especially if you’re a fan of Sesame Street’s beloved character. This step-by-step guide will walk you through creating your own Cookie Monster-inspired beanie. Whether you’re an experienced crocheter or a beginner, this easy crochet hat pattern with a free crochet pattern will be a great addition to your winter-season wardrobe. Using basic crochet stitches, you can make a warm and stylish hat perfect for cold weather. So, grab your favorite yarn or crochet hook, and let’s start!
This post contains affiliate links. If you purchase through these links, I may earn a modest commission at no extra cost. Please review my privacy policy for more details.
✨ We hope you enjoyed these photos! If so, please consider sharing them on Pinterest by clicking the Pin Button on each image. Your support helps us connect with more people and spread creativity. Thank you so much! 💖
First, gather your materials: worsted weight yarn in different colors, a size H crochet hook, a tapestry needle, and a stitch marker.
Supplies:
Click the Links for Your Materials
– Crochet hook
– Tapestry needle
– Stitch marker
Brown, light brown, blue, white, and black yarn
H hook, Yarn needle
dc=double crochet
sc=single crochet
sl st=slip stitch
ch=chain
hdc=half double crochet made this for a toddler-preschooler (12 months-3 yrs), 18″-20″ head cir., hat length=7″ =G hookHow to Watch Videos in Slow Motion – if the video is too fast – Click Here!

G hook
rnd 1: Work 11 dc in a Magic Circle, sl st on top of the chain 3. -11 dc
Ear flaps: If you would like to add ear flaps
Make 2
white yarn
Make 2
ch 2, work 5 sc in the 2nd chain from the hook. (5sc)
Rnd 1. work 2sc in the each stitch around, sl st. (10sc)
Rnd 2.* 1sc in the next stitch, work 2sc in the next stitch, *repeat sl st. (15sc)
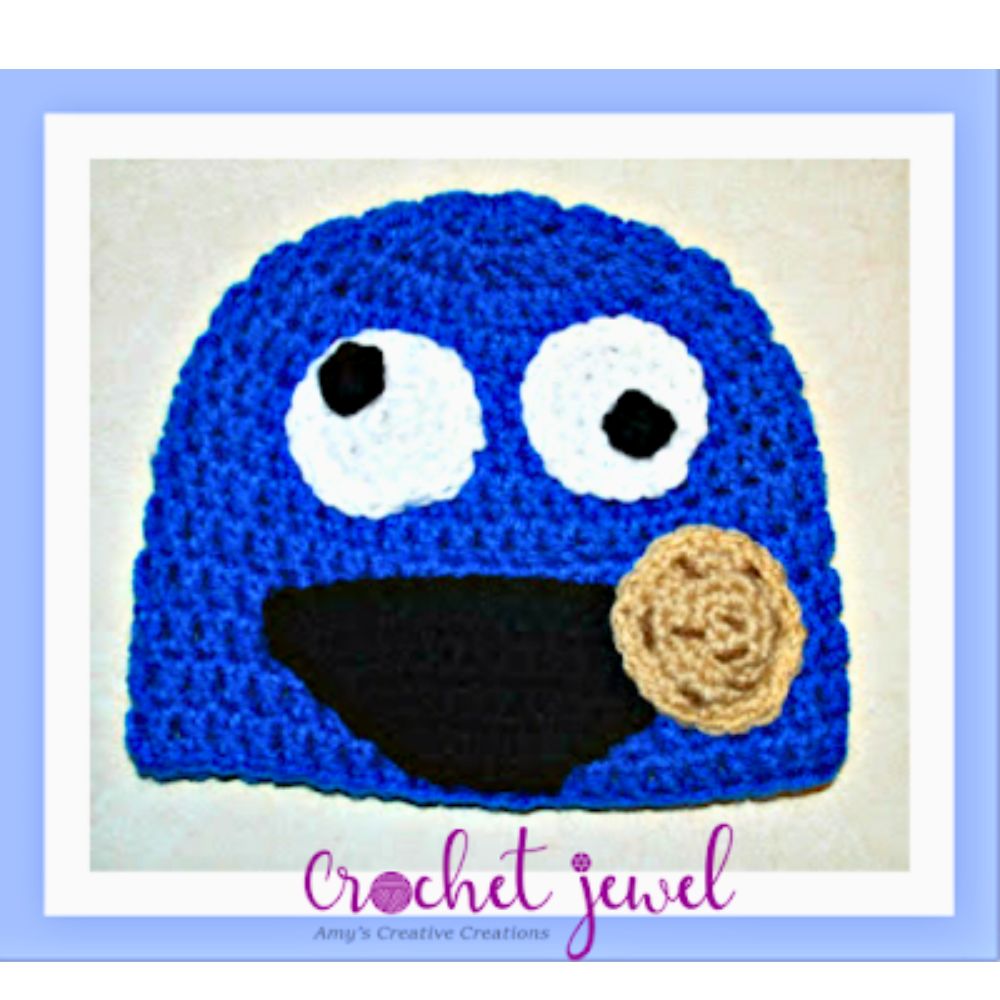
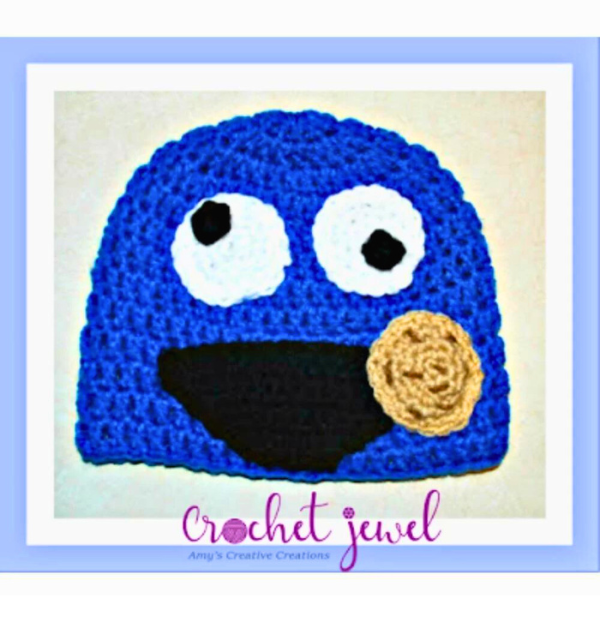
Rnd 3. * 1sc in the next two stitches, work 2sc in the next stitch, *repeat sl st. (20sc) fasten off.Pupils: Make 2,
H hook
ch 2, work 5 sc in the 2nd chain from the hook. (5sc) sl st. Fasten off.
Place the pupils in the corners of the eyes to make the eyes look silly, make the pupils go in different directions, sew the eyes above the mouth.Mouth:
H hook
chain 20
Rnd 1. sc in the 2nd chain from the hook and each stitch across, (19sc)
Rnd 2. sc2tog, sc in each stitch across, 2sctog in the last two stitches (17sc) turn
Rnd 3. sc2tog, sc in each stitch across, 2sctog in the last two stitches (15sc) turn
Rnd 4. sc2tog, sc in each stitch across, 2sctog in the last two stitches (13sc) turn
Rnd 5. sc2tog, sc in each stitch across, 2sctog in the last two stitches (11sc) turn
Rnd 6. sc2tog, sc in each stitch across, 2sctog in the last two stitches (9sc) turn
Rnd 7. sc2tog, sc in each stitch across, 2sctog in the last two stitches (7sc) turn
Rnd 8. sc2tog, sc in each stitch across, 2sctog in the last two stitches (5sc) fasten off.Place the mouth on the bottom center.Cookie:
H Hook
Light brown and dark brown yarn
for the cookie use light brown
ch 2, work 5 sc in the 2nd chain from the hook. (5sc)
Rnd 1. work 2sc in the each stitch around, sl st. (10sc)
Rnd 2.* 1sc in the next stitch, work 2sc in the next stitch, *repeat sl st. (15sc)
Rnd 3. * 1sc in the next two stitches, work 2sc in the next stitch, *repeat sl st. (20sc)
Rnd 4. *1sc in the next three stitches, work 2sc in the next stitch, *repeat sl st. (25sc) fasten off.With a yarn needle, use dark brown yarn and make dash lines throughout the cookie to look like chocolate chips.*Adding Pom-Pom:** To add a fun touch, attach a yarn or faux fur pom-pom to the top of the hat using a tapestry needle and the long tail of the yarn.
Print the Entry on the top of the page to print the pattern!
Click Here for More Crochet Hat Patterns
**Finish the Hat:** When the hat is the desired length, fasten off your work by cutting the yarn, leaving a long tail. Thread the tail through a yarn needle and weave it through the last row, then pull tight to close the top of the hat.
Creating crochet hats is an accessible and satisfying project accommodating crafters of all skill levels. With just a few basic stitches like single crochet and slip stitch, you can fashion a cozy beanie that is perfect for the cold weather of the winter season. While numerous free patterns and video tutorials are available, the key is to find the one that suits your skill level and style. From worsted weight yarn to bulky or super bulky options, you can select your favorite yarns to achieve the perfect hat height for your head size. You can also add personal touches like yarn pom-poms, faux fur accents or experimenting with different colors. Whether you’re a beginner or an experienced crocheter, this project offers endless opportunities for happy crocheting and creating hats that make great gifts or stylish accessories for yourself. Sharing your work on social media or within crochet communities is an excellent way to connect with others who share your passion for this great project. So, prepare for some fun and creative crocheting while achieving the perfect fit for your crochet hats!
This versatile project offers endless possibilities for those exploring the world of crochet hats. With a basic single crochet and slip stitch technique, you can create cozy and stylish headwear for the winter season. Using worsted weight, bulky or super bulky yarn, and various hook sizes allows you to tailor your hat for the perfect fit. Whether you’re a seasoned crocheter or a beginner, free patterns and video tutorials are available to guide you. You can add unique touches like faux fur pom-poms or experiment with different color combinations. Crochet hats make great gifts, and if you decide to share your creations on social media or within crochet groups, they become an excellent way to connect with the crafting community. So, whether you’re crafting a beanie for yourself or a messy bun hat as a gift, this project offers a fantastic opportunity for happy crocheting and creative exploration.
Crocheting a Cookie Monster Hat is an enjoyable and easy project, suitable for new crocheters and seasoned pros alike. This free crochet hat pattern allows creativity using different yarn colors and weights. You can create the perfect fit for your head with your gauge swatch and size J/6 mm crochet hook. So, whether you’re making it for yourself or as a gift, you will surely enjoy this project. Don’t forget to share your finished hat on social media or in your favorite crochet group – it’s a great project that will make others happy, too. Happy crocheting!
To Find All My Crochet Jewel Patterns, Click Here

Click Here for My Ravelry Patterns


Crochet Hats for Beginners Book For Sale – Click Here

Crochet For Beginners Book for Sale – Click Here


You May Also Like
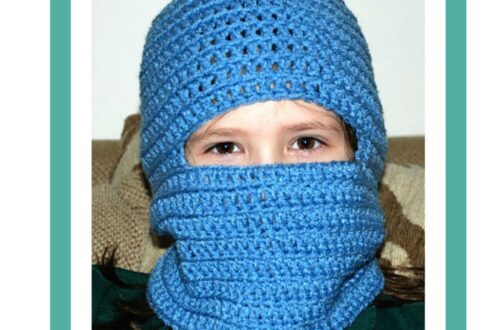
Crochet Ski Mask Hats: A Perfect Blend of Style and Warmth
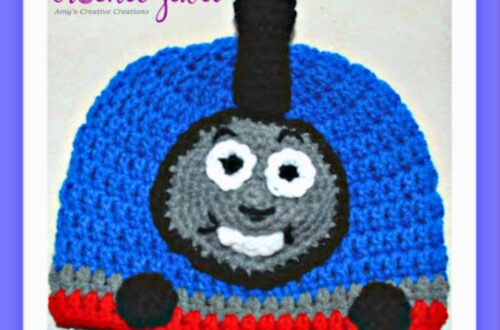
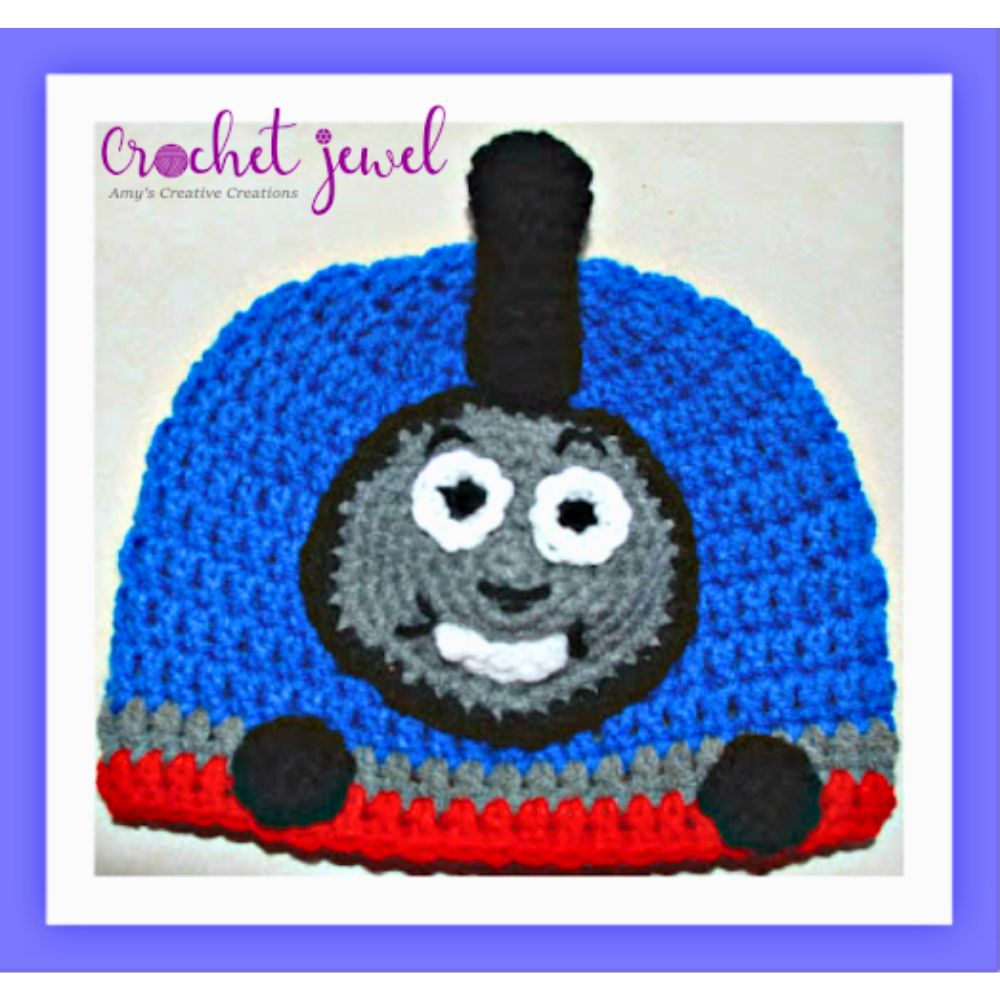
Crochet Thomas Train Inspired Hat: A Fun and Creative Project