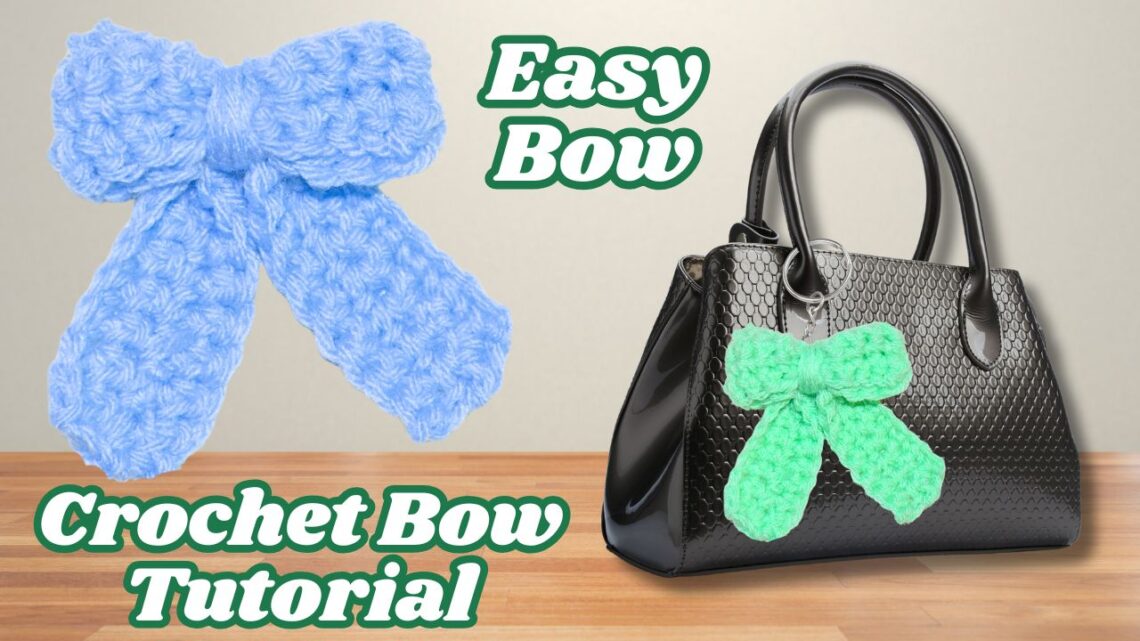
Beginner’s Guide to Crocheting Adorable Bow Keychains
Crochet Bow Keychain
Crocheting a bow keychain is a delightful and beginner-friendly project that adds a personal touch to your accessories. Whether you’re new to crochet or looking for a quick and satisfying project, this guide will walk you through creating a charming bow keychain. With just a few basic materials and simple techniques, you’ll have a stylish accessory in no time.
This post contains affiliate links. If you purchase through these links, I may earn a modest commission at no extra cost. Please review my privacy policy for more details.
Click the Social Icons to Stay Connected
![]()
![]()
![]()
![]()

Click the Links for Your Materials
All Colors of Yarn Click Here
– Crochet hook
– Tapestry needle
– Stitch marker
✨ We hope you enjoyed these photos! If so, please consider sharing them on Pinterest by clicking the Pin Button on each image. Your support helps us connect with more people and spread creativity. Thank you so much! 💖
Materials You’ll Need
Before you begin, gather the following materials:
-
Yarn: Choose a medium weight yarn (like worsted weight) in your preferred color.
-
Crochet Hook: An I hook is ideal for this project.
-
Keychain Ring: This will serve as the base for your keychain.
-
Tapestry Needle: For weaving in ends and sewing pieces together.
-
Scissors: To cut your yarn.
Crocheting the Bow
Start by making a foundation chain of 19 stitches. Turn your work and single crochet (sc) in each chain across. Repeat this for about 3 more rows to create a rectangular piece. Make 2
Materials You’ll Need
Before we begin, gather the following materials:
- Yarn: Medium worsted weight yarn (choose your favorite color)
- Crochet Hook: Size I (5.5 mm)
- Yarn Needle: For weaving in ends
- Scissors: To cut yarn
- Keychain Ring: To attach your bow
Step-by-Step Instructions
Make 2
- Create a Slip Knot: Begin by making a slip knot and placing it onto your crochet hook.
- Chain Stitches: Chain 19 stitches. For a larger bow, increase the number of chains; for a smaller bow, decrease the number.
- Single Crochet Rows: In the second chain from the hook, work a single crochet. Continue single crocheting in each chain across until you reach the end. Repeat this for a total of four rows. Make 2.
- Fasten Off: After completing the rows, yarn over and pull through, leaving a tail of about 18 inches.
- Sew the Ends Together: Take the two ends of your crocheted piece and sew them together using the yarn needle, forming a loop.
- Form the Bow: Fold the loop into a bow shape and secure the center by wrapping the yarn around it a few times. Tie a knot at the back to hold everything in place.
- Take the other rectangle and fold it in half to find the center. Then fold it slightly on top then take the other bow and place it on the center of your rectangle and wrap your yarn around it around 8 times, then tie it. Weave in your ends.
- Attach the Keychain Ring: Thread the yarn tail through the keychain ring and tie a secure knot.
- Weave in Ends: Use the yarn needle to weave in any loose ends for a neat finish.
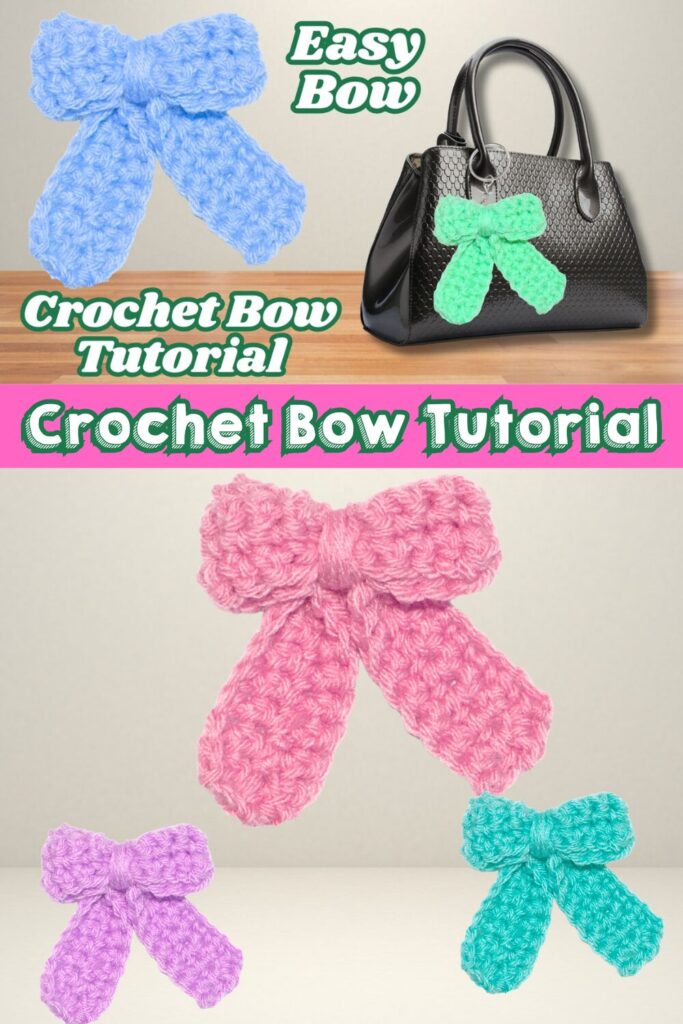
Creating a crochet bow keychain is a fun and rewarding project that allows you to practice basic crochet techniques while making a functional and fashionable accessory. Once you’ve mastered the basic pattern, feel free to experiment with different yarn colors and textures to personalize your creations. Happy crocheting!
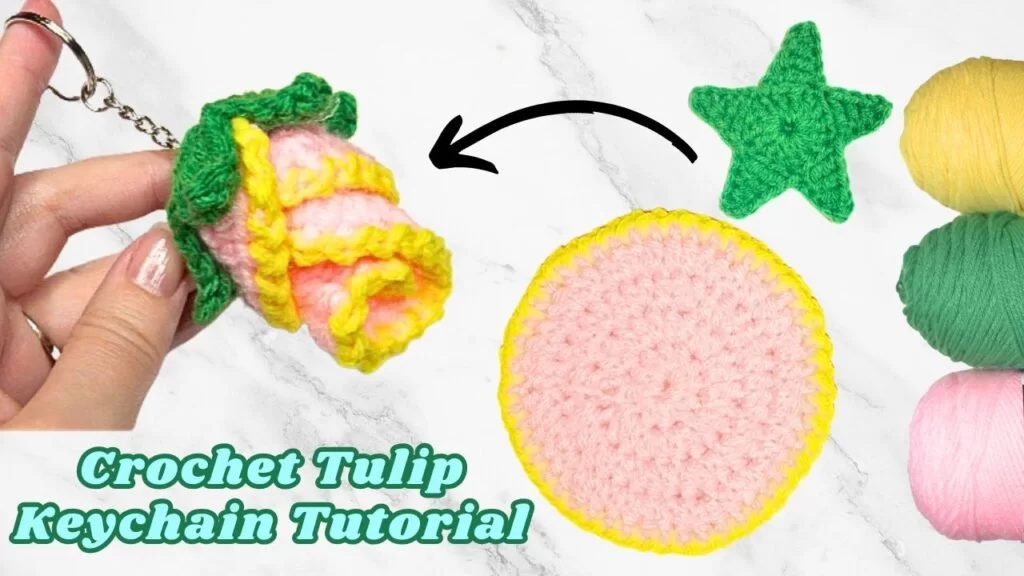
Click Here to learn How to Crochet a Tulip Keychain


Crochet Hats for Beginners Book For Sale – Click Here

Crochet For Beginners Book for Sale – Click Here


