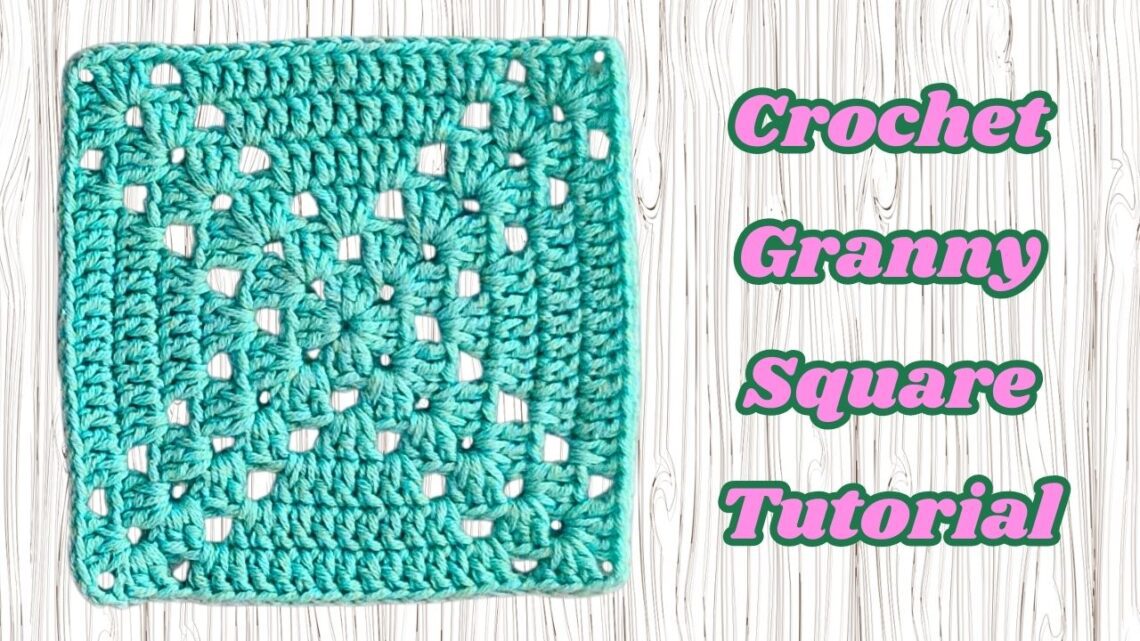
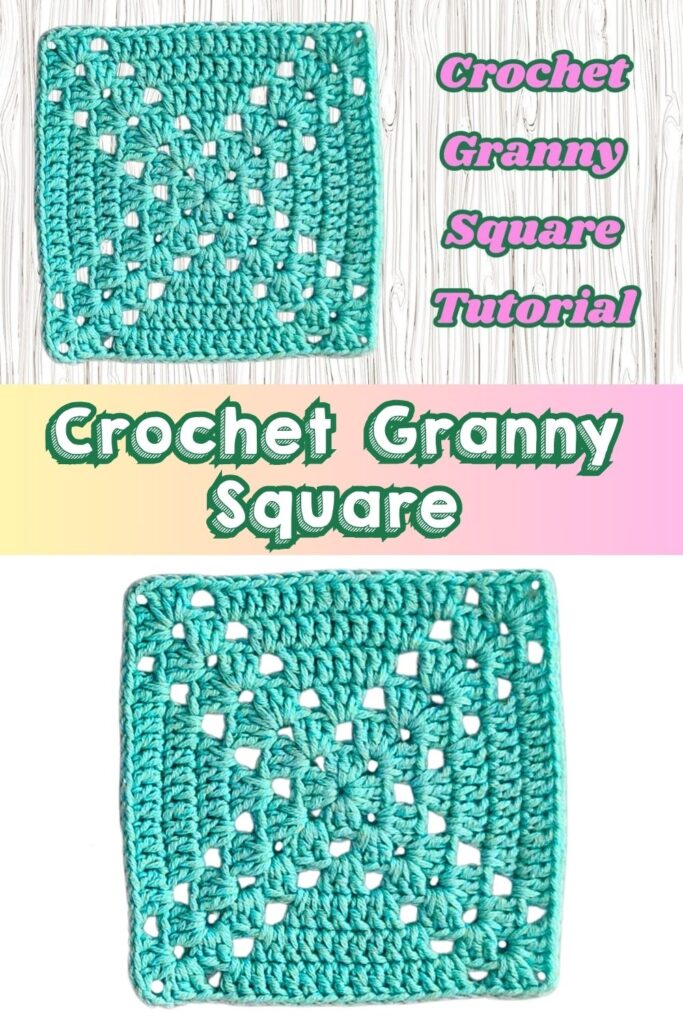
Easy Granny Square Crochet Tutorial for Beginners
Easy Granny Square
If you’re just starting your crochet journey, learning how to crochet a granny square is the perfect place to begin. This timeless and versatile motif has been a staple in crochet for generations. From cozy blankets and vibrant scarves to stylish bags and home decor, granny squares can be used in endless creative ways. In this post, we’ll walk you through the steps to make a basic granny square that even beginners can master.
The traditional granny square starts with a simple center ring, built up with chains and double crochets that expand outward in a square shape. The beauty of this pattern lies in its repetition and simplicity—after a few rounds, you’ll find yourself crocheting almost effortlessly.
This post contains affiliate links. If you purchase through these links, I may earn a modest commission at no extra cost. Please review my privacy policy for more details.
Click the Social Icons to Stay Connected
![]()
![]()
![]()
![]()

Click the Links for Your Materials
✨ We hope you enjoyed these photos! If so, please consider sharing them on Pinterest by clicking the Pin Button on each image. Your support helps us connect with more people and spread creativity. Thank you so much! 💖
Materials:
- Yarn: medium worsted yarn or any cotton yarn
- Crochet hook: F hook
- Scissors
- Yarn needle
Abbreviations:
- ch – chain
- dc – double crochet
- hdc – half double crochet
- sl st – slip stitch
- sp – space
- st – stitch
Round 1:
- Start with a magic ring
- Ch 3 (counts as 1 dc)
- Work 2 dc, ch 2
- (3 dc, ch 2) repeat 3 more times into the ring
- You now have 4 groups of 3 dc, separated by ch-2 corners
- Ch 2, sl st into the chain 2.
You now have a basic square with 4 corners.
Round 2:
- Ch 2 (acts as dc), 2 dc into the same corner space (this completes half of the first corner)
- Ch 1
- In next ch-2 corner: (3 dc, ch 2, 3 dc)
- Ch 1
- Repeat the (3 dc, ch 2, 3 dc) in remaining 2 corners, with ch 1 between each 3 dc’s
- In the last corner, work 3 dc, ch 2, sl st into the chain 2.
Your square is growing evenly on all sides.
Round 3:
- Ch 2, 2 dc in the same corner space
- Ch 1
- (3 dc in the next space between corners), ch 1
- In next corner: (3 dc, ch 2, 3 dc), ch 1,
- Continue the pattern: work 3 dc into each side space, ch 1, and (3 dc, ch 2, 3 dc) ch 1, into each corner
- End with 3 dc in the last space, ch 2, sl st in the ch 2.
Now you can see the square taking shape with side spaces.
Round 4:
- Ch 2, 2 dc in the same corner space
- Work 2 dc in the next space
- Work 3 dc on top of each 3-dc group from the previous round
- 2 dc in next space
- In each corner: ch1 (3 dc, ch 2, 3 dc), ch 1
- Continue the sequence:
- Add 2 dc in each side space
- 3 dc on top of each dc group
- ch1 (3 dc, ch 2, 3 dc), ch 1 in each corner
- End the round with 3 dc in the final space, ch 2, sl st in chain 2.
Rounds 5+ (Optional):
- Continue growing the square using the same pattern:
- ch1 (3 dc, ch 2, 3 dc), ch 1 in corners
- Fill each side space with 2 dc and dc along the edge of each dc, end with ch 2, sl st in chain 2.
Stop when the square is your desired size. Fasten off and weave in your ends.
Finishing:
Crocheting a granny square is not only a great way to practice your stitches, but it also opens the door to endless project possibilities. Once you’ve mastered the basic square, you can experiment with different stitch combinations, colors, and sizes. Whether you want to make a large blanket or a small coaster, the granny square is a skill worth learning and perfecting. We hope this guide helps you feel confident to start creating your own beautiful squares. Happy crocheting!


Crochet Hats for Beginners Book For Sale – Click Here


You May Also Like
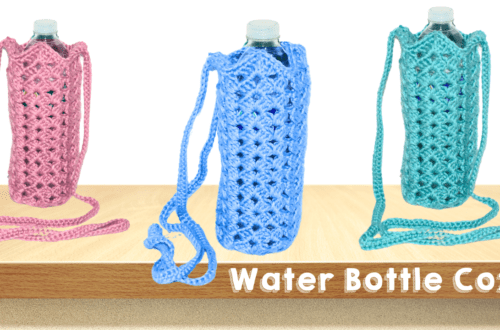
Add a Personal Touch with a Crochet Water Bottle Holder
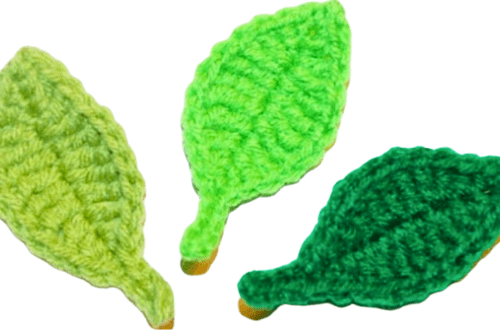
Learn How to Crochet a Basic Leaf: Step-by-Step Tutorial