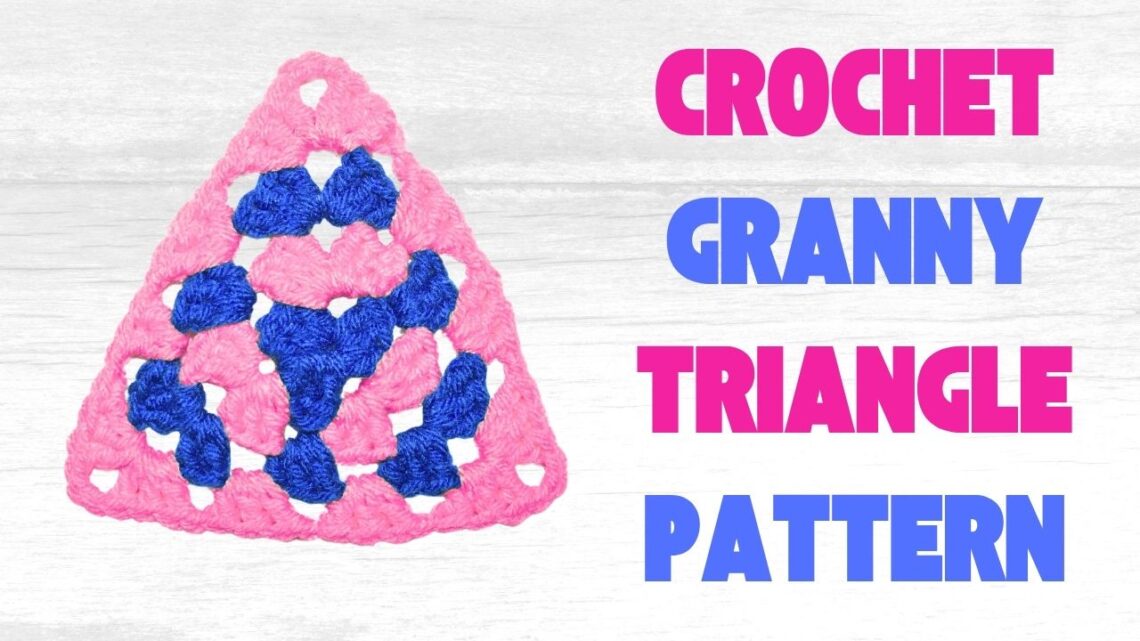
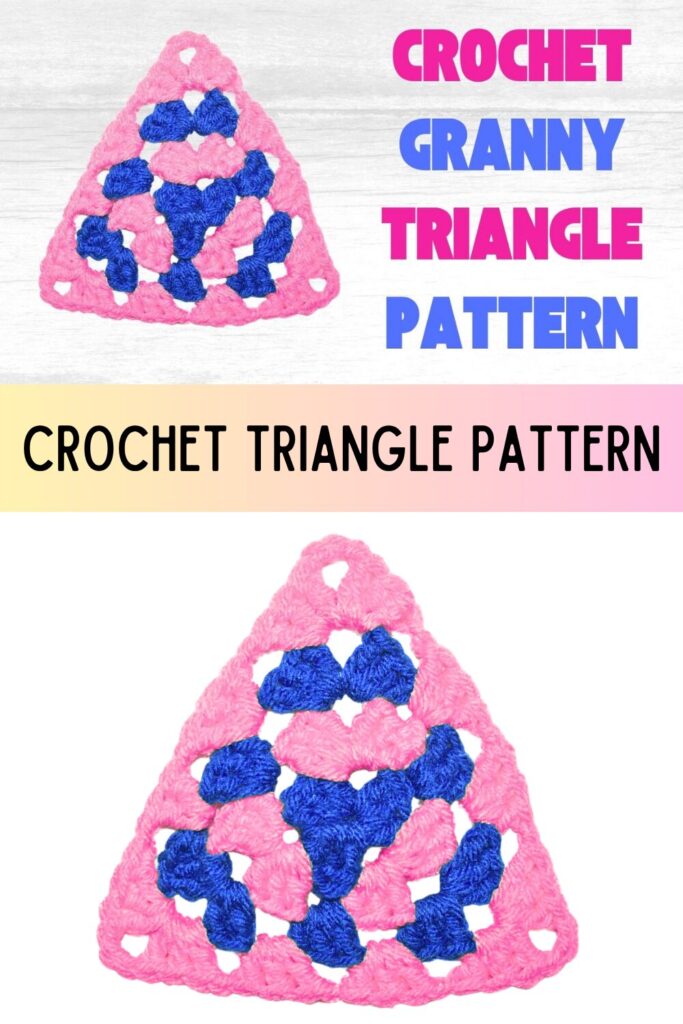
The Ultimate Granny Triangle Crochet Pattern
Granny Triangle Crochet Pattern
This granny triangle is a fun and versatile crochet motif that you can grow as big as you want by simply repeating rounds. It’s perfect for bunting, shawls, corner decorations, or even blankets if joined together. You’ll start with a traditional magic ring and grow the triangle by working in clusters of 3 dc (double crochets) separated by ch-3 corners and ch-1 spaces.
This post contains affiliate links. If you purchase through these links, I may earn a modest commission at no extra cost. Please review my privacy policy for more details.
Click the Social Icons to Stay Connected
![]()
![]()
![]()
![]()

Click the Links for Your Materials
✨ We hope you enjoyed these photos! If so, please consider sharing them on Pinterest by clicking the Pin Button on each image. Your support helps us connect with more people and spread creativity. Thank you so much! 💖
Click the Links for Your Materials
All Colors of Yarn Click Here
– Crochet hook
– Tapestry needle
– Stitch marker
Crochet Abbreviations List:
-
sl knot – Slip Knot
-
ch – Chain
-
sl st – Slip Stitch
-
dc – Double Crochet
-
tr – Treble (or Triple) Crochet
-
st / sts – Stitch / Stitches
-
rnd – Round (not directly used but useful to know)
-
rep – Repeat (used in pattern instructions)
-
FO – Fasten Off
Materials Needed
- 100% cotton yarn or medium worsted yarn in two contrasting colors
- G crochet hook (or size suitable for your yarn)
- Yarn needle
🔹 Round 1 (center of the triangle)
- Start with a magic ring (MR).
- Ch 3 – counts as 1 dc).
- Work 2 dc into the ring.
- Ch 3 (this is your corner).
- 3 dc into the ring, ch 3 → repeat 2 more times. You should have three 3-dc clusters, each separated by ch-3.
- Tighten the ring and sl st into the top of the beginning ch-3.
- Fasten off (if changing color) or continue.
You now have the triangle’s base with 3 corners.
Round 2
- Join a new color in any ch-3 corner sp.
- Ch 2 (counts as dc), 2 dc into the same corner.
- Ch 3 (corner), 3 dc in same sp.
- Ch 1, in next corner sp: 3 dc, ch 3, 3 dc → rep this corner pattern 2 more times.
- Ch 1, sl st into the top of beginning ch-2 (or 3).
- Fasten off (if changing color).
Now you have 3 corners separated by 1 dc cluster each.
Round 3
- Join a new color in any corner sp.
- Ch 2 (counts as dc), 2 dc in the same sp.
- Ch 3 (corner), 3 dc in same sp.
- Ch 1, in next ch-1 sp, 3 dc.
- Ch 1, in next corner sp: 3 dc, ch 3, 3 dc.
- Ch 1, 3 dc in next ch-1 sp.
- Ch 1, corner: 3 dc, ch 3, 3 dc.
- Ch 1, sl st to top of beginning ch-2.
- Fasten off if changing color.
Triangle is growing — now you have 2 side clusters between each corner.
Round 4
- Join new color in a corner sp.
- Ch 2, 2 dc, ch 3, 3 dc (corner complete).
- Ch 1, 3 dc in next ch-1 sp, ch 1 → repeat for each ch-1 sp until next corner.
- In corner sp: 3 dc, ch 3, 3 dc.
- Continue around following the same pattern: ch 1 between clusters, corners have 3 dc, ch 3, 3 dc.
- End with ch 1, sl st to beginning ch.
You should now have 3 side clusters per side.
You can now continue building your granny triangle by repeating Round 4:
- Corners = 3 dc, ch 3, 3 dc
- Between corners = 3 dc in each ch-1 sp, separated by ch 1
- Use any color combination you like!
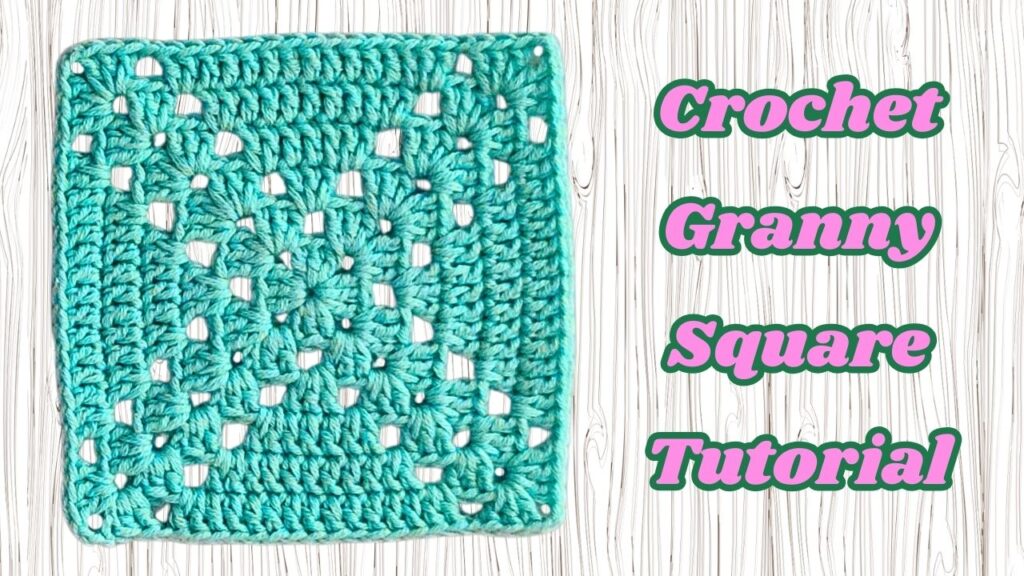
Easy Granny Square Crochet Tutorial for Beginners
To Find All My Crochet Jewel Patterns, Click Here

Click Here for My Ravelry Patterns


Crochet Hats for Beginners Book For Sale – Click Here


You May Also Like

Exploring Different Crochet Stitches for Blankets
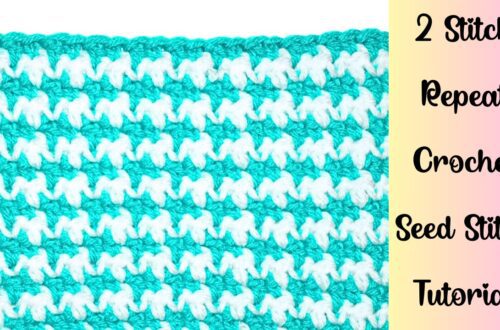
Quick & Easy 2-Stitch Repeat Crochet: SC & DC in One Row
