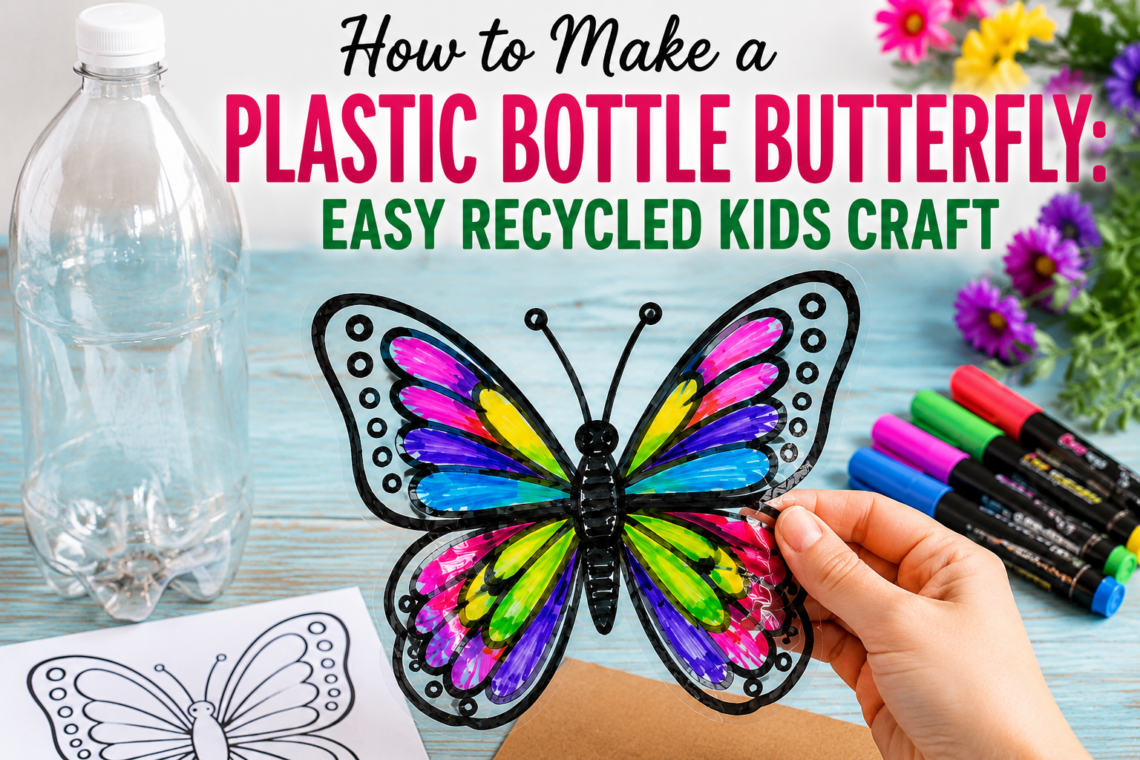
How to Make a Plastic Bottle Butterfly: Easy Recycled Kids Craft

Plastic Bottle Butterfly Craft
Turn an ordinary plastic bottle into a beautiful butterfly with this fun and easy recycled craft! This colorful project is a wonderful way to reuse plastic bottles while creating cheerful decorations for spring, summer, or classroom activities. With a free butterfly template and a few paint markers, you’ll have a one-of-a-kind butterfly that’s perfect for hanging in a window, decorating a bulletin board, or giving as a handmade gift.
Whether you’re crafting with kids, looking for an Earth Day activity, or simply love butterfly crafts, this project is simple enough for beginners and fun for all ages.
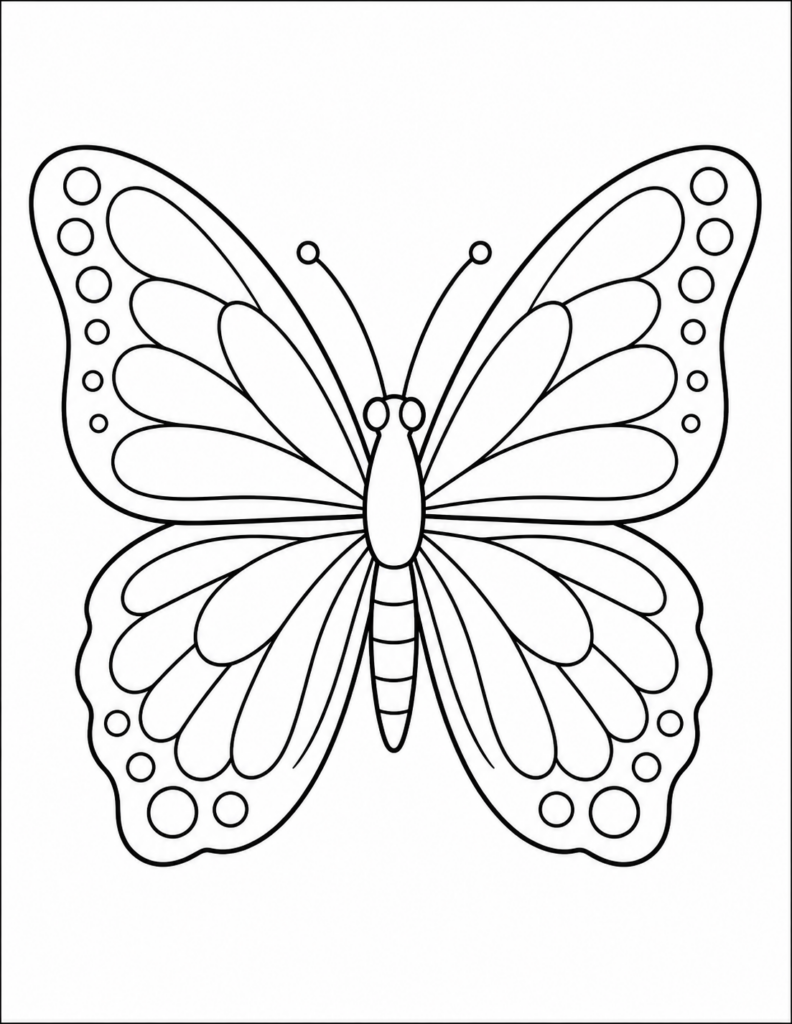
Click here for the butterfly photo
Why You’ll Love This Plastic Bottle Butterfly Craft
- Easy enough for kids and beginners
- Great Earth Day or recycling activity
- Uses inexpensive supplies
- Makes colorful window or garden decorations
- Perfect for classrooms, homeschool, or rainy afternoons
Supplies You’ll Need
- Free printable butterfly template
- Clean, clear 2-liter plastic bottle
- Oil-based paint markers (black plus assorted colors)
- Scissors
- Small piece of cardboard
- Binder clips or paper clips
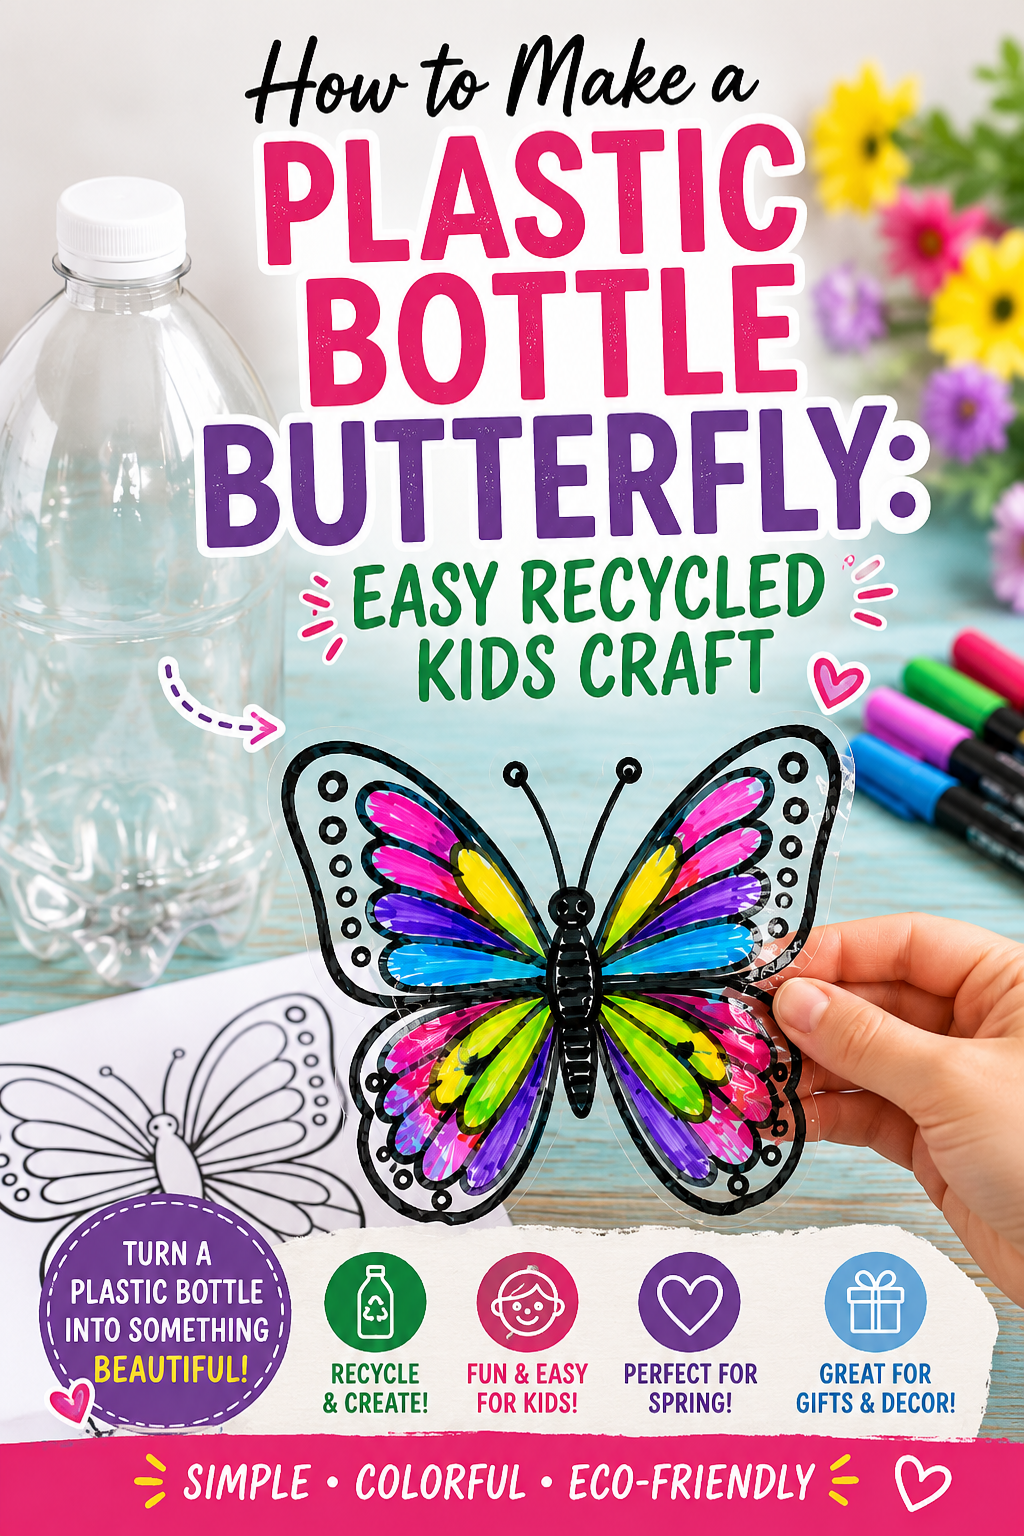
How to Make a Plastic Bottle Butterfly
Step 1: Gather Your Supplies
Wash and dry a clear plastic soda bottle, remove the label, and collect the rest of your materials.
Step 2: Cut the Plastic Bottle
Ask an adult to help cut the top and bottom off the bottle.
Slice the remaining center section down one side and flatten it. Then cut it in half to create two plastic sheets—you can make two butterflies from one bottle.
Step 3: Attach the Template
Print your favorite butterfly template.
Place the template on a piece of cardboard and position the flattened plastic over the top. Secure everything with binder clips so the plastic stays flat while you trace.
Step 4: Trace the Butterfly
Using a black paint marker, carefully trace the butterfly outline along with any wing details from the template.
Allow the outline to dry for about 5–10 minutes.
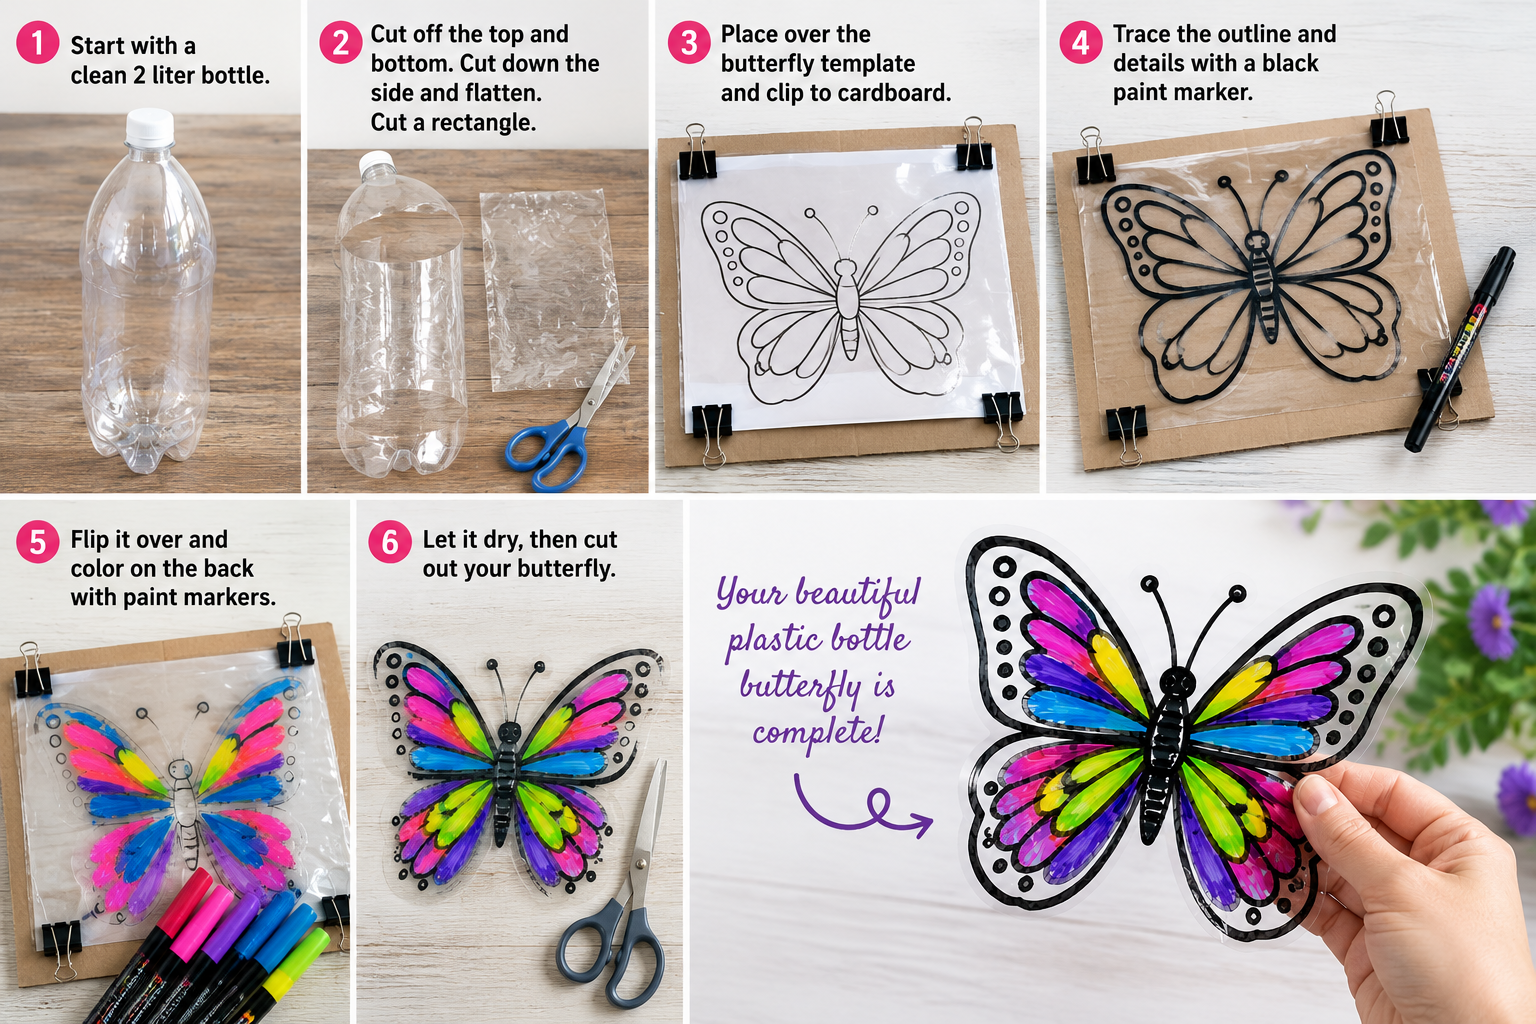
Step 5: Add Color
Flip the plastic over so you’re coloring on the reverse side.
Fill in the wings using colorful paint markers. Bright spring shades, rainbow colors, or even metallic accents all look beautiful.
Try to keep the colors balanced by repeating the same pattern on both wings.
Allow the paint to dry completely before moving on.
Step 6: Cut Out the Butterfly
Carefully cut around the butterfly, leaving a small clear border if desired.
If any edges feel rough, smooth them gently with fine sandpaper or a nail file.
Your butterfly is now ready to display!
Helpful Tips
- Oil-based paint markers create vibrant colors and stick well to plastic.
- Avoid touching wet paint to prevent smudges.
- If you accidentally smear the paint, rubbing alcohol on a cotton swab can help clean the area before repainting.
- Clear bottles with smooth sides produce the nicest finished butterflies.
- Add a small hole at the top and thread fishing line through it to create a hanging decoration.
What Type of Bottle Works Best?
A clear 2-liter soda bottle works especially well because the plastic is flexible and easy to cut. The larger size also gives you enough flat plastic to make two butterflies.
Other clear beverage bottles can work too, as long as the plastic isn’t too thick.
Best Markers for Plastic
Oil-based paint markers provide the brightest colors and the best coverage on plastic surfaces.
Permanent markers can also be used if you’d like a more transparent, stained-glass appearance. Washable markers aren’t recommended because they tend to bead up and wipe off easily.
Fun Ways to Use Your Butterfly
Once your butterfly is finished, there are lots of creative ways to display it:
- Hang it in a sunny window
- Decorate a classroom bulletin board
- Add it to a flower arrangement
- Create butterfly mobiles
- Make garden decorations
- Use them as party decorations
- Include them in spring craft displays


You May Also Like

How to Make Your Own DIY Clay at Home Easily
Step-by-Step DIY Paintings for Beginners