Create a Festive Christmas Tree with Our Crochet Tutorial
How to Crochet a Christmas Tree
Crocheting Christmas tree patterns can be a delightful and creative way to add a handmade charm to your holiday decor. Whether you’re a crochet enthusiast or a beginner, these free crochet patterns offer endless possibilities for crafting unique and festive ornaments. In this step-by-step guide, we’ll explore techniques such as single crochet, double crochet, and even puff stitches to create different sizes of crochet trees. You can make rustic tree ornaments, elegant bauble covers, small stars, or tall cone Christmas trees – the options are as diverse as your imagination. So, grab your yarn hooks, and let’s start this easy crochet Christmas tree project!
You’ll find affiliate links within this post. If you decide to purchase through these links, I may earn a modest commission at no extra cost. Additionally, please review my privacy policy for more details.
✨ We hope you enjoyed these photos! If so, please consider sharing them on Pinterest by clicking the Pin Button on each image. Your support helps us connect with more people and spread creativity. Thank you so much! 💖
To begin, you’ll need some basic crochet supplies, including a crochet hook (size G or the appropriate size for your chosen yarn), a yarn needle, and some yarn. For a classic Christmas tree look, green worsted-weight yarn, like Red Heart Super Saver, works well.
**Foundation Chain:** Start by creating a foundation chain with the desired number of chain stitches. This will determine the size of your crochet tree. You can experiment with different sizes by adjusting the number of chains.
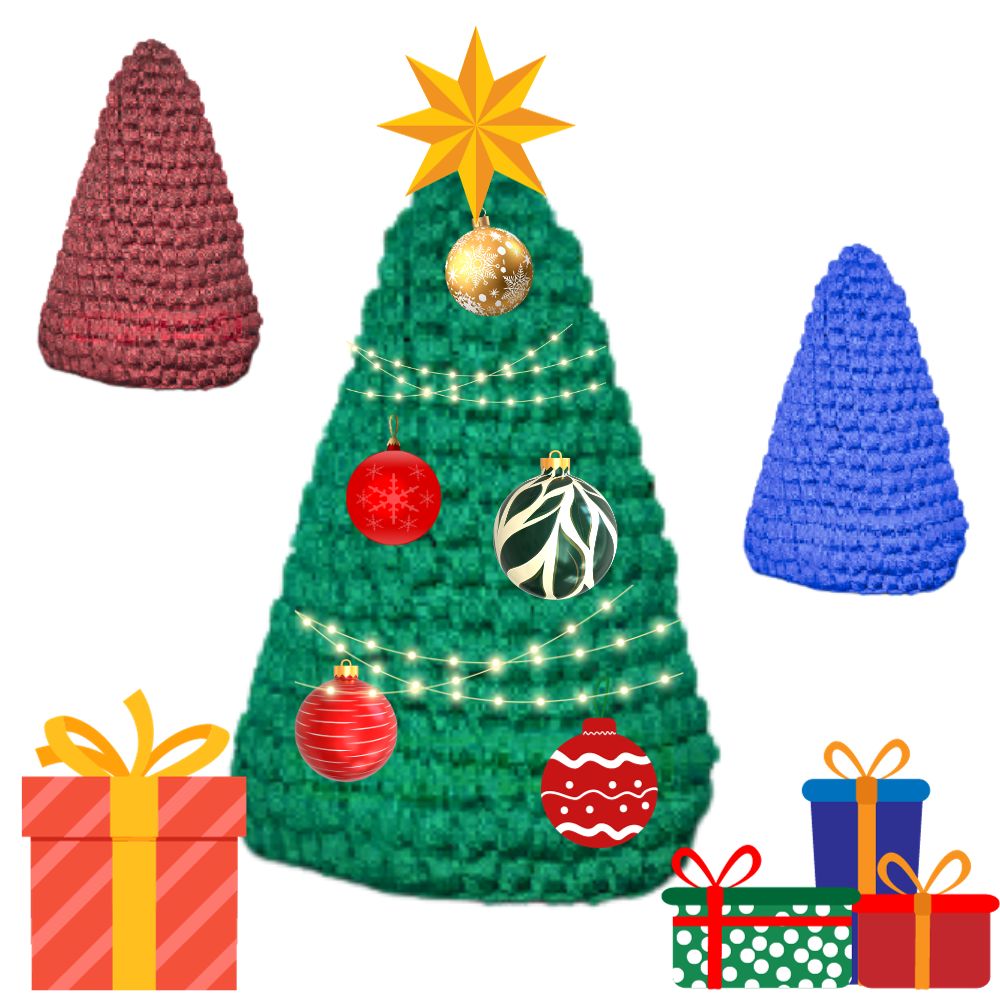
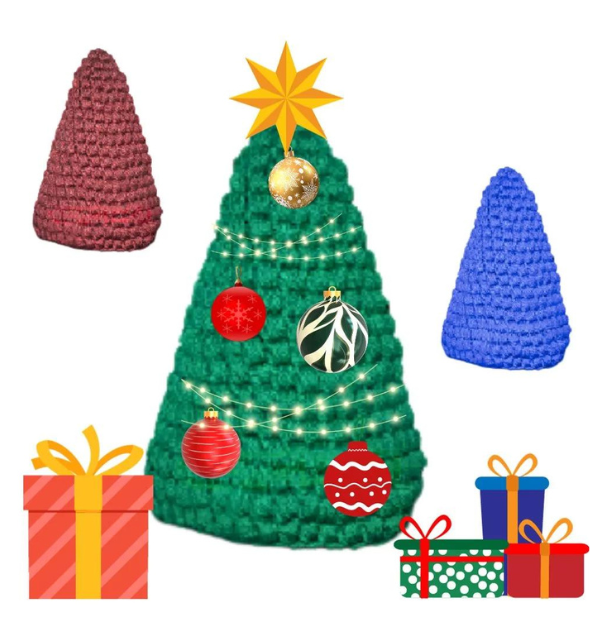
Supplies: Green Yarn, H hook, yarn needle. It measures about 7 inches tall.
I made this Cute Christmas tree to put at our dinner table during the holidays!
Abbreviations:
ch = chain, sc=single crochet, sl st=slip stitch
yoh = yarn over hook
Puff Stitch= [(Yoh and draw up a loop) 3 times in indicated stitch. Yoh and draw through all 7 loops on hook– Puff st made.]
How to Crochet For Beginners Playlist – Click Here
Ch 3, sl st to join to create a ring.
Rnd 1: work 5 sc in the ring. st st to join.
Rnd 2: Work 1 Puff Stitch in each sc around, sl st, – 5 puff stitches made
Rnd 3: Work 2 Puff Stitches in each Puff Stitch around, sl st, -10 puff stitches made
Rnd 4: *Work 1 Puff Stitch in the next Puff Stitch, 2 Puff Stitches increase in the next Puff Stitch, *Repeat around, Work in continual rounds without a slip stitch.
Rnd 5: Work 1 Puff Stitch in each Puff Stitch around.
Rnd 6: *Work 1 Puff Stitch in the next two Puff Stitches, 2 Puff Stitches increase in the next Puff Stitch, *Repeat around.
Rnd 7: Work 1 Puff Stitch in each Puff Stitch around.
Rnd 8: *Work 1 Puff Stitch in the next three Puff Stitches, 2 Puff Stitches increase in the next Puff Stitch, *Repeat around.
Rnd 9: Work 1 Puff Stitch in each Puff Stitch around.
Rnd 10: *Work 1 Puff Stitch in the next four Puff Stitches, 2 Puff Stitches increase in the next Puff Stitch, *Repeat around.
Rnd 11: Work 1 Puff Stitch in each Puff Stitch around.
Rnd 12: *Work 1 Puff Stitch in the next five Puff Stitches, 2 Puff Stitches increase in the next Puff Stitch, *Repeat around.
Rnd 13: Work 1 Puff Stitch in each Puff Stitch around.
Rnd 14: *Work 1 Puff Stitch in the next six Puff Stitches, 2 Puff Stitches increase in the next Puff Stitch, *Repeat around.
Rnd 15: Work 1 Puff Stitch in each Puff Stitch around.
Rnd 16: *Work 1 Puff Stitch in the next seven Puff Stitches, 2 Puff Stitches increase in the next Puff Stitch, *Repeat around.
Rnd 17: Work 1 Puff Stitch in each Puff Stitch around.
Rnd 18: *Work 1 Puff Stitch in the next eight Puff Stitches, 2 Puff Stitches increase in the next Puff Stitch, *Repeat around.
Rnd 19: Work 1 Puff Stitch in each Puff Stitch around. Slip stitch a few times, Fasten off. Weave in the ends.
**Color Changes:** You can make colorful trees by changing yarn colors as you go, creating a vibrant and eye-catching display of crochet Christmas tree patterns.
**Crochet Ornaments:** Add charm by crocheting ornaments like small stars, puff stitch bauble covers, or tiny Christmas baubles. These can be attached to your tree or used separately.
**Continuous Rounds:** you’ll work in continuous rounds rather than rows for some designs. This gives a seamless appearance to your crocheted pieces.
**Finishing Touches:** Depending on your chosen design, add a hanging loop, attach LED lights, or insert a dowel rod at the tree’s base to make it stand tall.
Creating crochet Christmas trees can be a fun and rewarding holiday project. Whether you’re making them for your Christmas decor or to sell on your Etsy shop or YouTube channel, the versatility of these patterns allows for endless creativity. You can craft your favorite holiday decorations with simple stitches like single crochet and double crochet, along with different sizes and color changes. The result will be a collection of unique, handmade trees that add warmth and charm to your Christmas decor. So, grab your crochet hooks and some scrap yarn, and let your imagination run wild with these delightful crochet Christmas tree patterns. Don’t forget to explore affiliate links for inspiration and video tutorials for step-by-step instructions. Start your crochet Christmas tree project this year and enjoy the festive spirit it brings to your holiday season!
To Find All My Crochet Jewel Patterns, Click Here

Click Here for My Ravelry Patterns


Crochet Hats for Beginners Book For Sale – Click Here

Crochet For Beginners Book for Sale – Click Here


You May Also Like
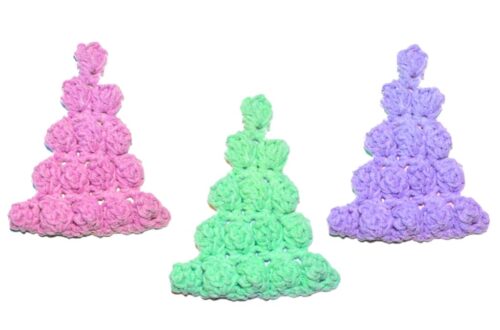
Step-by-Step Guide: Creating Magical Trees with the Puff Stitch
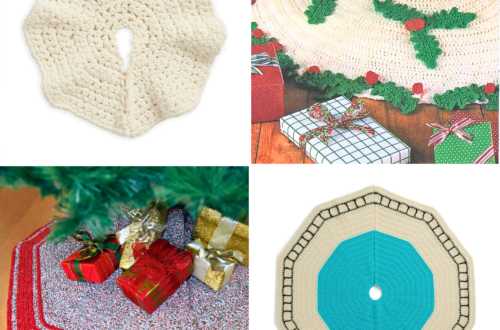
How to Crochet Stunning Christmas Tree Skirt Patterns