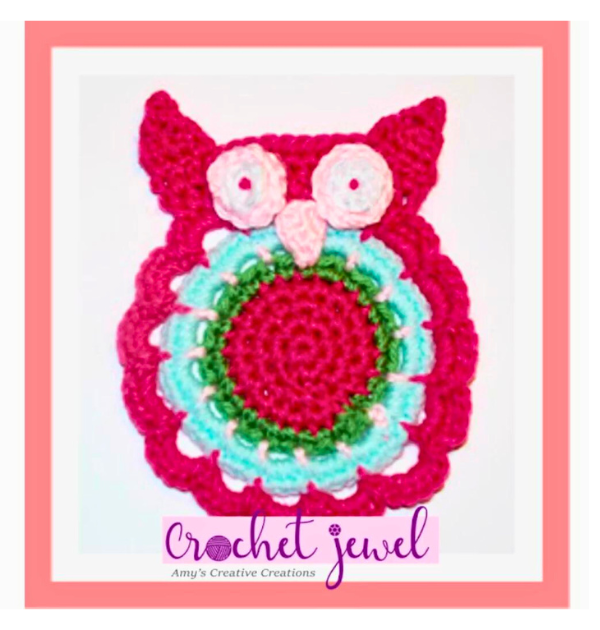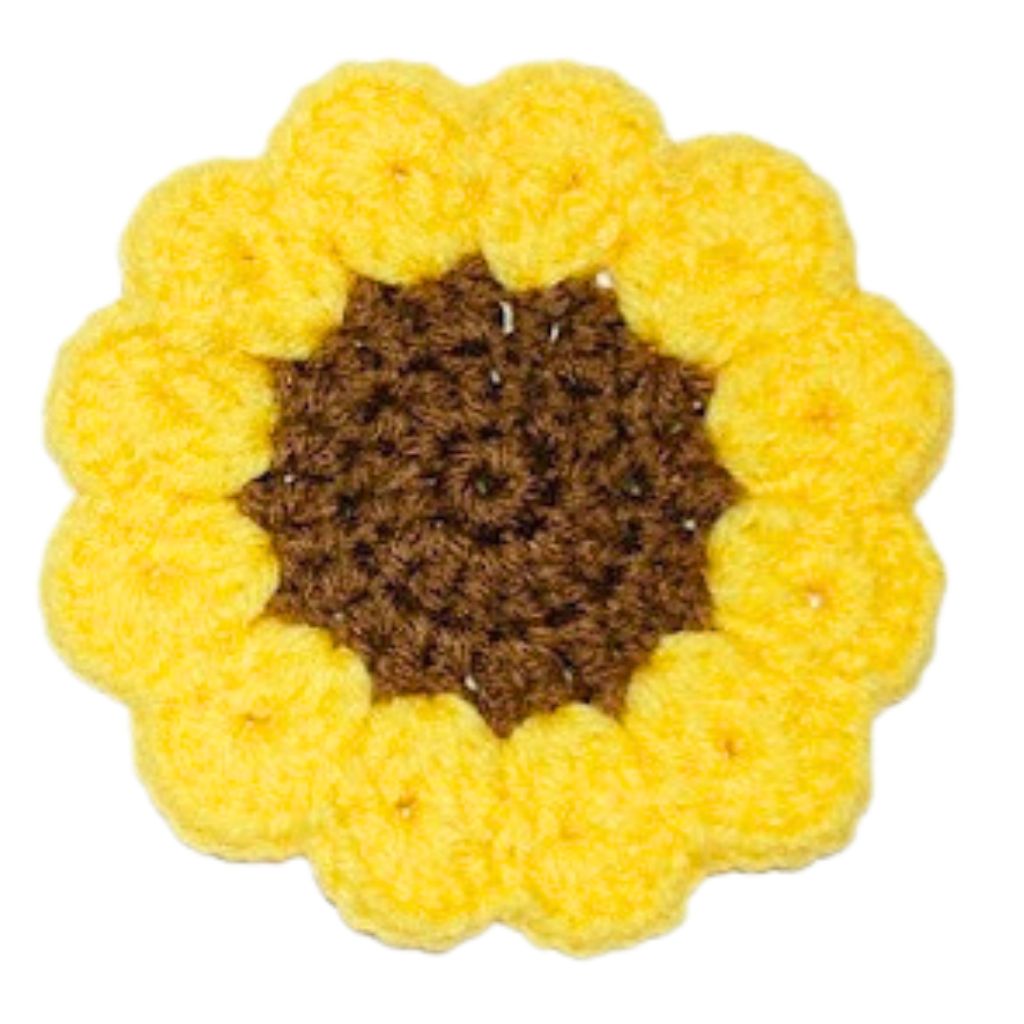
Crochet an Adorable Owl Coaster: A Complete DIY Guide
How to Crochet an Owl Coaster
In this comprehensive guide titled “How to Crochet an Owl Coaster: A step-by-step tutorial,” we’ll explore the fascinating crochet world as we create charming owl coasters. Whether you’re a beginner or an advanced crocheter, this project will be enjoyable and rewarding. Get ready to dive into stitches, cotton yarn, and creative possibilities.
To begin this crochet journey, you’ll need some basic supplies. First, gather your materials, including cotton yarn, particularly worsted weight, and a 4mm crochet hook suitable for various projects. Additionally, you’ll need a tapestry needle, stitch markers, and a pair of scissors. Don’t forget to create a slip knot to start your project, forming the foundation for your owl coaster.
This post contains affiliate links. If you purchase through these links, I may earn a modest commission at no extra cost. Please review my privacy policy for more details.
✨ We hope you enjoyed these photos! If so, please consider sharing them on Pinterest by clicking the Pin Button on each image. Your support helps us connect with more people and spread creativity. Thank you so much! 💖
One of the key techniques you’ll use is the magic ring, also known as a magic circle, which provides a seamless and adjustable starting point for your coaster. From there, you’ll work on basic stitches like single crochet (sc), double crochet, and slip stitch (sl st) to form the body of your owl. Experiment with different colors to achieve a unique look for each coaster in your set. The best part is that we’re offering a free crochet pattern for these adorable owl coasters.
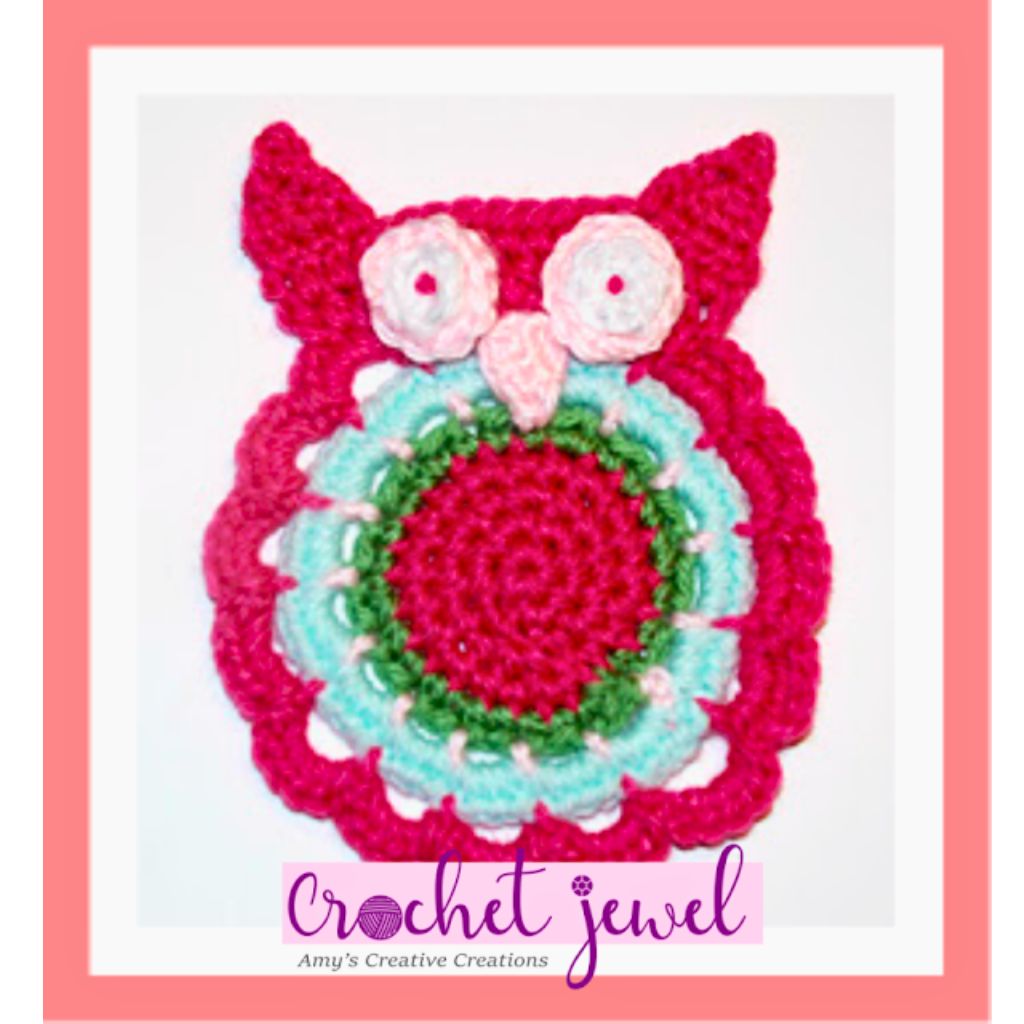
Enjoy this Cute Owl Crochet Coaster Pattern! Owls are so cute to have around the house and fun to make! Learn how to crochet an owl coaster in this easy-to-follow tutorial. This coaster is perfect for any room in your home and adds a little bit of fun to your decor.
Click the Links for Your Materials
All Colors of Yarn Click Here
- Crochet hook
- Tapestry needle
- Stitch marker
F hook
2sctog=2 single crochet together decrease
Row 16: 2sctog decrease, Fasten off.
Print the Entry on the top of the page to print the pattern!
With clear photo tutorials and written patterns, this guide caters to crocheters of all skill levels, from beginners to advanced crocheters. You’ll also find helpful tips on working in rounds, changing colors, and fastening off neatly. These coasters are practical, make great gifts, and can add a touch of personal style to your home decor, especially for your coffee table.
As you progress through each round of your crochet project, you’ll create the distinct features of your owl, such as its eyes and beak. Learn how to make a slip stitch in the next stitch and use chain stitches (ch) to create spaces (ch‑2 sp) that enhance the design. Feel free to experiment with acrylic yarn or a cotton blend to find the best yarn for your preferred look and feel.
Once you complete the pattern, you’ll have a set of coasters perfect for protecting your surfaces while adding a touch of whimsy to your home. The best part? You can use small amounts of yarn, making it a fantastic scrap yarn project.
In conclusion, “How to Crochet an Owl Coaster: A step-by-step tutorial” provides a simple, beginner-friendly pattern perfect for crochet beginners and seasoned crocheters alike. Whether you use this free pattern as a quick crochet project or explore different ways to express your creativity with these owl coasters, you’ll find it a fun and satisfying crochet journey. So grab your yarn, hook, and enjoy making these cute and fun coasters to brighten up your space. Happy crocheting!
To Find All My Crochet Jewel Patterns, Click Here
Click Here for My Ravelry Patterns
Crochet Hats for Beginners Book For Sale — Click Here
Crochet For Beginners Book for Sale — Click Here


