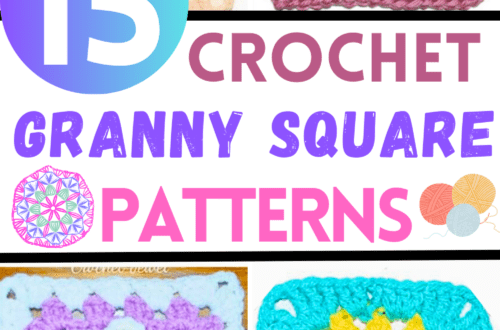
Step-by-Step Tutorial: Creating a Beautiful Granny Square Pattern
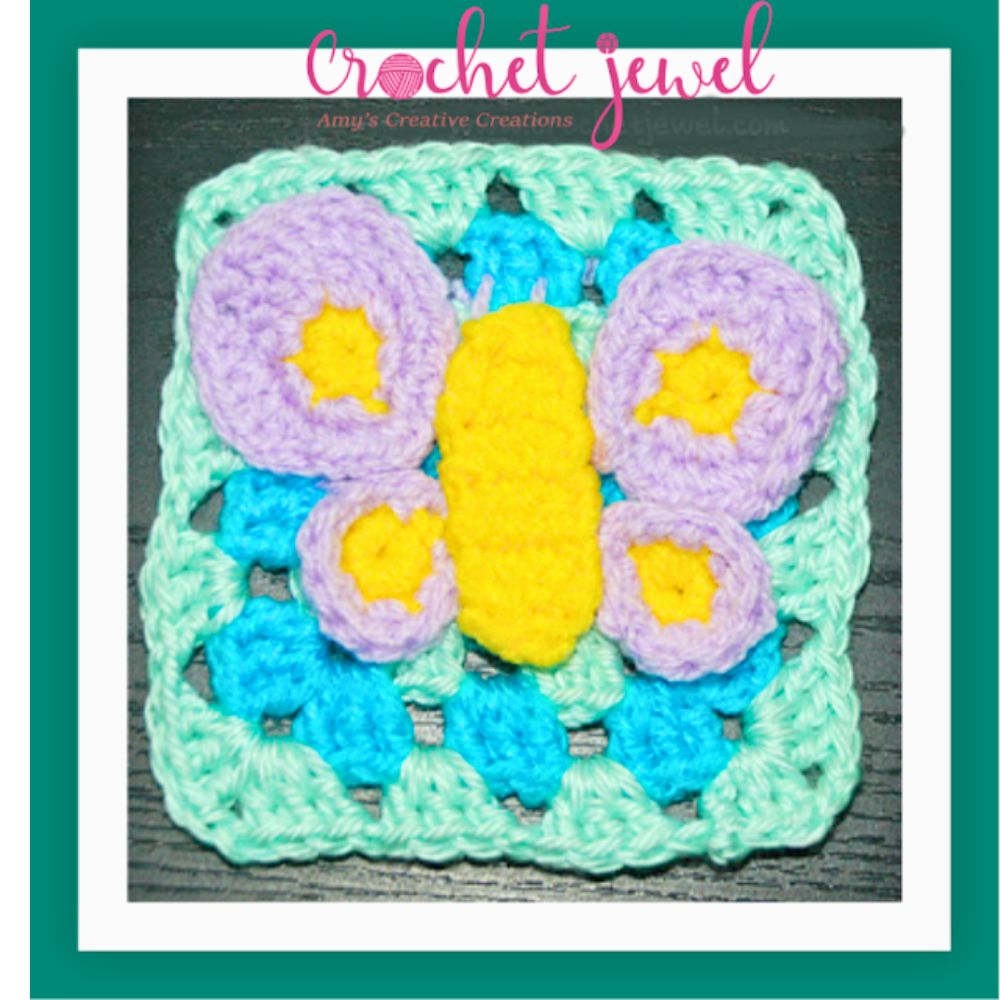
How to Crochet a Butterfly Granny Square
Learning to create beautiful and intricate patterns is a rewarding experience in the crochet world. One enchanting pattern is the “Butterfly Granny Square,” a design combining various crochet techniques to craft a stunning square motif. This tutorial will guide you through the process, emphasizing essential crochet terms such as “slip stitch” (sl st), “single crochet,” and “treble crochet.” You’ll also find tips on working with different yarn colors and creating a magical “flower center.” You’re in the right place if you’re looking for a free pattern and a step-by-step guide.
You’ll find affiliate links within this post. If you decide to purchase through these links, I may earn a modest commission at no extra cost. Additionally, please review my privacy policy for more details.
✨ We hope you enjoyed these photos! If so, please consider sharing them on Pinterest by clicking the Pin Button on each image. Your support helps us connect with more people and spread creativity. Thank you so much! 💖
First, you’ll need to master crochet basics, including the “slip stitch,” essential for joining rounds. The “single crochet” and “treble crochet” stitches form the foundation of this pattern, and understanding how to work them is key to your success. You’ll find a free pattern and even video tutorials to help you visualize the process.
Creating the butterfly granny square involves various techniques, such as “cluster stitches,” “puff stitches,” and “popcorn stitches.” These specialized stitches add a unique texture to your square, making it truly special. The “magic ring” or “magic circle” is a great way to start your project, and you can use it to form the “flower center” of the butterfly motif.
Additionally, for those interested in sharing their creations or seeking inspiration from others, consider joining a crochet-themed “Facebook group” or connecting on “social media.” You’ll find a supportive community of fellow crafters ready to celebrate your beautiful work. So, grab your “mm crochet hook,” gather your “worsted weight yarn,” and embark on your crochet journey with this captivating “Butterfly Granny Square” pattern.
Click the Links for Your Materials
Red Heart Blue, Caron Soft Light Blue, Purple, and Yellow yarn or whatever yarn you prefer
dc=double crochet
Chain 6 and join with a sl st to first ch to form a ring.
Print the entry at the top of the page to print the pattern!
Click Here for More Crochet Granny Squares Patterns
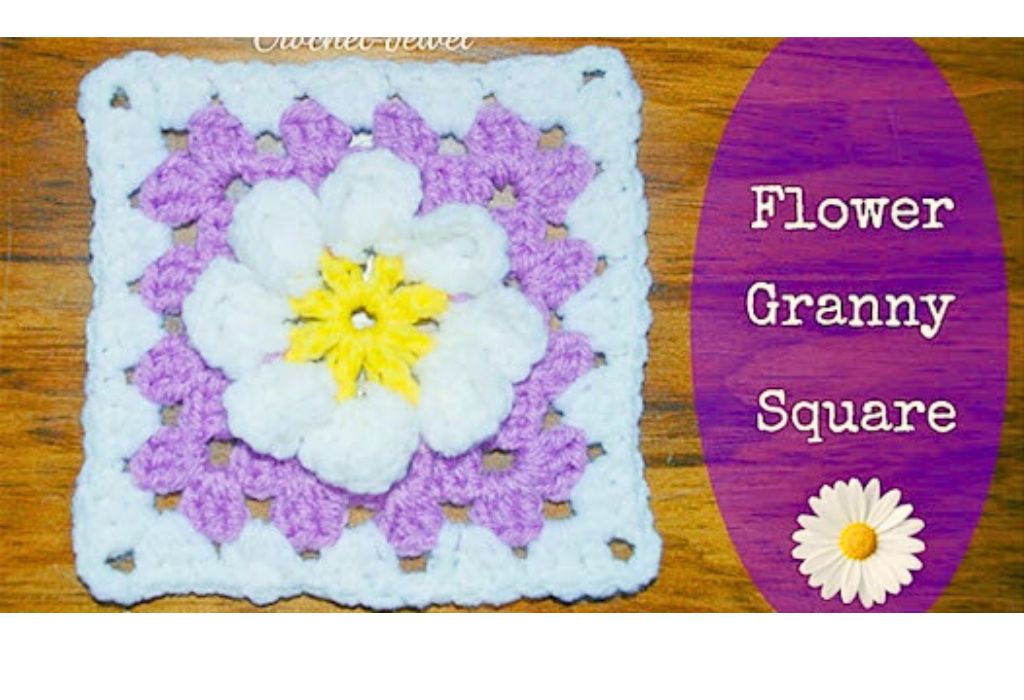
Click Here for a Crochet Flower Granny Square Pattern
Throughout your crochet journey, you might come across terms like “chain space,” “back loops,” and “hook size.” These elements play a crucial role in determining the size and texture of your squares. You’ll also need to know how to “insert the hook,” create a “slip knot,” and navigate the “next stitch” and “first chain.”


You May Also Like
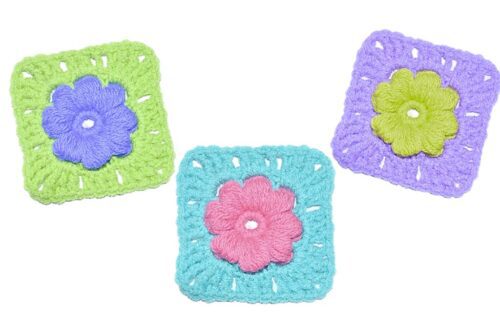
Beautiful Crochet Granny Square Patterns
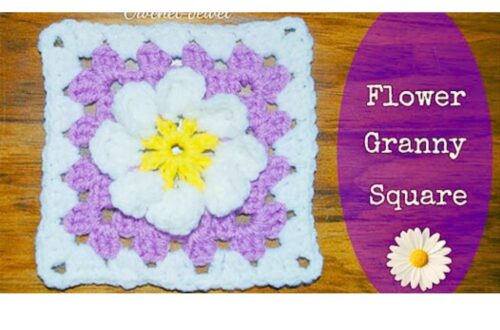
A Step-by-Step Guide to Crocheting a Flower Granny Square