
Crochet Elizabeth Stitch Tutorial for Beginners

Crochet Elizabeth Stitch Pattern
The Elizabeth Stitch creates a beautiful textured fabric with a subtle crisscross effect. It works up quickly and is perfect for blankets, scarves, washcloths, and other crochet projects.
Within this post, you’ll find affiliate links. If you decide to purchase through these links, I may earn a modest commission at no extra cost. Additionally, please review my privacy policy for more details.
✨ We hope you enjoyed these photos! If so, please consider sharing them on Pinterest by clicking the Pin Button on each image. Your support helps us connect with more people and spread creativity. Thank you so much!💖

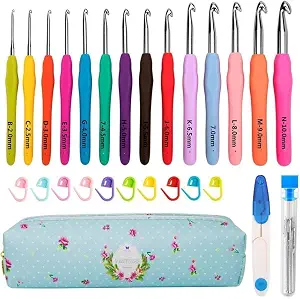
This 14-piece ergonomic crochet hook set includes sizes from 2mm to 10mm with comfortable handles designed to make crocheting easier on your hands.

The Red Heart Craft Kit is a fun and creative way to make beautiful heart-shaped crafts for any occasion.
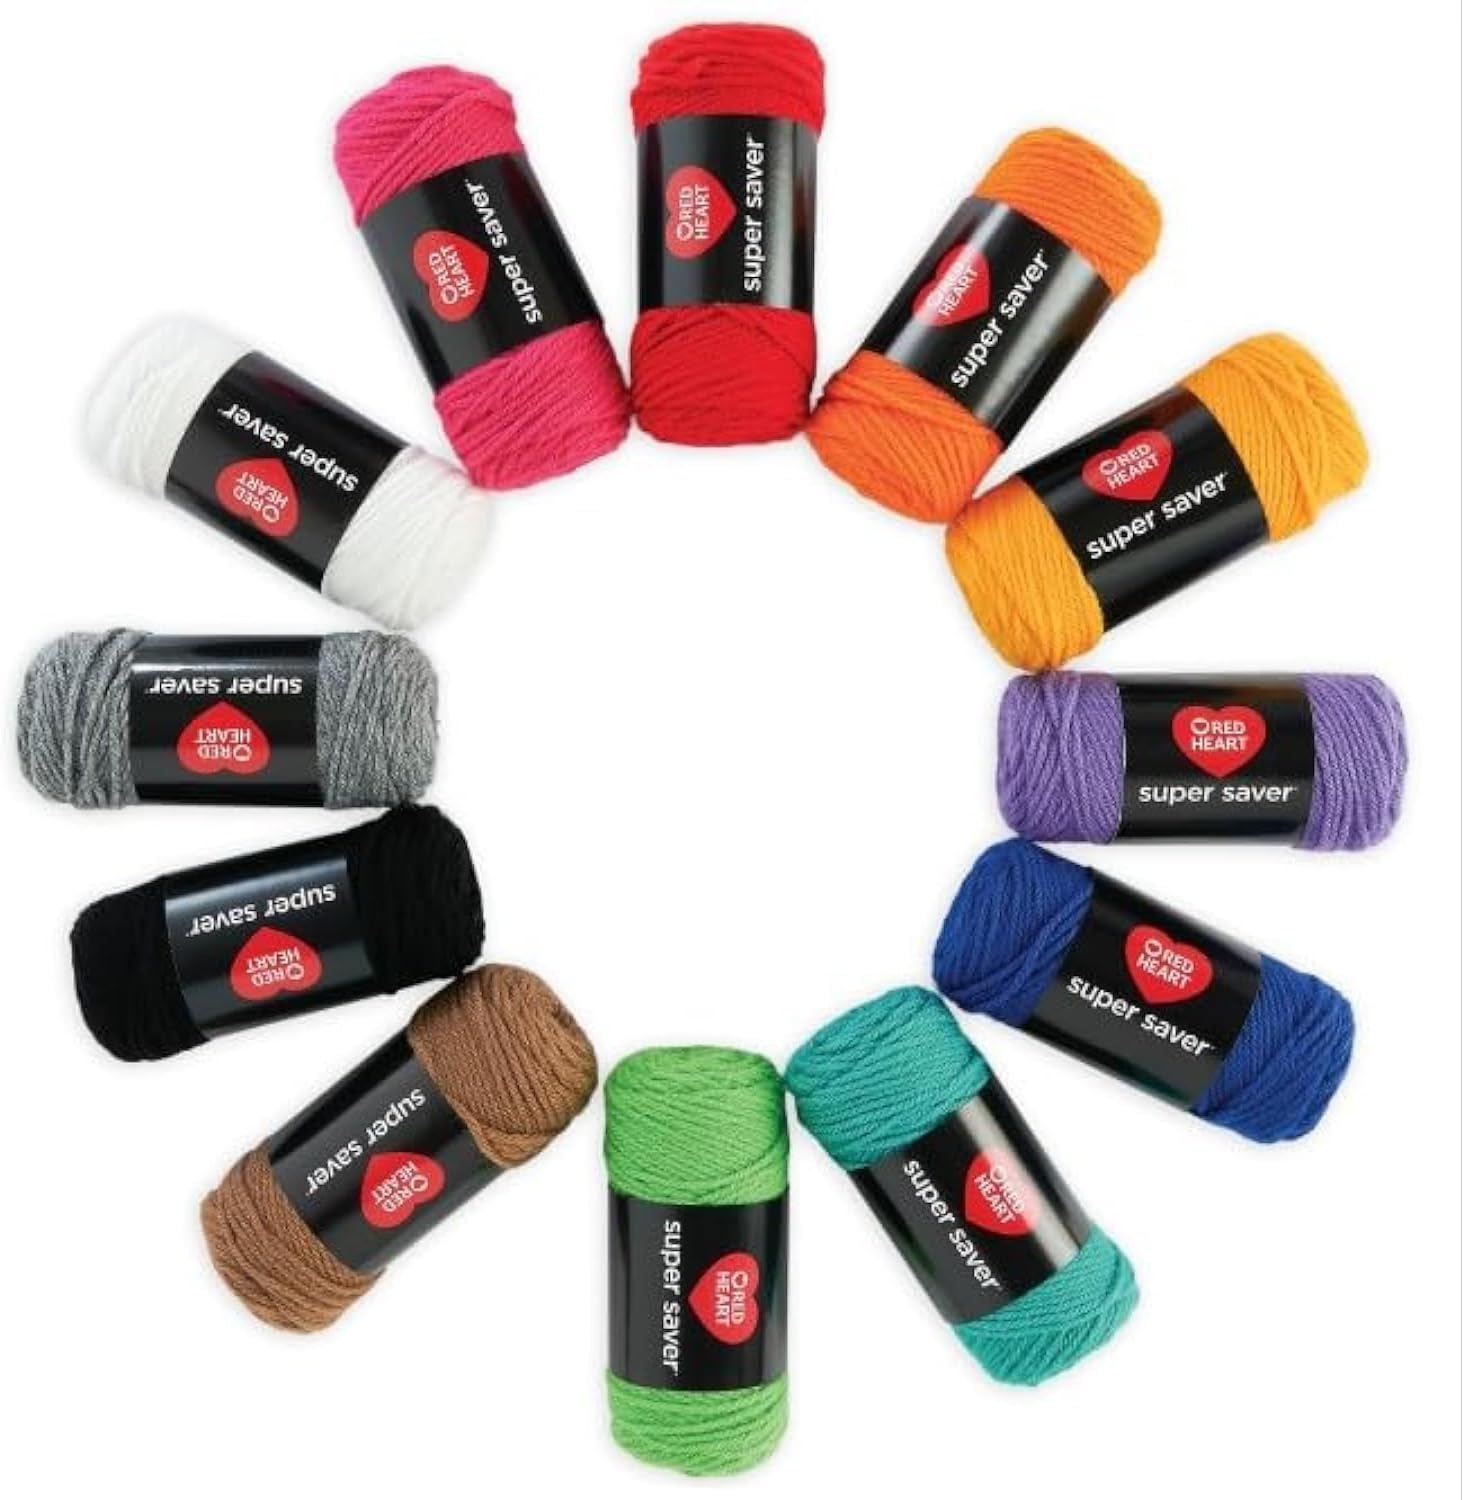
All Colors of Yarn Click Here – Crochet hook – Tapestry needle – Stitch marker
Materials
- Any yarn
- Crochet hook recommended for your yarn
- Scissors
- Yarn needle
Abbreviations
- ch = chain
- yo = yarn over
- st = stitch
Elizabeth Stitch
Chain a multiple of 2 + 4. Example: Chain 14 (10 + 4). Elizabeth Stitch (ES):
- Insert hook into stitch.
- Yarn over and pull up a loop (2 loops on hook).
- Yo, insert hook into the same stitch.
- Yo and pull up a loop (4 loops on hook).
- Yo and pull through all 4 loops.
- Ch 1 to complete the stitch.
Row 1, I used medium worsted yarn and I hook
- Crochet hook recommended for your yarn
- Ch a multiple of 2 + 4.
- Work an ES in the 4th chain from the hook.
- Skip next chain.
- Work an ES in the following chain.
- Repeat Steps 3–4 across the row.
- Ch 3 and turn.
Row 2
- Work an ES in the first stitch gap space directly beneath the turning chain.
- Work an ES in the first “V” space between each Elizabeth Stitch across.
- Work the last ES in the top of the turning chain from the previous row.
- Ch 3 and turn.
Repeat
Repeat Row 2 until your project reaches the desired length.
Tips
- Keep your tension relaxed for easier insertion into the stitch spaces.
- The Ch 1 at the end of each Elizabeth Stitch is part of the stitch.
- The Ch 3 at the beginning of each row serves as the turning chain.
The finished Elizabeth Stitch fabric has a delicate puff-like texture and an elegant crossed pattern that looks much more complicated than it actually is!

Click here for these beautiful crochet washcloth patterns!

Ruffling Up Style: A Guide to Crocheting Your Own Ruffle Hat
Crochet Hats for Beginners is a wonderful way to learn basic crochet stitches while creating cozy, stylish, and handmade hats that are perfect for gifts or everyday wear.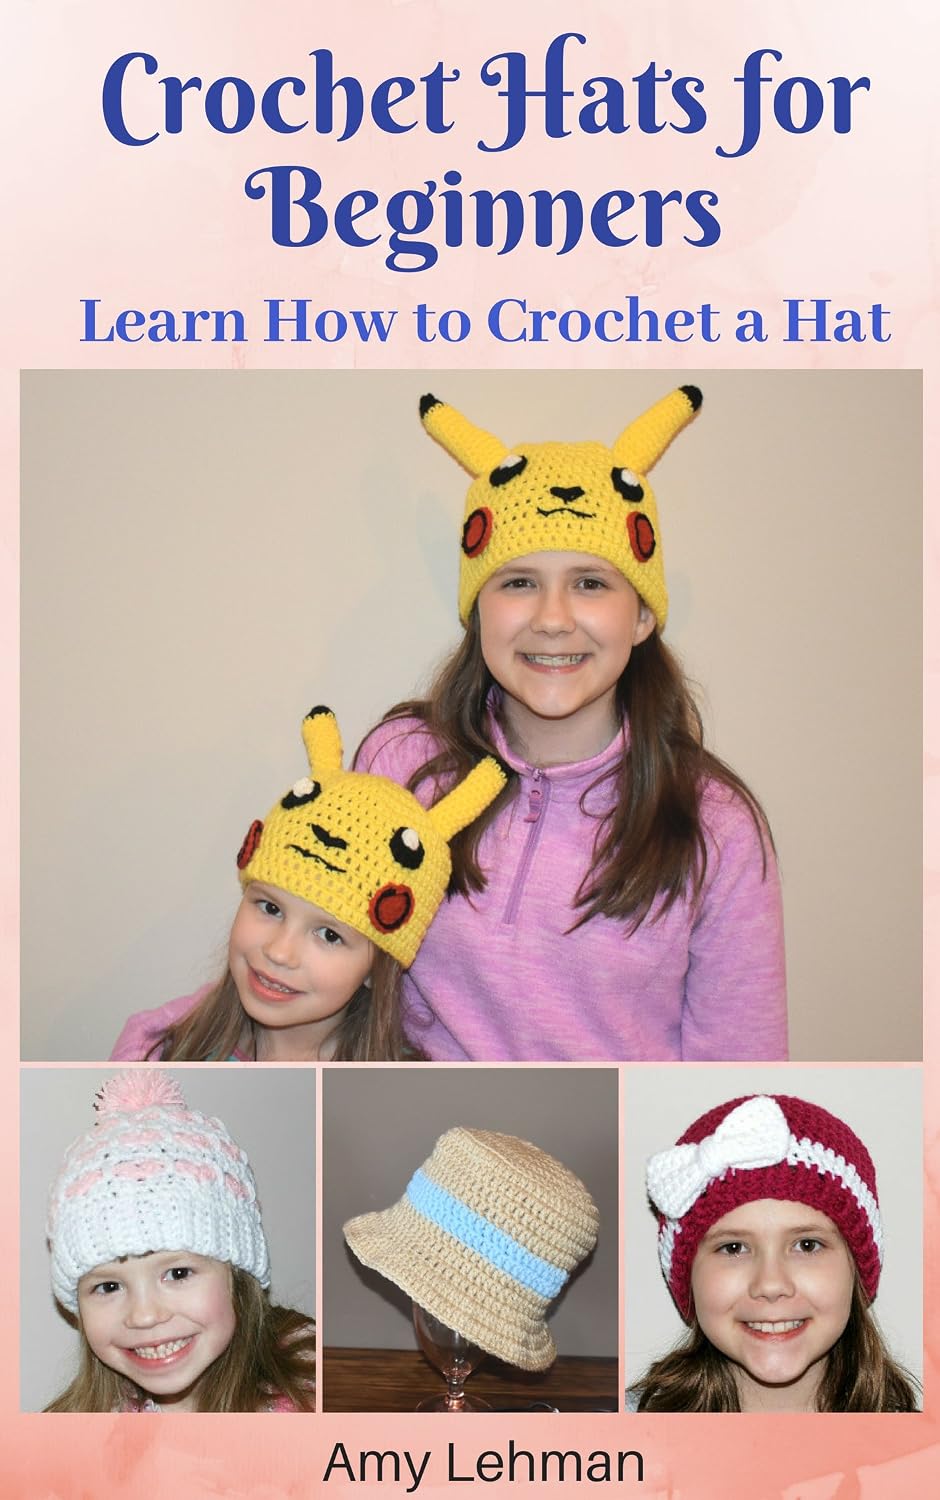
Crochet for Beginners: Learn How to Crochet is the perfect step-by-step guide to mastering basic crochet stitches, using crochet hooks and yarn, and creating beautiful handmade projects with confidence.


You May Also Like

Easy Crochet Suzette Stitch Pattern for Beginners

Crochet Patterns for Adorable Plant Creations
