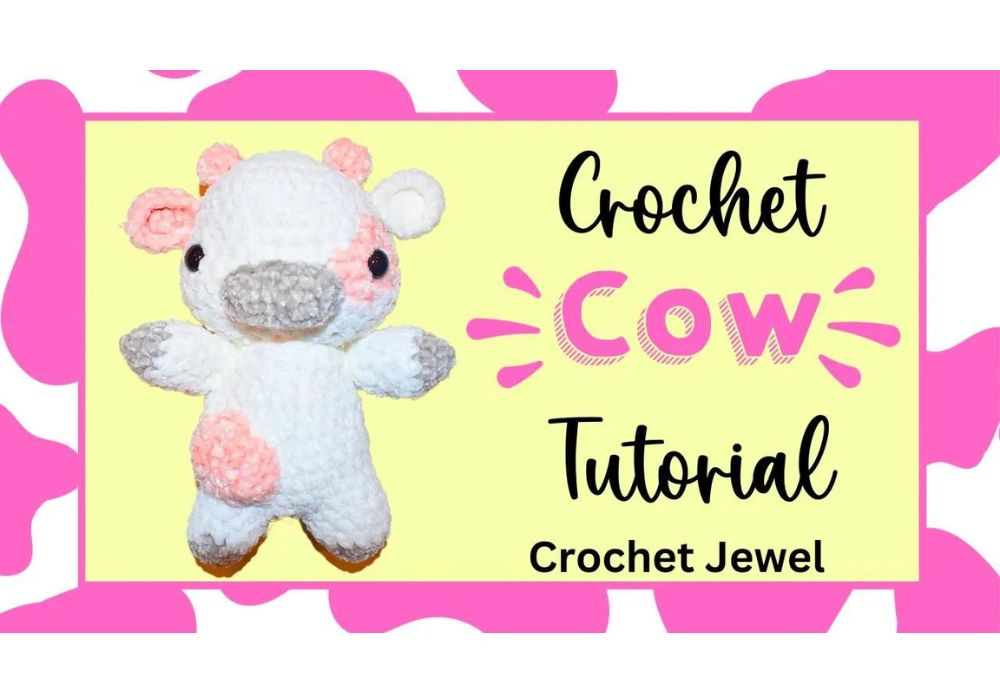
Crochet Cow Pattern: Fun and Easy Amigurumi Project
How to Crochet a Cow
Are you a crochet enthusiast looking for a fun and easy project? Do you love creating cute crochet animals or amigurumi creatures? If so, you’re in the right place! In this free crochet pattern guide, we’ll walk you through the steps to make an adorable cow plushie perfect for beginners and experienced crocheters alike. This amigurumi project is a great way to practice basic stitches and color changes and a fantastic gift for a little girl, your best friend, or anyone who adores crochet toys. So grab your favorite yarn crochet hook, and let’s dive into the amigurumi world!
This adorable crochet cow is a fun project to create using a cow crochet pattern, with options like a Highland cow crochet design and a crochet cow free pattern available to help you bring this charming animal to life.
This pattern is copyrighted by Amy Lehman. Please do not copy or duplicate this pattern. You are welcome to link back to my pattern, but do NOT post the pattern on your website. Thank you for respecting my work!
Within this post, you’ll find affiliate links. If you decide to purchase through these links, I may earn a modest commission at no extra cost. Additionally, please review my privacy policy for more details.
✨ We hope you enjoyed these photos! If so, please consider sharing them on Pinterest by clicking the Pin Button on each image. Your support helps us connect with more people and spread creativity. Thank you so much! 💖
**Materials You’ll Need:**
- Worsted weight yarn in your favorite colors
- Safety eyes (2)
- Crochet hook (size mm, depending on your yarn)
- Yarn needle
- Stitch markers
- Scissors
- Stuffing material
- Pink yarn for cow’s spots
**Skill Level and Pattern:**
This crochet cow plushie pattern is excellent for beginners and experienced crocheters. If you’re an absolute beginner, don’t worry – we’ll provide step-by-step instructions and video tutorials to guide you through the process. For those more experienced, this project offers a chance to create a cute toy with a different approach.
How to Watch Videos in Slow Motion — if the video is too fast!
How to Crochet For Beginners Playlist — Click Here
Abbreviations:
sc=single crochet, dc=double crochet, sl st=slip stitch,ch=chain
Sl st = slip stitch,2sctog= 2 single crochet together
4mm G hook, This pattern is done with the G Hook only.
Click the Links for Your Materials
All Colors of Yarn Click Here
- Safety eyes
- Crochet hook
- Tapestry needle
- Stitch marker
- Polyfill stuffing
Velvet Pink, Grey, and White yarn
2 Eyes, Stuffing, Yarn Needle
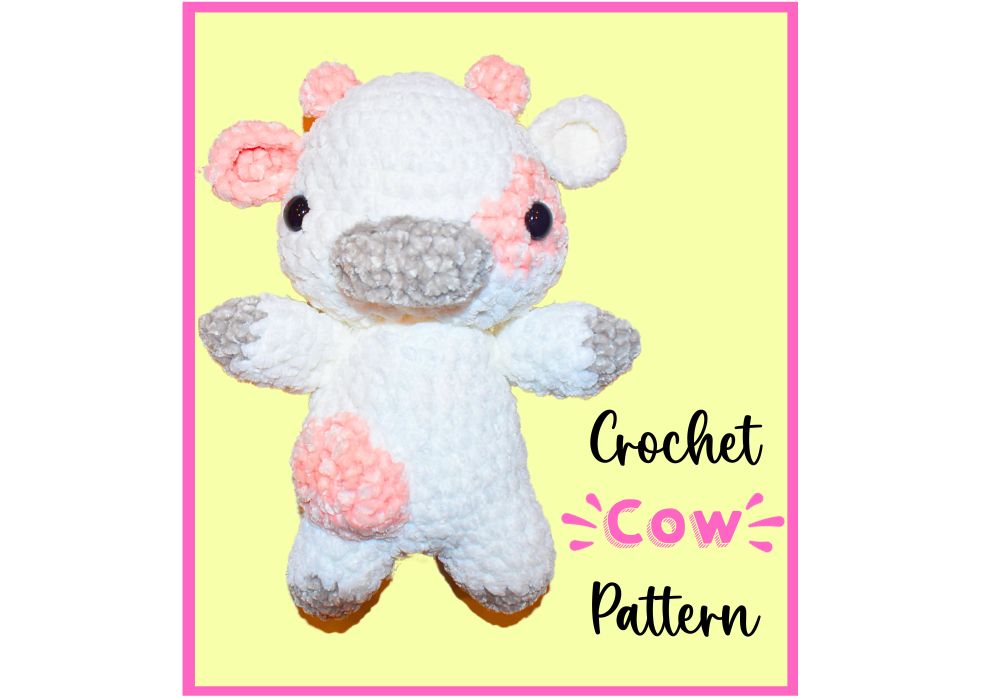
This Cow Measures about 8 inches long
Head: White yarn, then the patch will be done with pink yarn.
2 Eyes. 13mm
Rnd 1: 7 sc in the Magic Circle. ‑7 sc
Rnd 2: 2 sc in each stitch around — 14 sc (use stitch markers to keep track of your rounds.)
Rnd 3: *1 sc, 2 sc in the next stitch around, *Repeat around — 21 sc
Rnd 4: *1 sc in the next two stitches, 2 sc in the next stitch around, *Repeat around — 28 sc
Rnd 5: *1 sc in the next three stitches, 2 sc in the next stitch around, *Repeat around — 35 sc
Rnds 6–7: sc in each stitch around — 35 sc
This next step creates the pink patch on the eye. If you don’t want a patch, then don’t worry about the pink yarn.
Rnd 8: sc in the next 17 sc with white yarn, slip your pink yarn through the loop to continue on with pink yarn, (best shown in the video), sc with pink yarn in the next 3 sc, then slip your white yarn with white yarn to sc in the next 15 sc — 35 sc
Rnd 9: sc with white yarn in the next 16, sc in the next 6 sc with pink yarn, sc with white yarn in the next 13 sc — 35 sc
Rnd 10: sc with white yarn in the next 16, sc in the next 10 sc with pink yarn, sc with white yarn in the next 9 sc — 35 sc
Rnd 11: sc with white yarn in the next 17, sc in the next 7 sc with pink yarn, sc with white yarn in the next 11 sc — 35 sc
Rnd 12: sc with white yarn in the next 19, sc in the next 4 sc with pink yarn, sc with white yarn in the next 12 sc — 35 sc
Rnd 13: sc in each stitch around ( add eyes around rounds 11, about 3 inches apart) — 35 sc
Rnd 14: *sc in the next three stitches, 2sctog decrease, *Repeat around it. — 28 sc
Rnd 15: *sc in the two next stitches, 2sctog decrease, *Repeat around — 21 sc
Rnd 16: *sc, 2sctog, *Repeat around ‑14 sc
Stuff the head with stuffing; there will be an opening so it won’t be closed all the way.
Fasten off. You will connect the head to the body later.
Body: Gray and White Yarn
First leg: Start with the legs first to create the body!
With gray yarn
Rnd 1: 6 sc in the Magic Circle. — 6 sc
Rnd 2: 2 sc in each stitch around — 12 sc (use stitch markers to keep track of your rounds.)
Rnd 3: sc in each stitch around 12 sc
Sl st with white yarn
Rnds 4–6 sc in each stitch around ‑12 sc
Second leg:
With gray yarn
Rnd 1: 6 sc in the Magic Circle. — 6 sc
Rnd 2: 2 sc in each stitch around — 12 sc (use stitch markers to keep track of your rounds.)
Rnd 3: sc in each stitch around 12 sc
Sl st with white yarn
Rnds 4–6 sc in each stitch around ‑12 sc
At the end of round 6, ch 2
Rnd 7: Connect the first leg with a sc, sc in the next 11 sc, sc in the two chains of the chain 2, sc in the next 12 sc, sc in the two chains of the chain 2, — 28 sc, Stuff the legs
Rnd 8: *sc in the next 13 sc, 2 sc in the next sc, *Repeat two times total, — 30 sc
Rnds 9–12: sc in each stitch around. ‑30 sc (4 rounds total)
Rnd 13: *sc in the next 13 sc, 2sctog decrease, *Repeat twice total ‑28 sc
Rnd 14: sc in each stitch around — 28 sc
Rnd 15: *sc in the next 5 sc, 2sctog, 4 times total, stuff the body
Rnds 16–17: sc in each stitch around ‑24 sc
Rnd 18: sc in the next two sc, 2sctog, 6 times, sl st
Sew the head and body together with yarn needle and yarn
Arms: Grey Yarn,
Rnd 1: Work 5 sc in the magic circle, sl st
Rnd 2: 2sc in each stitch around, sl st ‑10 sc
Rnds 3–8: sl st with white yarn, sc in each stitch around, total of 6 rounds.
Fasten off. Attach the arms on both sides of the body by the head.
Ears:
Make one pink and one white
Rnd 1: 7 sc in the Magic Circle. — 7 sc
Rnd 2: 2 sc in each stitch around — 14 sc (use stitch markers to keep track of your rounds.)
Rnd 3: sc in each stitch around, sl st.
Attach on both sides of head, around 6 and 7 rnd
Horns:
Pink yarn
Rnd 1: 8 sc in the Magic Circle. — 8 sc
Rnd 2: sc in each stitch around, — 8 sc
Attach above the ears on both sides, Best shown in the photos
Arms: Grey Yarn,
Rnd 1: Work 5 sc in the magic circle, sl st
Rnd 2: 2sc in each stitch around, sl st ‑10 sc
Rnds 3–8: sl st with white yarn, sc in each stitch around, total of 6 rounds.
Fasten off. Attach the arms on both sides of the body by the head.
Muzzle
Gray Yarn
Rnd 1: Chain 6, work 3 sc in the 2nd chain from the hook, sc in the next 3 chains, 3 sc in the last stitch, work on the opposite side, Don’t turn
Sc in the next 3 sc, 2sc in the next stitch, sl st
Next Rnd: 2 sc, sc in the next 4 sc, 2 sc in the next sc, sc in the next 6 sc, 2 sc in the next sc, sl st
Tail
Pink yarn
Ch 6, sc in the 2nd chain from the hook, sc in each ch across
Fasten off. Sew in the back, in center, right above the legs.
Patches
Pink Yarn
Rnd 1: 6 sc in the Magic Circle. — 6 sc
Rnd 2: 2sc in each stitch around, — 12 sc
Rnd 3: hdc, 2dc, hdc, (sl st + hdc together in the next stitch), dc, 2dc, hdc, (sl st + hdc together in the next stitch), dc, 2dc, dc, (hdc + sl s together in the next stitch) — 18 sc
Fasten off and Sew the patches on the front and back of the cow.
Print the Entry on the top of the page to print the pattern!
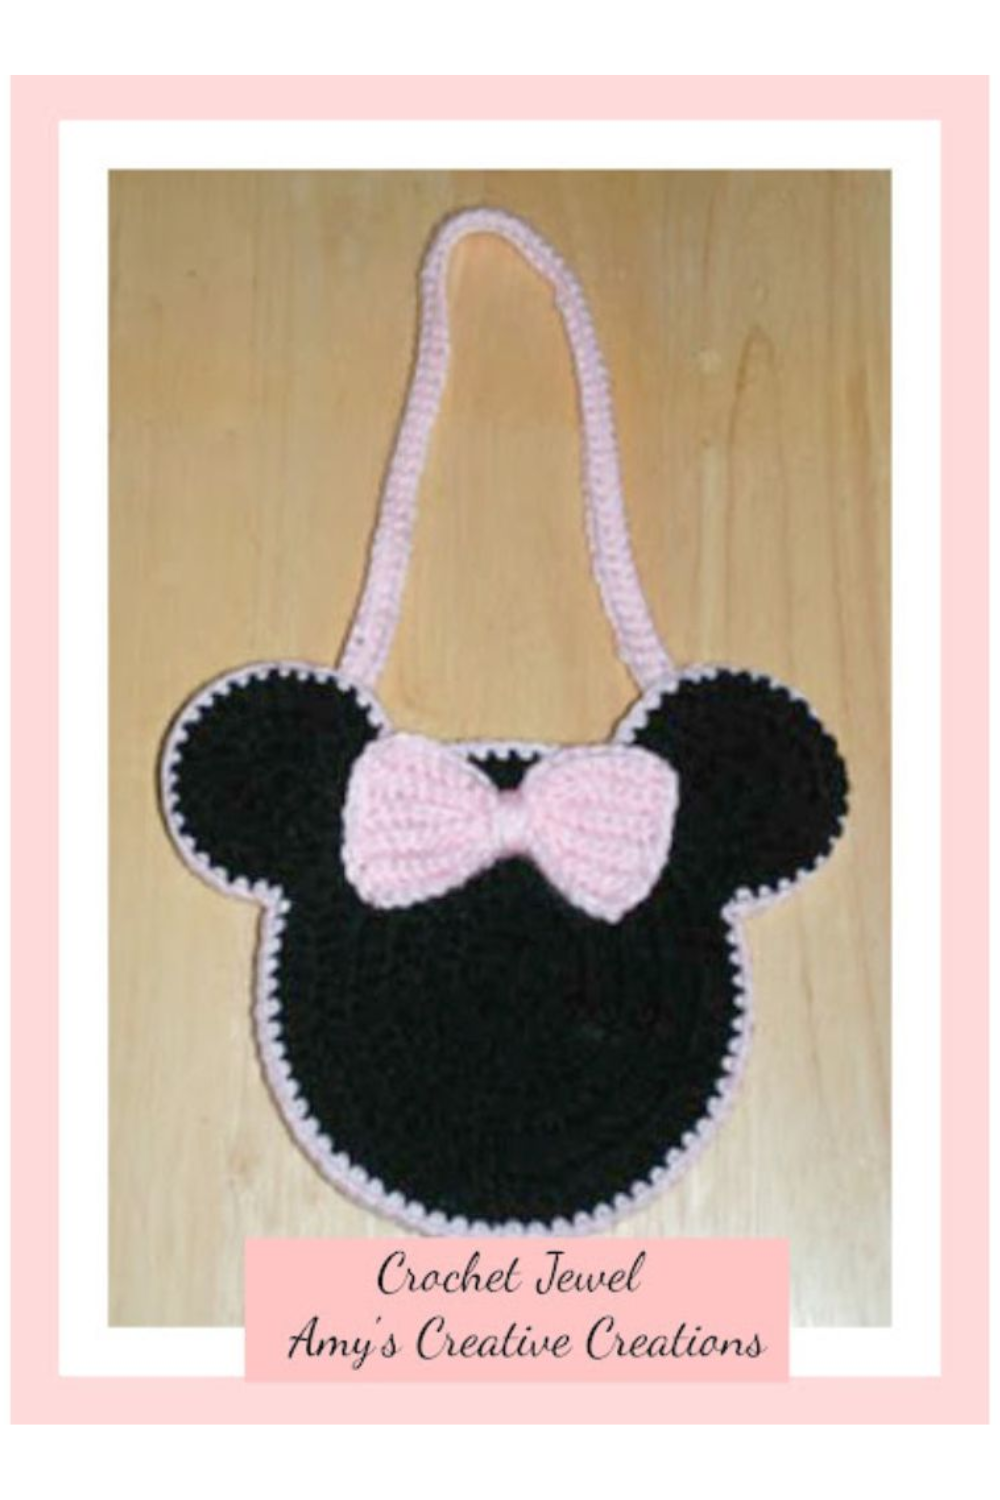
Click Here for the Minnie Mouse Pattern
**Getting Started:**
Before you begin, it’s essential to know some basics. You’ll need to be familiar with single crochet stitches, the magic circle (magic ring), and color changes. If you’re new to these techniques, you can find video tutorials online to help you get the hang of them.
**The Amigurumi Process:**
Amigurumi is the Japanese art of crocheting or knitting small yarn creatures. The cow plushie is made using continuous rounds and spiral rounds to create a seamless and cute appearance. We’ll also introduce you to Japanese words commonly used in amigurumi, such as “magic ring” and “magic circle.”
In your journey to create the perfect crochet cow plushie, remember you have a wealth of resources, including free crochet patterns and amigurumi animals. Utilize free amigurumi patterns and video tutorials to enhance your skills, especially if you’re an absolute beginner. Keep your stitch markers handy as you follow the step-by-step instructions. Don’t forget to add safety eyes and master basic stitches to make your creation a great gift. Please choose the best yarn, acrylic, cotton, or DK, in your favorite color, and experiment with color changes for a cute and unique result. With your mm crochet hook and magic circle in hand, embark on this easy project, and you’ll discover that crocheting cute animals can be much fun. Whether you’re an experienced crocheter or a first-time amigurumi enthusiast, this is the perfect pattern to make your crochet toys come to life, right down to the white spots that give your cow its distinctive look.
So, dive into the amigurumi world, explore different patterns, and let your imagination run wild, creating the perfect animal for your next project. Connect with fellow crochet enthusiasts on social media, through Facebook groups or pages, and find inspiration for more fun and diverse projects, including farm animals, fantasy creatures, and crochet plushies. Whether you’re crafting for a little girl, your best friend, or just for yourself, enjoy the journey of turning yarn into adorable crocheted toys, all while mastering the Japanese art of crocheting and knitting. Your first amigurumi project will be a testament to your skill and creativity, setting you on a path to explore even more patterns and designs in the future.
Crocheting a cow plushie is a fun and rewarding project, whether it’s your first amigurumi endeavor or you’re a seasoned crochet designer. As you complete this adorable cow, you’ll gain valuable experience creating cute animals and practicing different techniques. And suppose you’re looking for more fun projects or need help. In that case, numerous Facebook groups and pages are dedicated to amigurumi and crochet toys, where you can connect with a community of fellow enthusiasts.
So gather your materials and start crocheting your perfect cow plushie. Whether you’re making it for yourself or as a gift, it will bring joy to anyone who receives it. Happy crocheting!
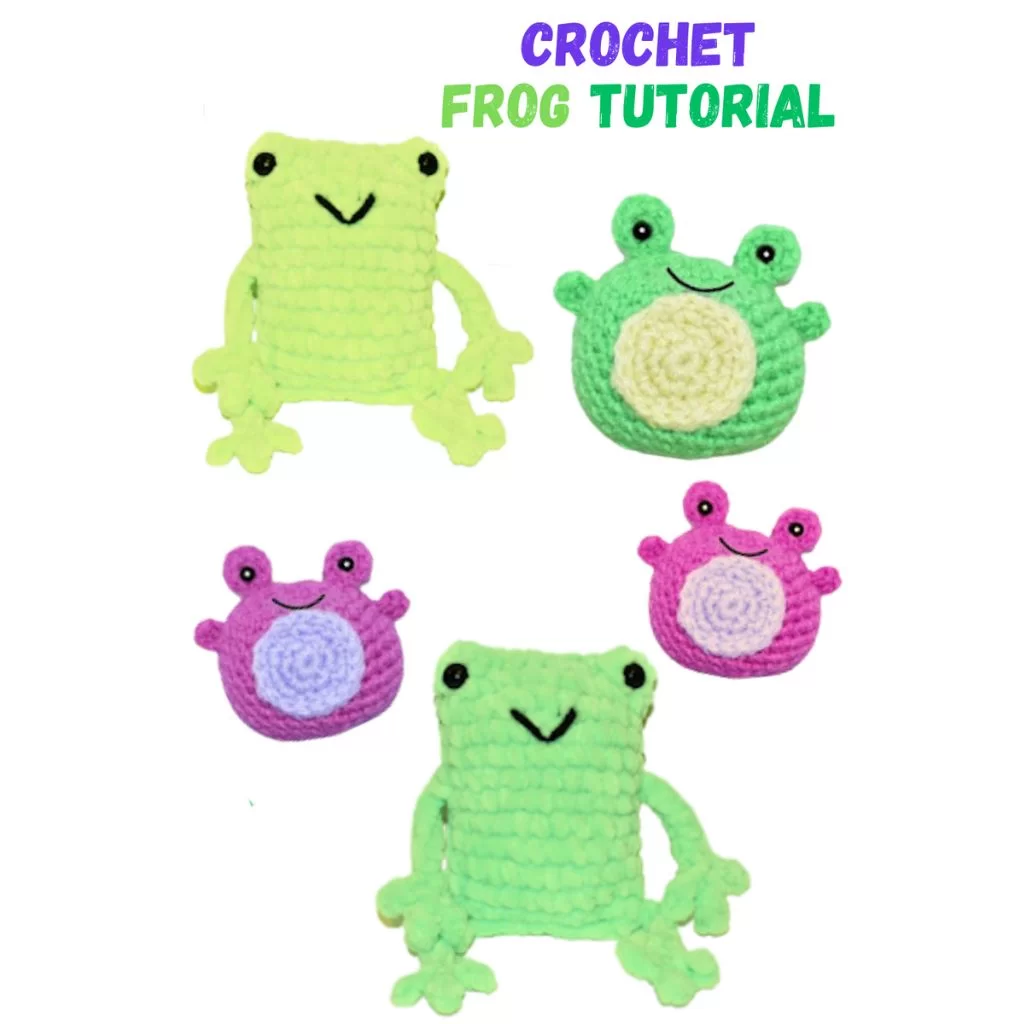
Click Here for the Crochet Frog Patterns
I absolutely love Amazon for its unbeatable Crochet deals and amazing selection!—click here to discover your next great deal!
Amazon Prime: Unlock fast, free shipping, exclusive Prime Video shows, and more with Amazon Prime! Click here to start your 30-day free trial today!
Audible Plus: Access thousands of audiobooks and podcasts with Audible Plus! Click here for Audible Plus on Amazon!
Kindle: Discover millions of books with Kindle—read anywhere, anytime! Click here to buy on Amazon!
Amazon Prime Video: Enjoy unlimited streaming of top movies and TV shows with Amazon Prime Video! Click here to start watching!
Amazon Music: Stream millions of songs and playlists with Amazon Music! Click here to start listening!
To Find All My Crochet Jewel Patterns, Click Here
Click Here for My Ravelry Patterns
Crochet Hats for Beginners Book For Sale — Click Here
Crochet For Beginners Book for Sale — Click Here




2 Comments
Pingback:
zoritoler imol
It’s really a cool and helpful piece of info. I am glad that you shared this helpful info with us. Please keep us informed like this. Thank you for sharing.