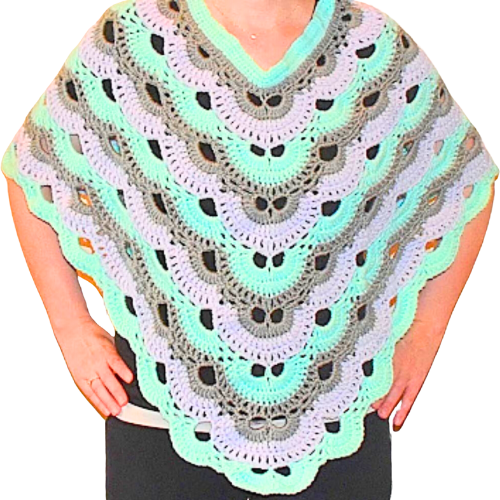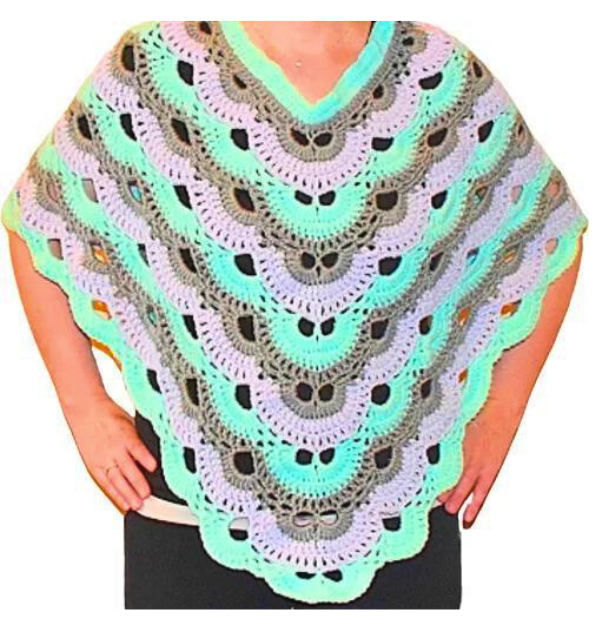
Crochet Virus Poncho with our Step-by-Step Tutorial
How to Crochet a Virus Poncho
Step into the world of timeless fashion and cozy comfort with the enchanting allure of the Crochet Virus Poncho. This exquisite garment combines the artistry of crochet with the elegance of a classic poncho silhouette, creating a versatile and stunning piece that transcends seasons and styles.
Inspired by the intricate beauty of the crochet virus shawl pattern, the Crochet Virus Poncho captivates with its delicate lacework, graceful drape, and captivating design. Whether worn as a statement piece for special occasions or a cozy layer for everyday wear, this shawl will turn heads and evoke admiration wherever you go.
You’ll find affiliate links within this post. If you decide to purchase through these links, I may earn a modest commission at no extra cost. Additionally, please review my privacy policy for more details.
✨ We hope you enjoyed these photos! If so, please consider sharing them on Pinterest by clicking the Pin Button on each image. Your support helps us connect with more people and spread creativity. Thank you so much! 💖
This Virus Poncho pattern incorporates basic crochet stitches to create a masterpiece that suits various styles and occasions. Using worsted weight yarn, your choice of color, and a crochet hook, you’ll effortlessly crochet simple rectangles that form the foundation of this stylish garment. The step-by-step instructions and a helpful video tutorial ensure a smooth and enjoyable crochet experience.
Experiment with different yarn weights, such as cotton for warmer weather or acrylic for cooler months, to create a cape tailored to your preferences. The use of Lion Brand yarn, self-striping yarn, and other quality materials adds a touch of luxury to this handmade creation. The versatility of this pattern is further enhanced by the option to customize with various colors and stitch patterns.
Click the Links for Your Materials
All Colors of Yarn Click Here
- Crochet hook
- Tapestry needle
- Stitch marker
H hook, 103 chains, sl st into the first chain to join to create a ring.
Make sure it’s not twisted. Can do a color change with sl st anytime, I liked to do 2–3 rounds of color, then color change.
H Hook
Rnd 1: ch 1, skip first chain, hdc in each stitch around, sl st on top of the hdc.
Rnd 2: fold in half and place a stitch marker in the middle of the opposite side of the beginning stitch ch 6, skip 2 stitches, sc in the next, *ch 3, skip 2 stitches, sc in the next, *Repeat for total of 3 times ch 6, skip 2 stitches, sc in the next, *Repeat until you get to the middle stitch marker. At the stitch marker, ch 6, skip 2 stitches, sc in the next, two times total *ch 3, skip 2 stitches, sc in the next, *Repeat for total of 3 times ch 6, skip 2 stitches, sc in the next, *Repeat until you get to the beginning. End with ch 6, skip 2 stitches, sc in the next, sl st in the beginning chain.
Rnd 3: ch 2, work 10 dc in the chain 6 space, *sc in the next chain space, ch 3, sc in the next chain space, ch 3, sc in the next chain space, work 10 dc in the next chain space, *Repeat until you get to the middle stitch marker When you get to the middle stitch marker, work 10 dc in the two chain 6 spaces, *sc in the next chain space, ch 3, sc in the next chain space, ch 3, sc in the next chain space, work 10 dc in the next chain space, *Repeat until you get to the beginning. sl st on top of the beginning dc.
Rnd 4: ch 2, dc in the same stitch, dc in the next 9 dc, *sc in the next chain 3 space, ch 3, sc in the next chain space, dc in the next 10 dc *Repeat until you get to the stitch marker of the 20 dc At the stitch marker work 20 dc at the stitch marker. *sc in the next chain 3 space, ch 3, sc in the next chain space, dc in the next 10 dc *Repeat to the beginning sl st on top of the first dc
Rnd 5: Ch 4, *dc in the next stitch, ch 1, *Repeat a dc in the next 9 dc sc in the next chain space, *dc in the next dc, ch 1, *Repeat 10 times total *Repeat to the middle stitch marker, *dc in the next dc, ch 1, *Repeat 20 times total **sc in the next chain space, dc in the next dc, ch 1, *Repeat 10 times total **Repeat to the beginning, sl st on top of the dc.
Rnd 6: Ch 6, skip 1 dc, sc in the next dc, *ch 3, skip dc, sc in the next dc, *(Repeat 3 times total) ch 6, skip 3 stitches, sc in the next stitch *ch 3, skip dc, sc in the next dc, *(Repeat 3 times total) **ch 6, skip 4 stitches from now on until you reach the stitch marker, sc in the next stitch *ch 3, skip dc, sc in the next dc, *(Repeat 3 times total) **Repeat until you get to the stitch marker then, *ch 3, skip dc, sc in the next dc, *(Repeat 3 times total), then when you get to the stitch marker, chain 6, skip dc, sc, chain 6 again, skip dc, then sc, *ch 3, skip dc, sc in the next dc, *(Repeat 3 times total)
**ch 6, skip 4 stitches from now on until you reach the stitch marker, sc in the next stitch *ch 3, skip dc, sc in the next dc, *(Repeat 3 times total) **Repeat until you get to the beginning sl st on top of the dc.
You can do a color change with sl st anytime, I liked to do 2–3 rounds of color, then color change. Go Back to Rnds 3–6 for each round of the virus pattern.
Until you have the desired length. I did about Rnds of 3–6. But when you do your last round, you will just crochet rounds 3–5 and omit round 6. (Round 6 is the beginning for each set, so your last round will be round 5 when you want to finish.)
Print the entry at the top of the page to print the pattern!
Click Here for Crochet Poncho Patterns
This pattern offers a unique twist with a cowl neck, making it a great addition to your winter wardrobe. The square poncho design, created by joining identical panels, provides a modern and stylish look. As you work through the rows, incorporating half double crochet, double crochet stitches, and more, you’ll witness the gradual transformation of simple rectangles into a fashion-forward poncho.
Join a crochet community on social media platforms, such as a Facebook group, to share your progress and gather inspiration from fellow crafters. Affiliate links provide easy access to recommended materials, ensuring a hassle-free crochet journey.
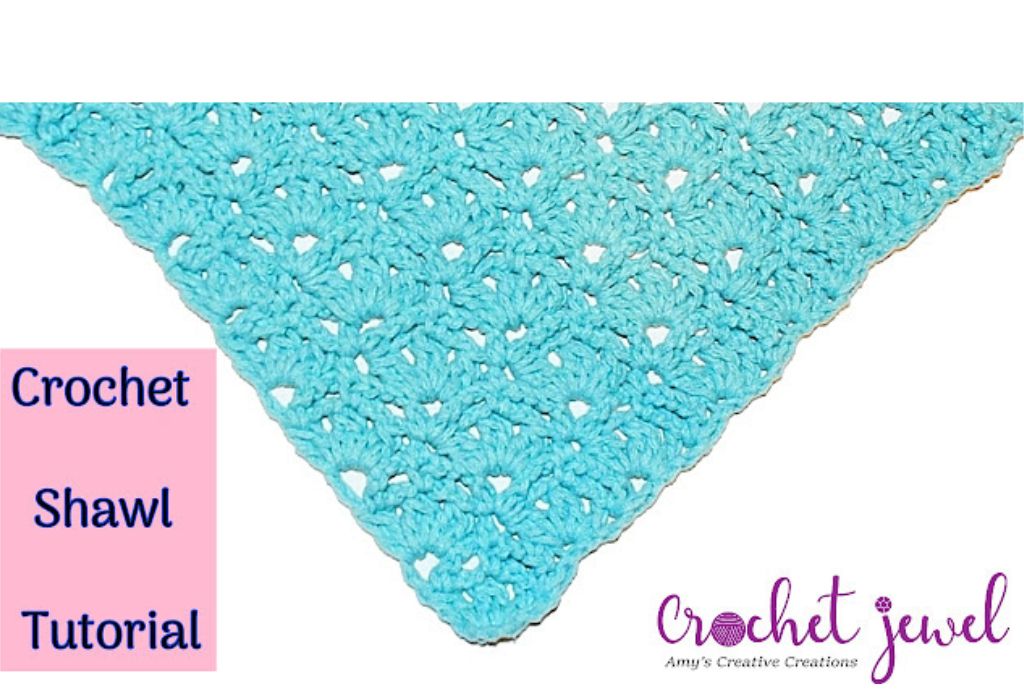
Click Here for the Crochet Shell Shawl Pattern
Using worsted weight yarn and a crochet hook, you can whip up a cozy cowl neck poncho, a classic design suitable for the cooler months. For those seeking a lighter-weight option, consider self-striping or even sport-weight yarn for a modern look. With stitch patterns ranging from simple rectangles to lacy hems, these handmade crochet ponchos are a great addition to your winter wardrobe. The stitch count and repeats, marked with markers, ensure identical panels for a polished finish. If you’re into social media, there’s a Facebook group where you can share your progress and get tips from other crochet enthusiasts. The patterns include variations for different sizes, making it a perfect crochet project for any occasion or season. Don’t forget to check out the affiliate links for recommended yarns, including Lion Brand Heartland yarn, for a touch of East Coast style. Whether planning road trips in warmer weather or looking for an extra layer on cold days, these poncho patterns offer versatility and a stylish touch.
In conclusion, this Virus Poncho tutorial is not just a crochet project; it’s an opportunity to unleash your creativity and create a timeless piece that complements any style. With its classic design, detailed instructions, and adaptability to different yarn weights, this shawl is the perfect crochet project for beginners and experienced crafters alike. Embrace the joy of creating your handmade cloak, and let your crochet hook bring warmth and style to your wardrobe.
To Find All My Crochet Jewel Patterns, Click Here
Click Here for My Ravelry Patterns
Crochet Hats for Beginners Book For Sale — Click Here
Crochet For Beginners Book for Sale — Click Here


