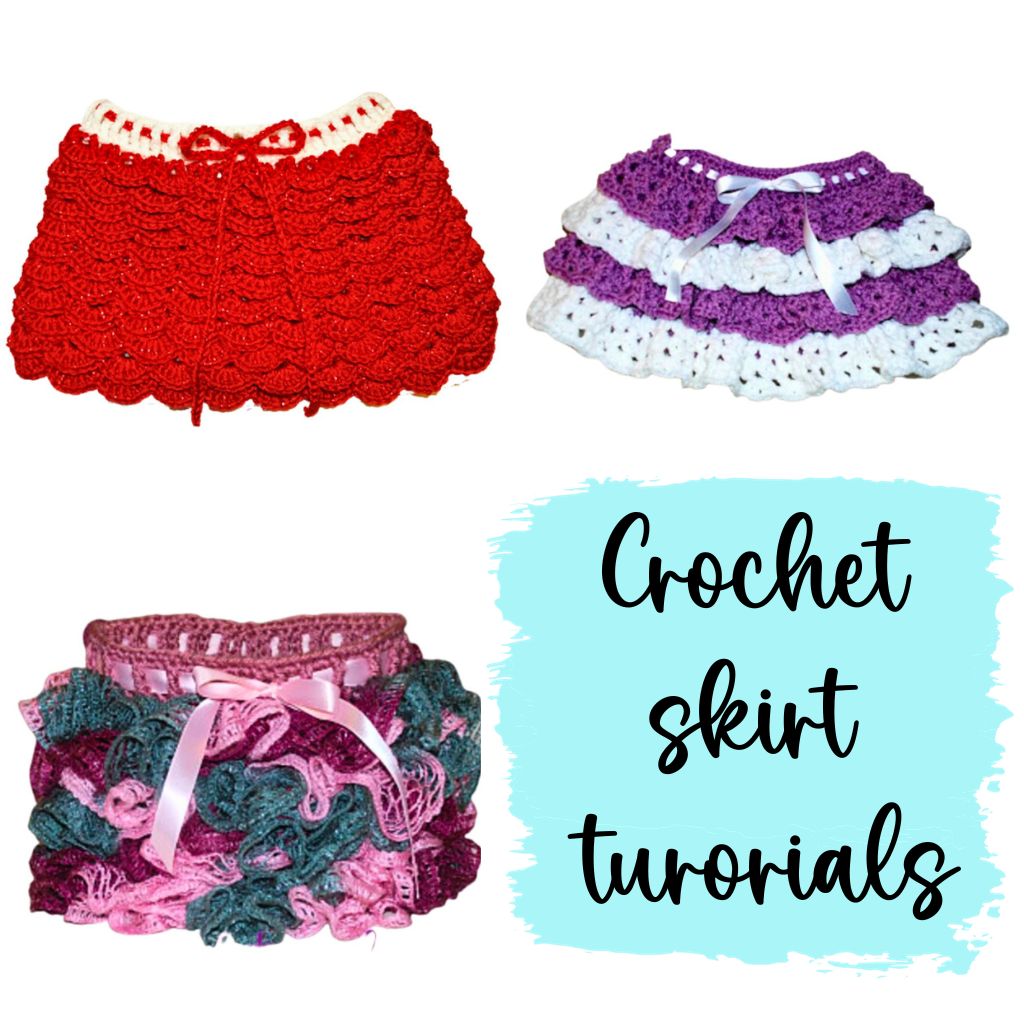
Crochet Beautiful Children Skirt Patterns: Step-by-Step Tutorial
How to Crochet Skirt Patterns
Crocheting a skirt is a fun and creative project that allows you to craft a unique piece of clothing tailored to your preferences. This tutorial will guide you through creating a beautiful crochet skirt using a free pattern. Whether you’re a seasoned crocheter or a beginner, this easy pattern suits all skill levels. With the suitable yarn, hook size, and patience, you’ll have a stylish and comfortable skirt in no time. Let’s begin this fantastic journey of making your very own crochet skirt.
You’ll find affiliate links within this post. If you decide to purchase through these links, I may earn a modest commission at no extra cost. Additionally, please review my privacy policy for more details.
Please provide a link to my blog if you want to share my content. However, I kindly request that you refrain from copying and posting my patterns on your website. You are welcome to sell any items you create using my patterns, but please refrain from selling the patterns themselves, as they are offered for free. Thank you for your understanding and support!
**Choosing Yarn Weight and Color**:
Select the yarn weight and color best suits your vision for the skirt. A solid color can create a classic look, while bright and different colors can offer a unique and vibrant style. Consider cotton yarn for a light and airy summer crochet skirt.
**Gauge and Measurements**:
To ensure the perfect fit, take accurate measurements of your waist circumference and hip measurement. Use these measurements to determine the size of your skirt. A handy guide for different sizes is included in the pattern.
**Starting with Simple Stitches**:
Begin with the first stitch, using a suitable mm hook size. The pattern starts with simple stitches like single crochet and double crochet to build the body of the skirt.
**Creating a Flowy Skirt**:
As you progress, the pattern incorporates stitches like triple crochet and fan stitch to give your skirt a unique look. These airy skirts are perfect for warmer weather.
**Elastic Waistband**:
For added comfort, you can add an elasticized waistband to your skirt. This will ensure a snug and secure fit, making it suitable for everyday wear or special occasions.
**Versatile Length Options**:
The pattern provides options for different skirt lengths, from a cute pleated mini skirt to a stylish maxi skirt. You can choose the one that suits your style and needs.
This Cute Crochet Skirt will look so pretty on any little girl! There are two sizes available. In this video, we’ll teach you how to crochet a Crochet Sashay Ruffle Skirt, an easy skirt you can make for any occasion! This Crochet Sashay Ruffle Skirt is perfect for beginners who want to learn how to crochet. We’ll show you how to create a basic crochet skirt that will look stylish and trendy. After watching this video, you’ll be ready to crochet your own Crochet Sashay Ruffle Skirt!
✨ We hope you enjoyed these photos! If so, please consider sharing them on Pinterest by clicking the Pin Button on each image. Your support helps us connect with more people and spread creativity. Thank you so much! 💖
Ribbon, I used 1 inch thick ribbon or you can do a 1/2 ribbon too
How to Crochet a Yarn Skirt Videos
Video on how to Crochet Ruffles onto your Skirt. (I didn’t mention in the video, that the 3rd round of ruffles only has a chain 1, not chain 2)
Start:
Alternate between the two colors of yarn for each round of set of 3 Ruffles.
Print the Entry on the top of the page to print the pattern!
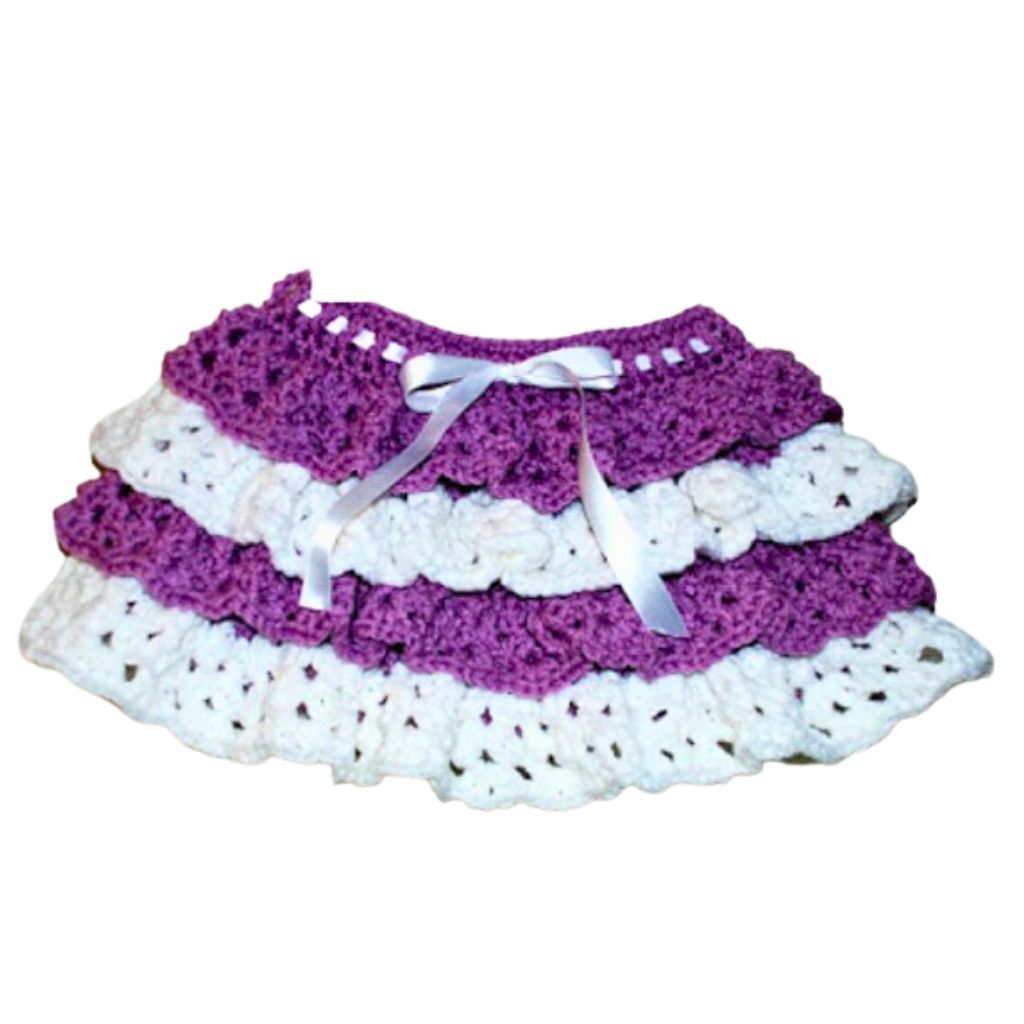
Crochet Ruffle Skirt Pattern
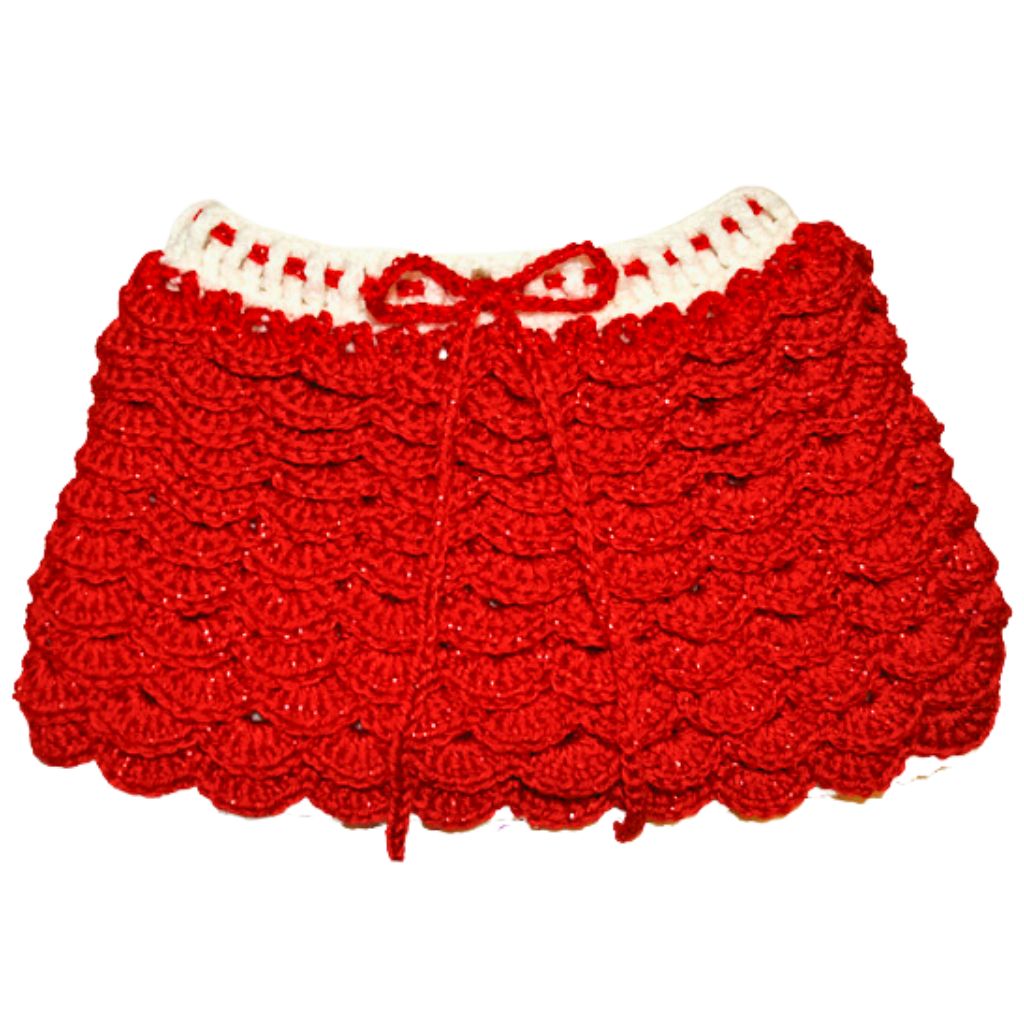
I made this cute little skirt for my toddler to wear. She loves frilly skirts and dresses! It didn’t take me long to make this adorable skirt, and it was fun to make. Enjoy this pattern!
Supplies: Red Heart shimmer yarn and white yarn, or whatever yarn you prefer
I and H hook
Ribbon is fine as long as it fits in the triple crochet belt space or is chained to form a bow around the waist.
(Girls size 2, 4)
Directions are for sizes 2 and 4. If you want a smaller size, use fewer chains for the waist. Use your measuring tape to measure.
(Chain 66 for size 2, or 72 for size 4), join to first ch to form a loop. Be careful not to twist it.
I hook with white yarn
Rnd 1. sc in each stitch around, sl st. (66,72)
Rnds 3-12. ch 1, double crochet in each back loop around, sl st. (66,72) *Repeat for 12 rounds
Rnd 1. sl st with the red yarn, chain 3, dc in the back loop of the previous Rnd 1., (that will be your first v-stitch made) skip a back loop, and dc, chain 1, dc in the next back loop, (next v-stitch is made), *skip next back loop, dc, chain 1, dc in the next back loop, Repeat around. sl st in the beginning v-stitch.
Now to incorporate the Ruffles, In the first v-stitch from Rnd 1 (continue on without fastening off), chain 2 (counts as first dc), then work 5 dc in the chain 1 space of the v-stitch, (that will be your first Ruffle), sc in the next chain 1 of the next v-stitch, *work 6 dc in the next chain 1 space of the next v-stitch, sc in the next chain 1 space of the next v-stitch,
Fasten off and weave in the ends.Rnds 2-12. Repeat round 1. Begin with an Sl st in the next round of back loops and then continue with how to do the ruffles the same way as Round 1.
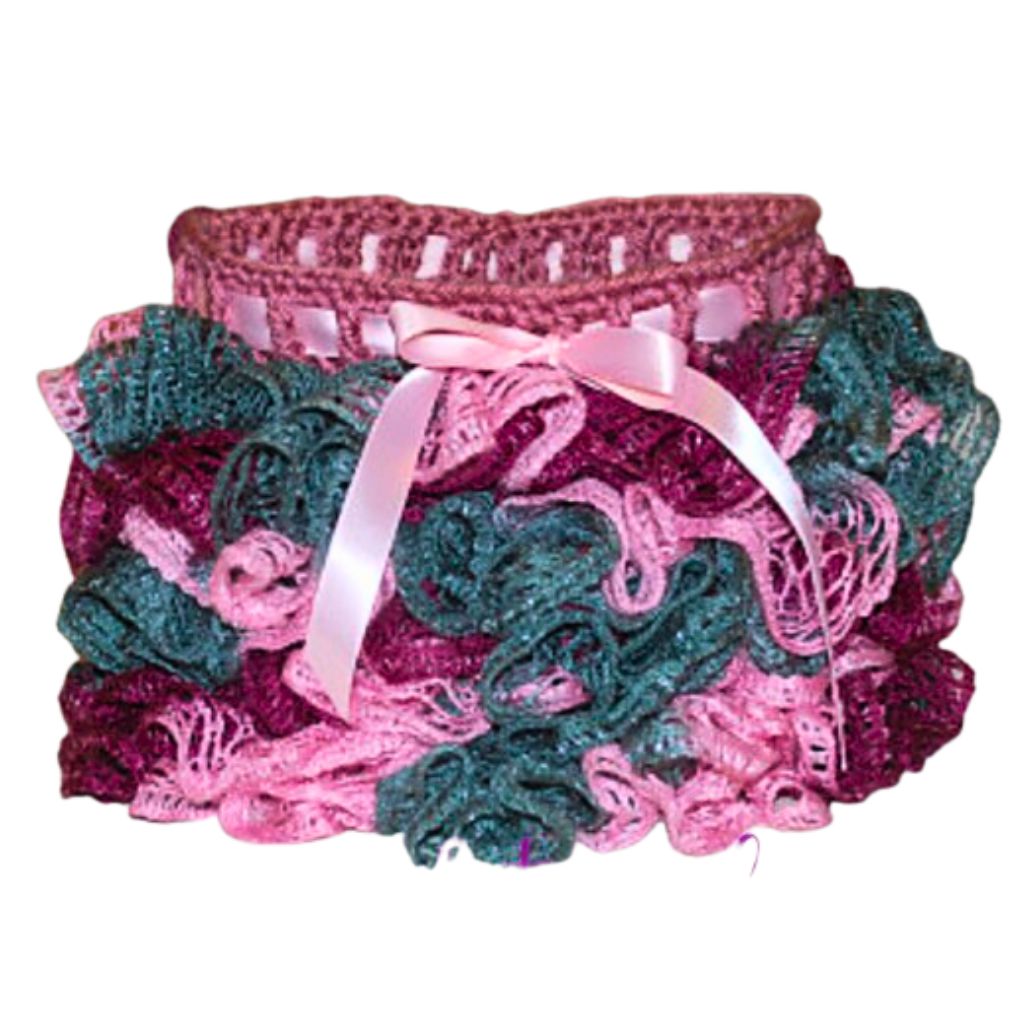
This How to Crochet a Sashay Yarn Skirt Tutorial will teach you the best ways to crochet a skirt so that you can look amazing! This tutorial teaches you how to crochet a basic skirt using a single stitch. After this tutorial, you can crochet a stylish skirt that will make you look amazing!
If you want to add a little flair to your wardrobe, you’ll love this crochet sashay yarn skirt! This project is simple to follow and can be completed by crocheters of all skill levels. In this video, we’ll show you how to crochet this skirt using basic crochet stitches so you can start creating your stylish skirts today!
Supplies: Caron Soft Pink yarn, or whatever yarn you prefer
Sashay yarn, 1 ball for the toddler size, and 1 1/2 balls of sashay yarn for the bigger size
I and F hook
Ribbon, any kind is fine, as long as it fits in the triple crochet belt space
(Girls size 2, 4)
Finished waist: 20″, 22″
Directions are for size 2 and 4, if you want a smaller size, then use less chains for the waist. Use your measuring tape to measure.
(Chain 66 for size 2, or 72 for size 4), join to first ch to form a loop. Be careful not to twist it.
I hook with pink yarn
Rnd 1. sc in each stitch around, sl st. (66,72)
Rnd 2. ch 3, triple crochet in each stitch around, sl st in beg chain. (66,72) (this will be the ribbon belt loops)
Rnds 3-4. ch 1, sc in each stitch around, sl st. (66,72) *Repeat for next two rounds
Rnds 5-7. *ch 1, sc in the back loops in each stitch around, sl st, (66,72) *Repeat for the next three rounds.
Rnd 8. ch 1, *sc in the back loops in next two stiches, 2sc in the next stitch in the back loops, *
Repeat around, sl st, (88,96)
Rnds 9-24. *ch 1, sc in the back loops in each stitch around, sl st, *Repeat, (88,96)
Take Ribbon and skip two triple crochet and insert in the next loop, *Repeat around, then in the center front, opposite side of the seam, skip 4 triple crochet in between the two ends of ribbon and connect the two ends of the ribbon and make a bow.
For Size 4, I would continue the length to 6 more rounds, so go to round 30.
Sashay Ruffle: Ballet, F hook
Rounds for Sashay skirt: F hook for ruffles
Rnd 5. start in round 5 for ruffles. *Create the Sashay Ruffle on the hook first by folding the yarn inward about an inch and inserting the hook in the 2nd loop from the beginning of the fold. Skip two loops on the sashay yarn, insert the hook in the 3rd hook on the yarn, and pull through the loops on the hook.
In Round 5, Insert your hook with the sashay ruffle that you created (directions above) in the first sc back loop at the back seam. Skip one loop on the sashay yarn, insert the hook in the next sashay yarn loop, and pull the sashay yarn loop through the skirt back loop and sashay yarn loop. This will create the second ruffle.
So Insert your hook in each sc back loop for each round. Then skip one loop on the sashay yarn loop and then pull through both loops. *Repeat for each row for ruffles
Rnds 6-7. Skip 2 rows of back loops, then start a row of ruffles in the 3rd row of back loops.
Rnd 8. *Repeat Row of Ruffles (same as round 5. same as above.)
Rnds 9-10. Skip 2 rows of back loops
Rnd 11. *Repeat Row of Ruffles (same as above.)
Rnds 12-13. Skip 2 rows of back loops
Rnd 14. *Repeat Row of Ruffles (same as above.)
Rnds 15-16. Skip 2 rows of back loops
Rnd 17. *Repeat Row of Ruffles (same as above.)
Rnds 18-19. Skip 2 rows of back loops
Rnd 20. *Repeat Row of Ruffles (same as above.)
Rnds 21-22. Skip 2 rows of back loops
Rnd 23. *Repeat Row of Ruffles (same as above.)
Rnd 24. Leave alone
For Size 4, I would continue the length to 6 more rows, so go to round 30. Just alternate every 2 rows skip like seen above.
Print the entry at the top of the page to print the pattern!


One Comment
Laurene Kinson
There is definitely a lot to find out about this subject. I like all the points you made.