Easy Crochet Cherry Pattern for Beginners
🍒 Crochet Cherry Pattern
Looking for a fun and adorable project to add to your amigurumi or home décor collection? These crochet cherries are quick to make, beginner-friendly, and look super cute as appliqués, keychains, or gift toppers. Made with 100% cotton yarn, they’re durable, vibrant, and perfect for spring or summer crafts. Follow this step-by-step pattern to create your own little bunch!
Looking for a quick, adorable crochet project that’s perfect for summer or gift-giving? These cute crochet cherries are the perfect place to start! Whether you’re brand new to amigurumi or just want a fast and satisfying make, this beginner-friendly pattern will have you stitching up a sweet little cherry duo in no time. Use them as keychains, bag charms, or as part of a fruity garland — they’re as versatile as they are charming.
Click the Social Icons to Stay Connected
Click the Links for Your Materials
✨ We hope you enjoyed these photos! If so, please consider sharing them on Pinterest by clicking the Pin Button on each image. Your support helps us connect with more people and spread creativity. Thank you so much! 💖
Click the Links for Your Materials
All Colors of Yarn Click Here
- Crochet hook
- Tapestry needle
- Stitch marker
🧶 Materials Needed
- Medium Worsted yarn in red and green
- E crochet hook
- Stitch marker
- Yarn needle
- Fiberfill stuffing
- Scissors
-
-
MR – Magic Ring
-
ch – Chain
-
sc – Single Crochet
-
hdc – Half Double Crochet
-
dc – Double Crochet
-
tr – Treble Crochet (double treble)
-
sl st – Slip Stitch
-
inc – Increase (2 sc in one stitch)
-
dec – Decrease (invisible)
-
st(s) – Stitch(es)
-
Cherry, Make 2
Start with a MR, work 6 sc into ring. sl st. (6 sts)
Round 2: 2 sc inc in each st around. use a stitch marker, work in continual rounds (12 sts)
Round 3: *(1 sc, 2sc in the next stitch) *Repeat around. (18 sts)
Rounds 4–7: 1 sc in each st around, work for a total 4 rounds (18 sts)
Round 8: *(1 sc, 2sctog dec) *Repeat around. (12 sts)
Lightly stuff with fiberfill.
Round 9: *2sctog dec around. *Repeat around (6 sts)
Close with sl st, fasten off, and weave in ends.
Leaf: Make 2
Chain 22 — this will form both the stem and the base for the leaf.
skip the first chain, sl st in the next chain, sc in the next ch, hdc in the next ch, dc in the next ch, 2 dc in the next ch, 2 dc in the next ch, dc in the next ch, hdc in the next ch, 3 sc in the next chain, work on the opposite side,
Work back up the other side: hdc in next stitch, dc in the next st, 2 dc in the next st, 2 dc in the next st, dc in the next st, hdc in the next st, sc in the next st, sl st in the next st, fasten off, weave in your ends.
Next, fold the leaf gently in half lengthwise to give it a natural, curved shape. Sew the bottom point of the leaf together to hold the fold.
Using the yarn tail from the leaf, sew it to the top of the stem where it meets the cherry. Adjust the placement so the leaf sits nicely to the side or front, depending on your preference.
And there you have it — your very own pair of crochet cherries! This sweet and simple pattern is perfect for stash-busting and makes a fun little project for beginners or a quick craft between larger makes. Whether you’re creating a handmade keychain, adding flair to a summer bag, or giving it as a small gift, these cherries are sure to bring a smile. Happy crocheting!

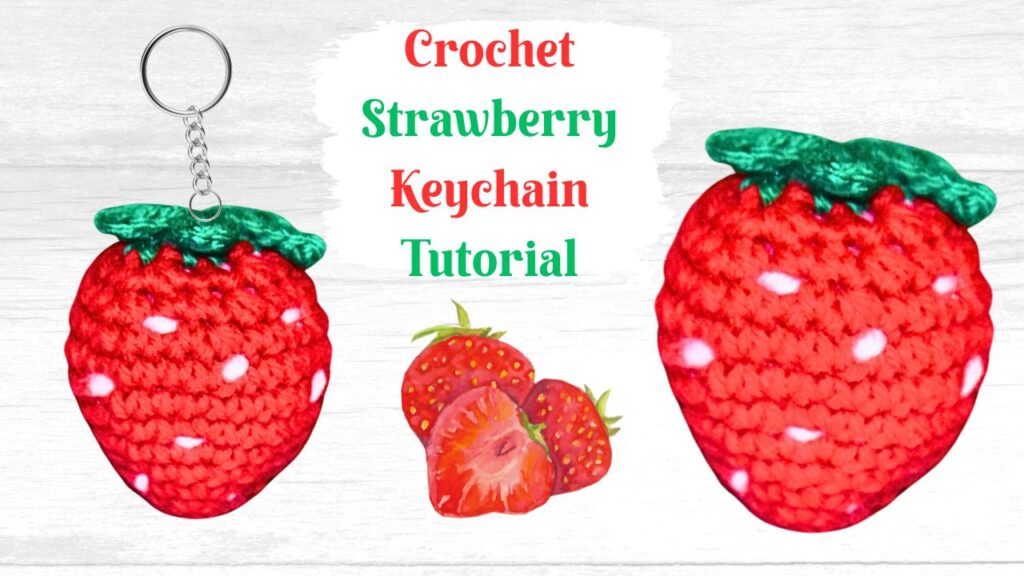
Crochet Strawberry Pattern
To Find All My Crochet Jewel Patterns, Click Here
Click Here for My Ravelry Patterns


