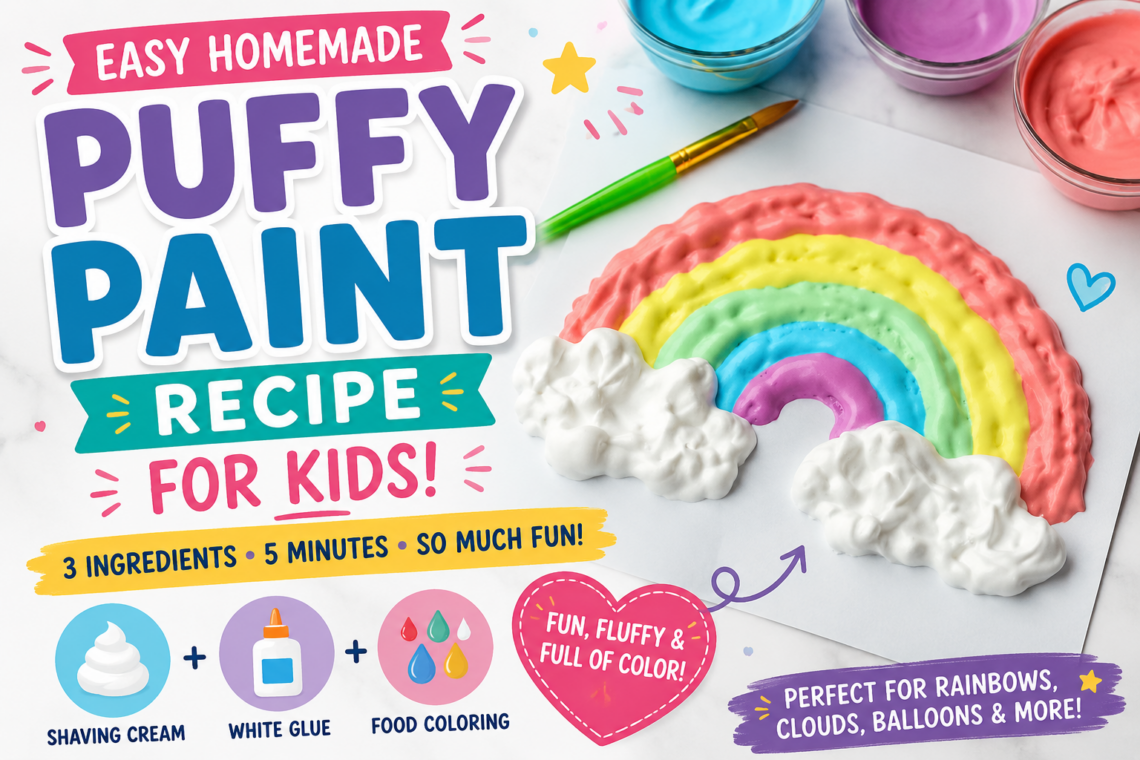
Easy Homemade Puffy Paint Recipe for Kids
How to Make Puffy Paint
Looking for a fun and easy craft that’s perfect for kids? Learning how to make puffy paint is a great way to add colorful, raised texture to artwork using just a few common household supplies. This simple DIY paint is soft, fluffy, and creates a fun 3D effect that makes every painting stand out.
Whether you’re crafting on a rainy afternoon, planning a homeschool art lesson, or looking for an inexpensive activity, this homemade puffy paint recipe comes together in just a few minutes and provides hours of creative fun.
Why You’ll Love This Puffy Paint
- Only 3 simple ingredients
- Ready in less than 5 minutes
- Creates a soft, raised 3D texture
- Perfect for kids of all ages
- Great for seasonal crafts, greeting cards, and artwork
- Easy to customize with any color
What is Puffy Paint?
Puffy paint is a homemade craft paint made by mixing shaving cream and white glue together, then adding food coloring. Unlike regular paint, it dries with a soft, dimensional texture that gives artwork a fun raised appearance.
It’s perfect for painting rainbows, clouds, balloons, flowers, snow, holiday crafts, and more.
You’ll find affiliate links within this post. If you decide to purchase through these links, I may earn a modest commission at no extra cost. Additionally, please review my privacy policy for more details.
✨ We hope you enjoyed these photos! If so, please consider sharing them on Pinterest by clicking the Pin Button on each image. Your support helps us connect with more people and spread creativity. Thank you so much!💖
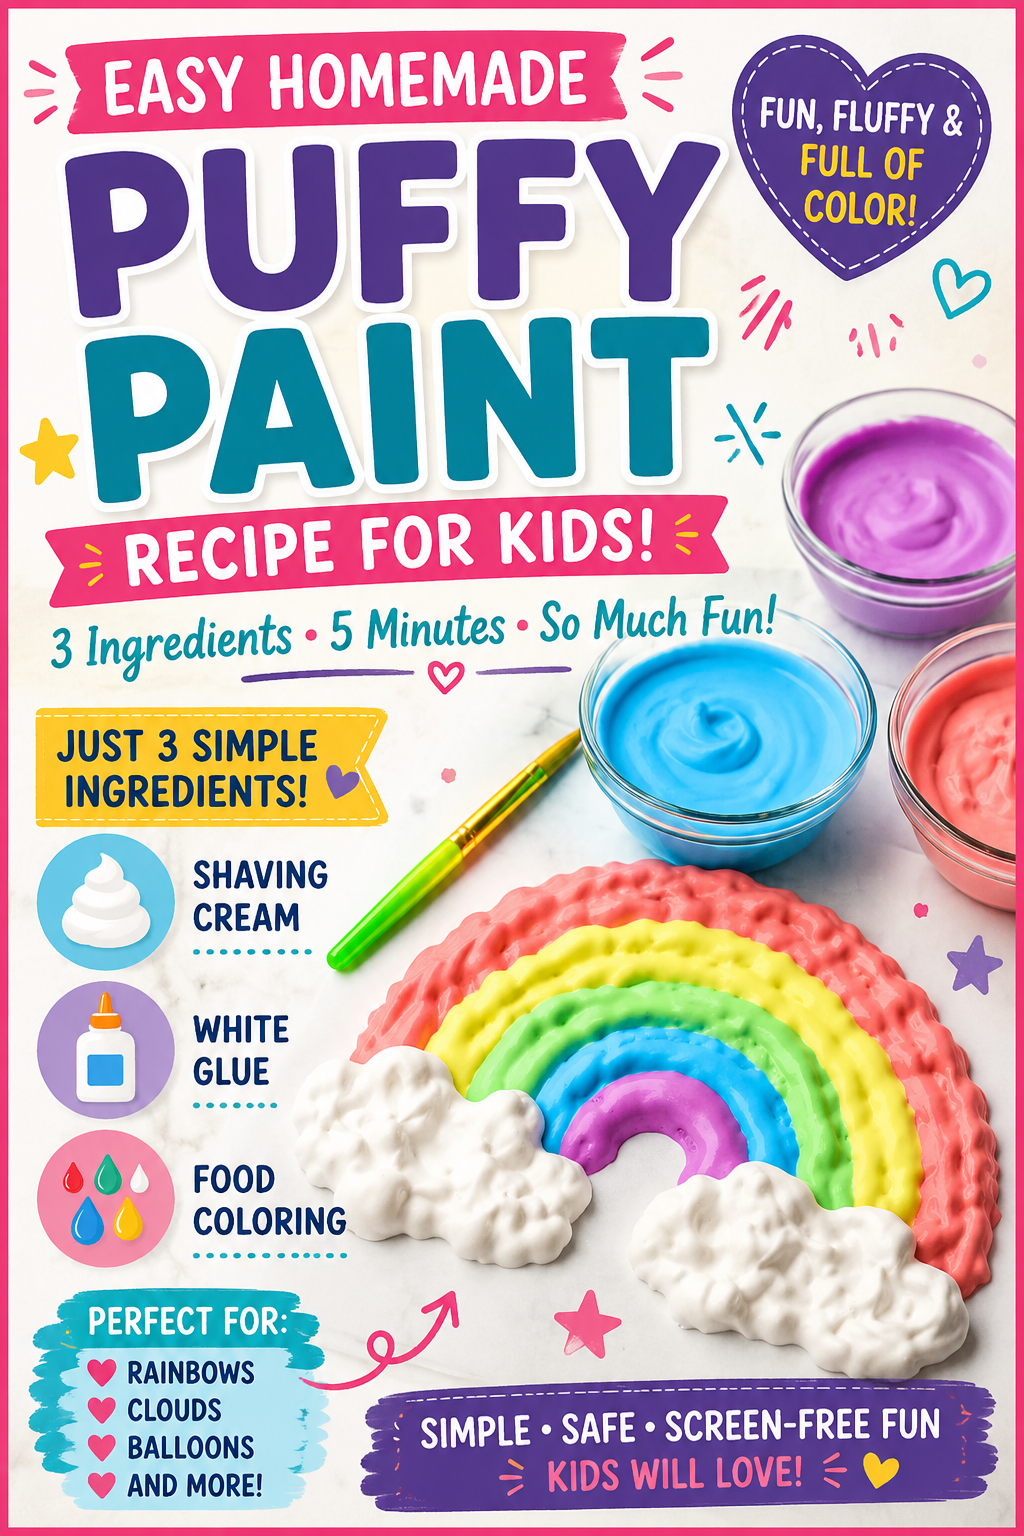
Supplies You’ll Need
- 1/4 cup white school glue
- 1/4 cup shaving cream (foam, not gel)
- Food coloring
- Small bowls or cups
- Popsicle sticks or craft sticks
- Paintbrushes
- Thick paper or cardstock
How to Make Puffy Paint
Step 1: Add the Glue
Pour equal amounts of white glue into small bowls. If you’re making several colors, divide the glue into separate containers.
Step 2: Mix in the Shaving Cream
Add approximately the same amount of shaving cream as glue. Gently stir until the mixture becomes smooth and fluffy. The exact measurements don’t have to be perfect.
Step 3: Add Color
Mix in several drops of food coloring until you reach your desired shade. Keep in mind that the colors usually dry a little darker than they appear when wet.
Step 4: Stir Well
Use a popsicle stick or craft stick to combine everything thoroughly. The mixture should be light, creamy, and easy to spread.
Step 5: Paint!
Use a paintbrush to dab generous amounts of puffy paint onto your paper. Instead of brushing it thin, apply thicker layers to create the best raised effect.
Fun Puffy Paint Ideas
Once your paint is ready, try making:
- Puffy rainbow paintings
- Fluffy white clouds
- Balloons
- Ice cream cones
- Flowers
- Snowmen
- Fireworks
- Butterflies
- Hearts
- Holiday ornaments
- Christmas trees
- Easter eggs
- Ocean waves
- Space galaxies
The possibilities are endless!
What Happens When Puffy Paint Dries?
As the paint dries, it loses a little height but still keeps a fun textured finish. The colors usually become richer and more vibrant after drying.
For the puffiest results, apply the paint generously instead of spreading it too thin.
How Long Does Homemade Puffy Paint Last?
Puffy paint works best when used immediately after mixing. Because shaving cream gradually breaks down, the paint will lose its fluffy texture if stored overnight.
If you have leftover paint, it’s best to discard it and mix up a fresh batch the next time you craft.
Tips for the Best Results
- Use foam shaving cream rather than shaving gel.
- Thick paper or cardstock works better than thin printer paper.
- Apply thick layers for a more dramatic 3D effect.
- Mix several colors for rainbow art projects.
- Let artwork dry flat before moving it.
- Protect your work surface with newspaper or a craft mat.
DIY Puffy Paint Recipe
Materials
- 1/4 cup white school glue
- 1/4 cup shaving cream
- Food coloring
Tools
- Small bowls
- Popsicle sticks
- Paintbrushes
Instructions
- Add white glue to a small bowl.
- Mix in an equal amount of shaving cream.
- Stir until smooth and fluffy.
- Add food coloring and mix well.
- Paint your design using thick layers.
- Allow artwork to dry completely before displaying.
Click Here DIY Coffee Filter Hydrangeas


You May Also Like
15 Free Coloring Pages & Worksheets for Kids
Gift Wrapping Hacks – Christmas Wrapping Money Saving Tips