Learn to Crochet a Cozy Bulky Hat: Follow Our Pattern Tutorial
How to Crochet a Bulky Hat
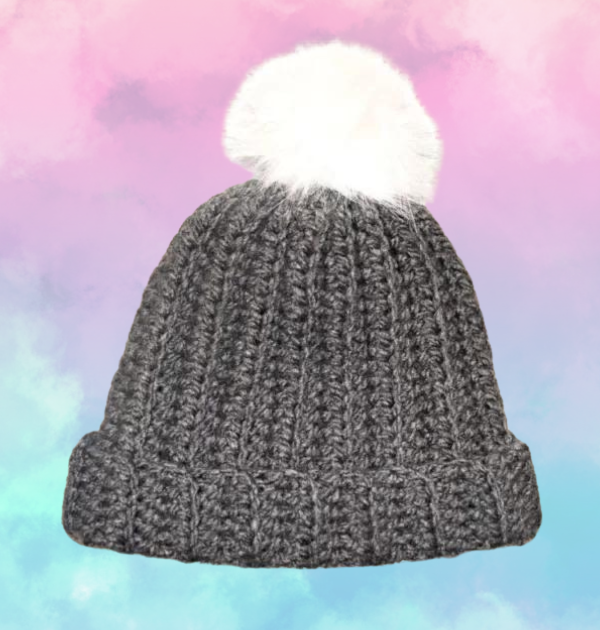
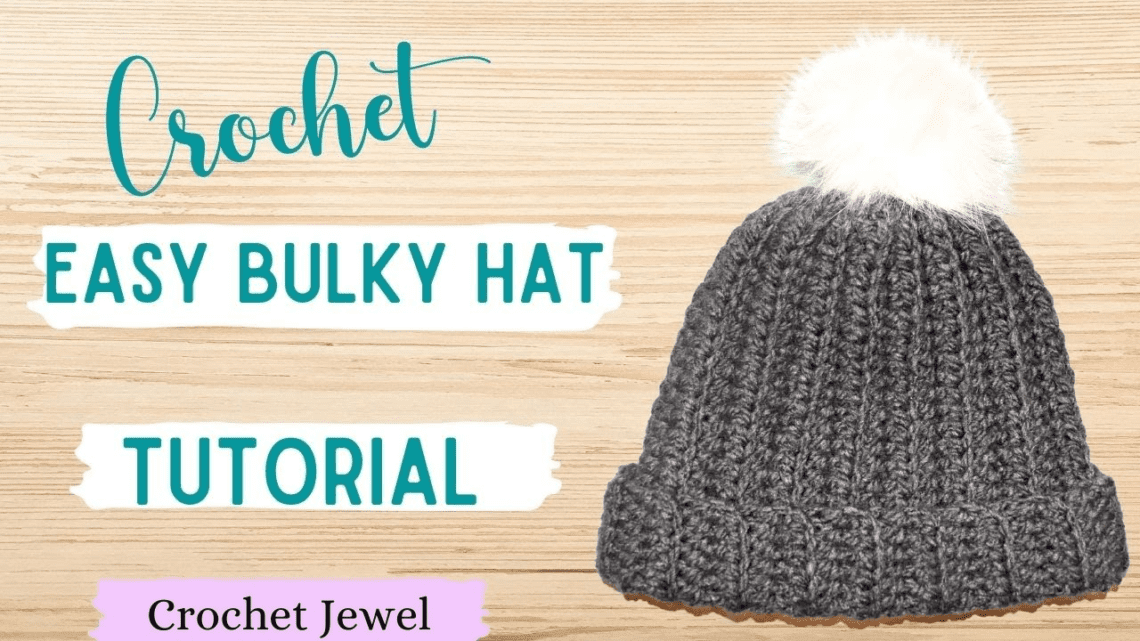
Crocheting hats are a beloved craft that allows you to create stylish and cozy accessories for the winter season. This tutorial will guide you through crocheting a bulky hat using an easy crochet hat pattern. Whether you’re a beginner crocheter or an experienced crafter, this free crochet pattern suits all skill levels. Get ready to explore the world of crochet hats, from the basic stitches like single crochet and double crochet to more advanced techniques like working in the back loop and creating a faux fur pom for that extra touch of style.
Crocheted beanies are a great project for experienced crafters and an ideal choice for those new to the art of crochet. This project’s skill level is beginner-friendly, so you can confidently tackle it. You’ll need some essential materials, such as worsted-weight yarn.
You’ll find affiliate links within this post. If you decide to purchase through these links, I may earn a modest commission at no extra cost. Additionally, please review my privacy policy for more details.
✨ We hope you enjoyed these photos! If so, please consider sharing them on Pinterest by clicking the Pin Button on each image. Your support helps us connect with more people and spread creativity. Thank you so much! 💖
Start with a foundation chain and work your way up, creating the foundation row for your hat. You’ll repeat rows of basic crochet stitches like single crochet, half double crochet, and double crochet to build the hat’s height. Throughout the tutorial, we’ll show you how to increase or decrease the number of stitches to achieve the perfect fit for the hat, ensuring it’s an adult medium size.
One key element in crocheting a hat is the height. Depending on your preference, you can make a slouchy hat or a more fitted beanie. We’ll provide instructions for both options.
Abbreviations
ch=chain
sl st=slip stitch
hdc=half double crochet
Click the Links for Your Materials
All Colors of Yarn Click Here
- Crochet hook
- Tapestry needle
- Stitch marker
K hook
Rnd 1: Chain 34, hdc in the 3rd chain from the hook, hdc in each chain until you get to the last two chains, sc in the last two chains.
Rnd 2: Turn, Ch 1, sc in the back loop of the first two stitches, hdc in each back loop to the end. Turn
Rnd 3: Ch 1, hdc in each back loop until you end, sc in the last two stitches, Turn
Repeat Rnd 2 — 3, For a total of 33 rows.
Sew the ends together. You fold the bottom to add a cuff.
On the sc ends, on top, weave your yarn needle in and out and cinch it closed. Add a pom on top.
I hope you enjoyed this crochet tutorial a hat step by step!
Print the entry at the top of the page to print the pattern!
Reaching the top of the hat, you’ll learn how to decrease stitches and create a seamless finish. The last row is crucial for achieving the perfect crochet hat size. We’ll also discuss gauge swatches, which help ensure your hat fits just right.
If you want to add a unique touch to your hat, consider making a yarn or faux fur pom to adorn the top. These details can make your hat stand out and are a great way to personalize your creation.
In the crochet world, making hats is an easy project that can be both a relaxing and rewarding experience. Our free crochet hat pattern is a fantastic resource for crocheters of all levels, from newbies to seasoned pros. These crocheted hats make great gifts and are perfect for keeping warm during the cold winter season. Additionally, this pattern can be easily customized to suit your preferences if you want to explore different yarn weights and colors.
As you complete your hat, you can proudly share your finished project on social media and maybe even join a crochet-focused Facebook group to connect with fellow crafters. Remember that, in this tutorial, we’ve used affiliate links to suggest some of our favorite yarns and tools, which help support the creation of more free crochet patterns.
To Find All My Crochet Jewel Patterns, Click Here
Click Here for My Ravelry Patterns


