How to Crochet a Cupcake Pin Cushion Pattern
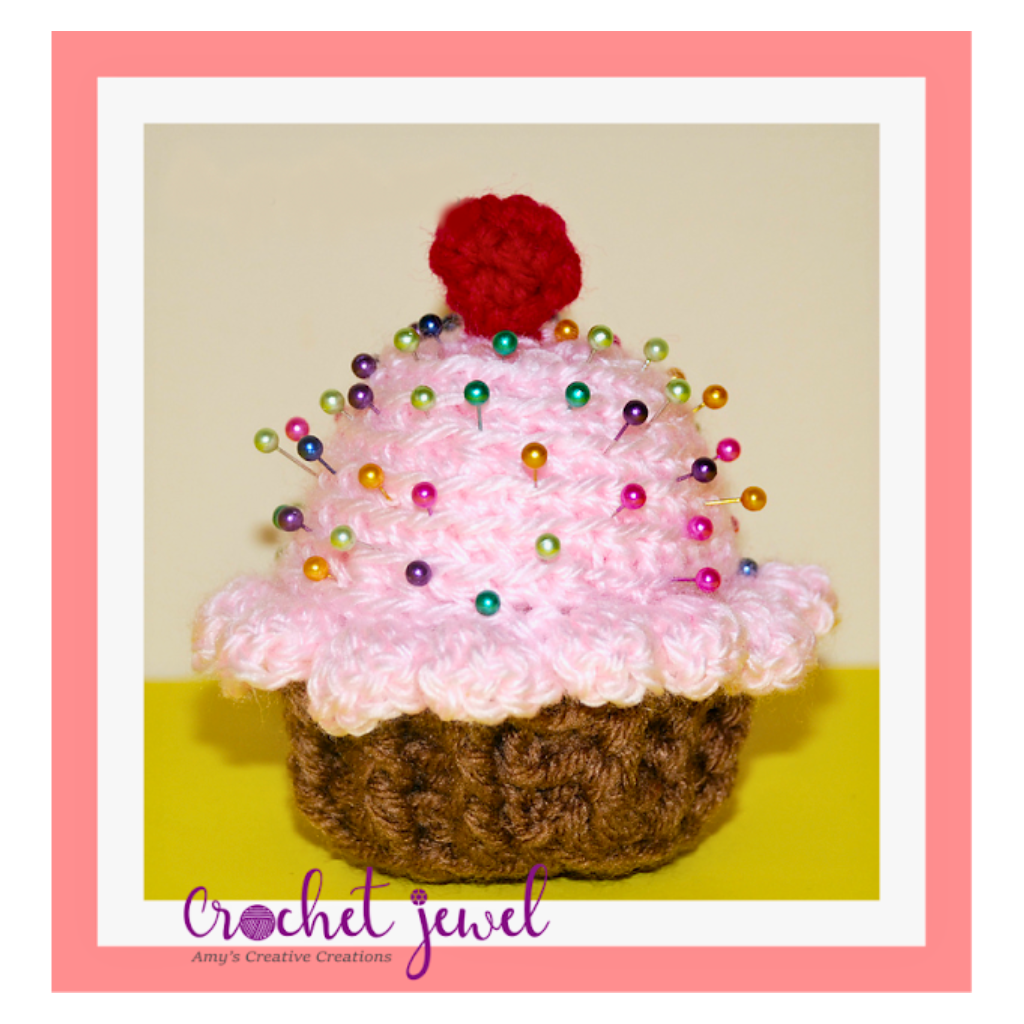
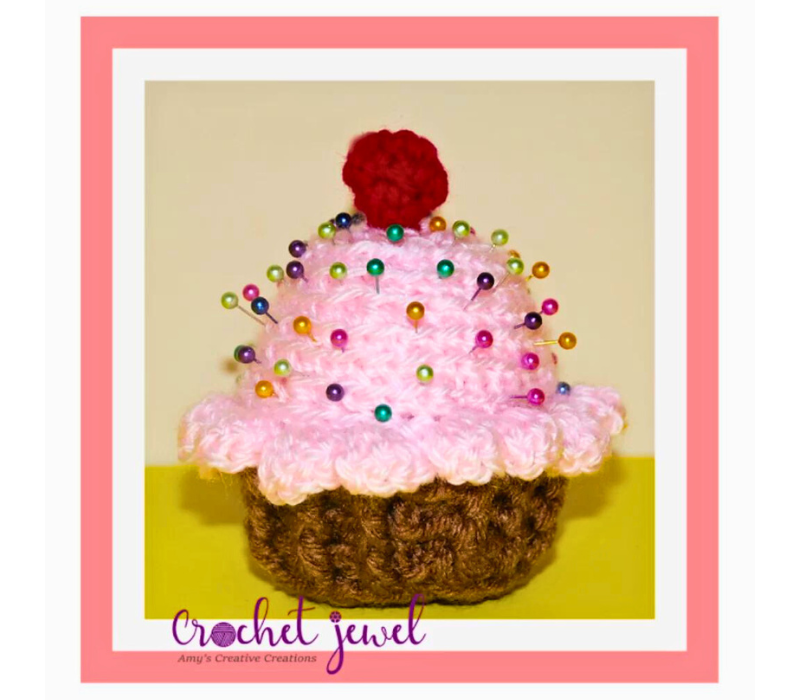
Crochet a Cupcake Pin Cushion
Crocheting a cupcake pin cushion is a delightful and practical project that combines creativity and functionality. Whether you’re a seasoned crocheter or a beginner looking for a fun and rewarding project, this adorable cupcake pin cushion will bring joy to your crafting space. Not only does it serve as a charming accessory, but it also provides a handy and cute storage solution for your pins and needles. In this guide, we’ll take you through the step-by-step process of creating your crocheted cupcake pin cushion.
You’ll find affiliate links within this post. If you decide to purchase through these links, I may earn a modest commission at no extra cost. Additionally, please review my privacy policy for more details.
✨ We hope you enjoyed these photos! If so, please consider sharing them on Pinterest by clicking the Pin Button on each image. Your support helps us connect with more people and spread creativity. Thank you so much! 💖
*Materials Needed:*
Click the Links for Your Materials
– Crochet hook
– Tapestry needle
– Stitch marker
Before we dive into the crochet stitches, gather the following materials:
– Worsted weight yarn in cupcake and frosting colors
– Crochet hook appropriate for your yarn weight
– Fiberfill or stuffing material
– Yarn needle
– Scissors
– Stitch markers
Cupcake Base*
Begin by crocheting the cupcake base. You can use a simple amigurumi-style technique, starting with a magic ring and working in continuous rounds. Increase stitches gradually to form a cupcake shape. Choose a color that resembles the cake portion of a cupcake.
Frosting Top*
Switch to the frosting color and crochet the delicious swirl atop your cupcake. This is a great opportunity to experiment with different stitch patterns, like popcorn stitches or shell stitches, to add texture. Be creative with color choices to make your cupcake uniquely yours.
Material:
I and H hook
Red Heart Brown and Red yarn
Baby Pink yarn
Colorful Pins
Abbreviations:
ch=chain
sc=single crochet
sl st=slip stitch
2sctog decrease= 2 single crochet together decrease
Rnd 1: Start with Brown Yarn, this is the bottom of the cupcake. Work 5 sc in the Magic Circle, sl st
Rnd 2: Ch 1, work 2 sc in each sc around, sl st, -10 sc
Rnd 3: Ch 1, work 2 sc in each sc around, sl st -20 sc
Rnd 4: Ch 1, *work sc, 2 sc in the next sc, *Repeat around, sl st -30 sc
Rnd 5: Ch 1, sc in the back loops, sl st -30 sc
Rnd 6: Ch 2 (counts as first dc),*front post dc around the sc, back post dc around the sc, *Repeat around, sl st
Rnd 7: Ch 2 (counts as first dc),*front post dc, back post dc, *Repeat around, sl st
Rnds 8-9: Repeat round 7, for a total of two more times.
Rnd 10: sl st with Pink Yarn, sc around, sl st
Rnd 11: work 2 sc back loops, sc in the next 3 sc in the back loops, *Repeat around, Work in continual rounds without slip stitches now.
Rnds 12-13: sc in each back loop around, *Repeat for a total of two rounds.
Rnd 14: work 2 sc back loops, sc in the next 3 sc in the back loops, *Repeat around
Rnds 15-16: sc in each back loop around, *Repeat for a total of two rounds. Take Pink Yarn or stuffing and begin to stuff your cupcake as full as you can.
Rnds 17-18: 2sctog decrease in each sc around, *Repeat this round for a total of two rounds. Fasten off, Weave in the ends.
Shell Trim on Rnd 10: With Pink yarn sl st into round 10 sc, sc in the same stitch, work 4 dc in the next sc, ch 2, sl st in the same stitch, sc in the next sc, work 4 dc in the next sc, ch 2, sl st in the same stitch, *Repeat around, sl st. Fasten off, Weave in the ends.
Cherry: H Hook, Red yarn
Rnd 1: Work 5 sc in the Magic Circle, sl st
Rnd 2: work 2 sc in each sc around, sl st
Rnd 3: sc in each sc around, sl st
Rnd 4: 2sctog decrease 5 times, sl st. Fasten off. Stuff the cherry with some red yarn and Attach the Cherry on top of the pink cupcake.
Pins: Push the pins all over the pink part of the cupcake. I hope you enjoyed this free cupcake crochet pattern!
Adding Sprinkles (Optional)*
For an extra touch of cuteness, consider adding sprinkles to your cupcake. You can achieve this by surface crocheting small, contrasting color dots onto the frosting. This step allows for personalization and creativity.
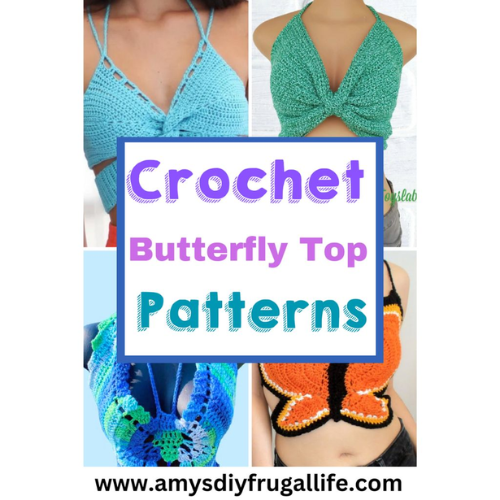
Click Here for the Butterfly Top Patterns
Assembly*
Once both the cupcake base and frosting are complete, stuff the cupcake with fiberfill, ensuring a plump and soft pin cushion. Attach the frosting to the cupcake securely and weave in any loose ends.
Congratulations! You’ve successfully crocheted a charming cupcake pin cushion. This project showcases your crochet skills and adds a whimsical touch to your crafting space. Now, you have a functional and adorable accessory to keep your pins and needles organized. Feel free to experiment with colors and stitches to make each cupcake unique. Enjoy your new cupcake pin cushion, and happy crocheting!
To Find All My Crochet Jewel Patterns, Click Here

Click Here for My Ravelry Patterns


Crochet Hats for Beginners Book For Sale – Click Here


You May Also Like
Crochet a Playful Beard Pattern: Step-by-Step Guide
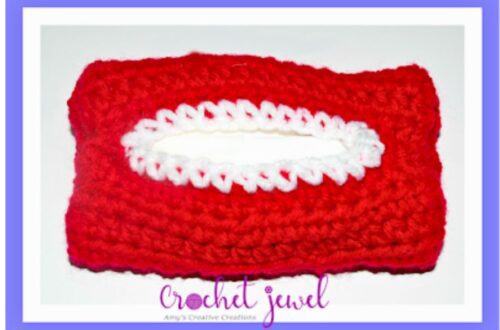
Crochet a Tissue Cozy: Step-by-Step Guide