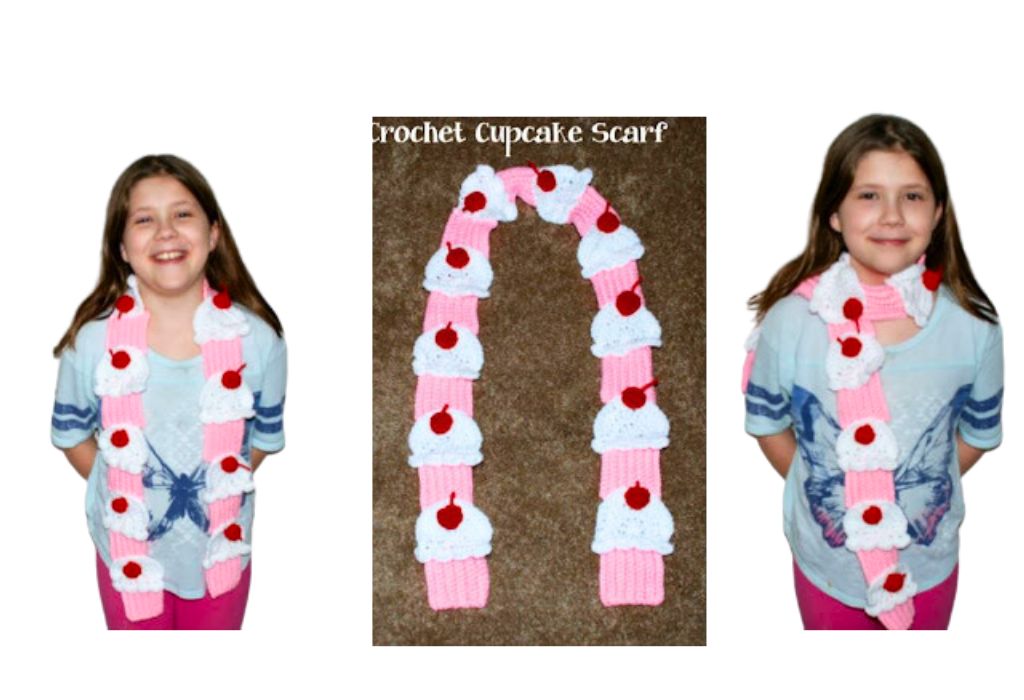
Crochet a Sweet Cupcake Scarf: Step-by-Step Pattern
How to Crochet a Cupcake Scarf!
Welcome to our tutorial on “How to Crochet a Cupcake Scarf Pattern.” If you’re a crochet enthusiast looking for a fun and delightful project, you’re in the right place. This pattern is not only easy to follow, making it perfect for beginner crocheters, but it’s also a free crochet pattern. We’ll walk you through the steps to create a charming scarf in the shape of delectable cupcakes. Using your favorite colors, you’ll work with basic crochet stitches and yarn weights to achieve a sweet and stylish accessory. Let’s dive into this super scarf project, a great way to show off your crochet skills and a fantastic quick gift idea.
You’ll find affiliate links within this post. If you decide to purchase through these links, I may earn a modest commission at no extra cost. Additionally, please review my privacy policy for more details.

Creating your cupcake scarf is as easy as working with basic crochet stitches. Starting with the foundation chain and simple stitches like single and double crochet, you’ll swiftly advance to construct the unique stitch pattern that gives your scarf its cupcake appearance. By repeating rows and switching between different colors, you’ll add the frosting and wrapper details to your scarf. This simple pattern can be customized to your liking, as you can choose your favorite yarn colors and experiment with different yarn weights, from bulky to worsted weight, to achieve the desired scarf size. Worsted-weight yarn can be perfect for a traditional scarf, while chunky yarn can create chunky scarves that make for great gifts. Using a larger hook size ensures that your scarf maintains a straight edge and a gauge that suits your preferences. The straightforward instructions in our video tutorial will guide you at every step, making this an ideal crochet project for those with extensive experience or beginners.
Rnd 4. 2 sc together decrease, (5 times) sl st and Fasten off.
Print the Entry on the top of the page to print the pattern!
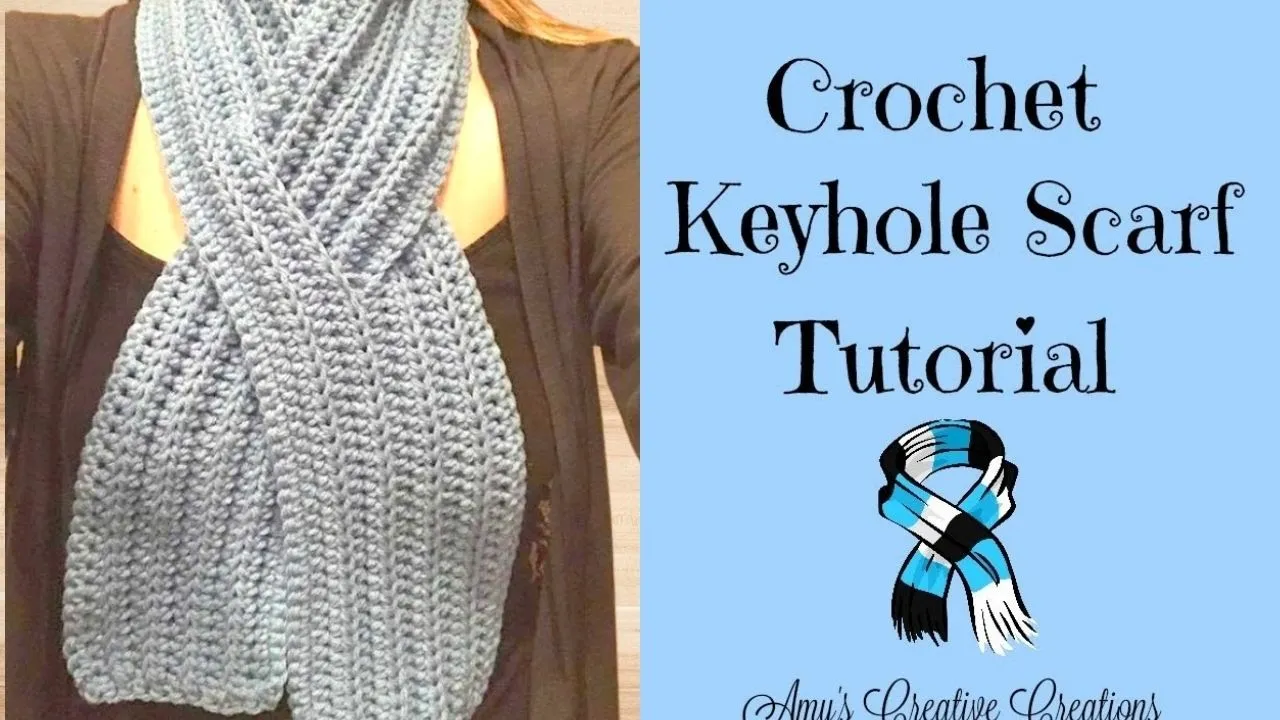
Click Here for a Crochet Keyhole Scarf Pattern
In conclusion, the “How to Crochet a Cupcake Scarf Pattern” is the perfect project for crochet enthusiasts of all skill levels. With its free pattern and basic crochet stitches, creating a scarf that’s as sweet as it is stylish is easy. Whether you’re a seasoned crocheter or just starting, this simple scarf pattern offers a quick and delightful crochet project to keep you warm and cozy. You can even join our crochet community on our Facebook group to share your progress and get inspired by others’ creations. So grab your yarn and hook, and start on this fun and whimsical cupcake scarf!
This charming cupcake scarf pattern is a fantastic beginner project and an excellent canvas for creative ideas. Feel free to experiment with your favorite yarns, play with different yarn colors, and choose the best yarn weight that suits your style. You can customize the scarf’s size, making it as long or wide as you desire. The versatile double crochet stitches allow you to progress quickly, and you can add some extra flair by using chunky yarn for chunky scarves or acrylic yarn for a warm and snug crochet scarf. With this super scarf project, you can showcase your crochet skills while creating a unique and delightful accessory. The cupcake scarf will surely be a hit whether you make it for yourself or as a quick gift.


You May Also Like
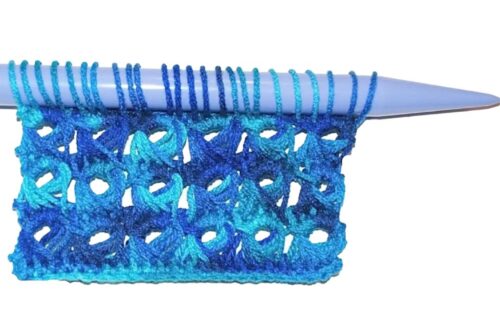
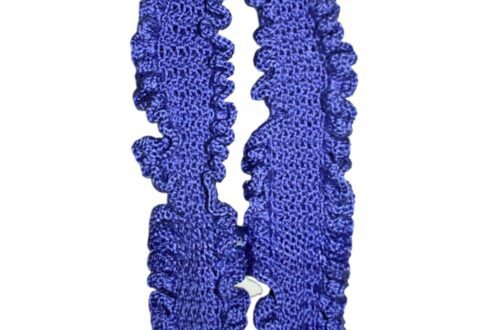
How to Crochet Broomstick Lace Stitch Scarf
A Step-by-Step Guide to Crocheting Your Own Infinity Scarf