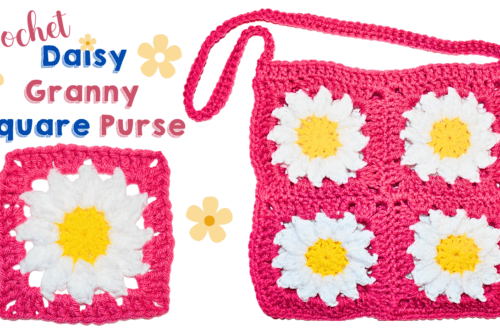
How to Crochet a Fun Granny Square: A Beginner’s Guide

Crochet a Fun Granny Square
Crocheting a granny square is one of the best ways to learn the basics of crochet and build confidence as a beginner. In this guide, you’ll learn step by step how to create a classic granny square using simple stitches and easy-to-follow instructions. By the end, you’ll have a versatile square you can use for bankets, bags, or countless other crochet projects.
This post contains affiliate links. If you purchase through these links, I may earn a modest commission at no extra cost. Please review my privacy policy for more details.
Click the Social Icons to Stay Connected
![]()
![]()
![]()
![]()
![]()
![]()
![]()
![]()

Click the Links for Your Materials
✨ We hope you enjoyed these photos! If so, please consider sharing them on Pinterest by clicking the Pin Button on each image. Your support helps us connect with more people and spread creativity. Thank you so much! 💖

You’ll start by learning how to hold your hook and yarn, make a slip knot, and chain your foundation stitches. The tutorial then walks you through each round of the granny square, explaining where to place your stitches and how to form the corners correctly. Along the way, you’ll pick up helpful tips to keep your stitches even and your square neat. Once you’ve mastered the basics, you can easily customize your granny square with different colors, sizes, or patterns.
Click the Links for Your Materials
All Colors of Yarn Click Here
- Crochet hook
- Tapestry needle
- Stitch marker
Materials:
FIne Yarn or Medium Worsted Yarn, If you go with medium go up on hook to a G or H Hook
F crochet hook
Scissors
Yarn needle
Stitch marker
Abbreviations
ch – chain
dc – double crochet
sc – single crochet
st – stitch
rep – repeat
sl st — slip stitch
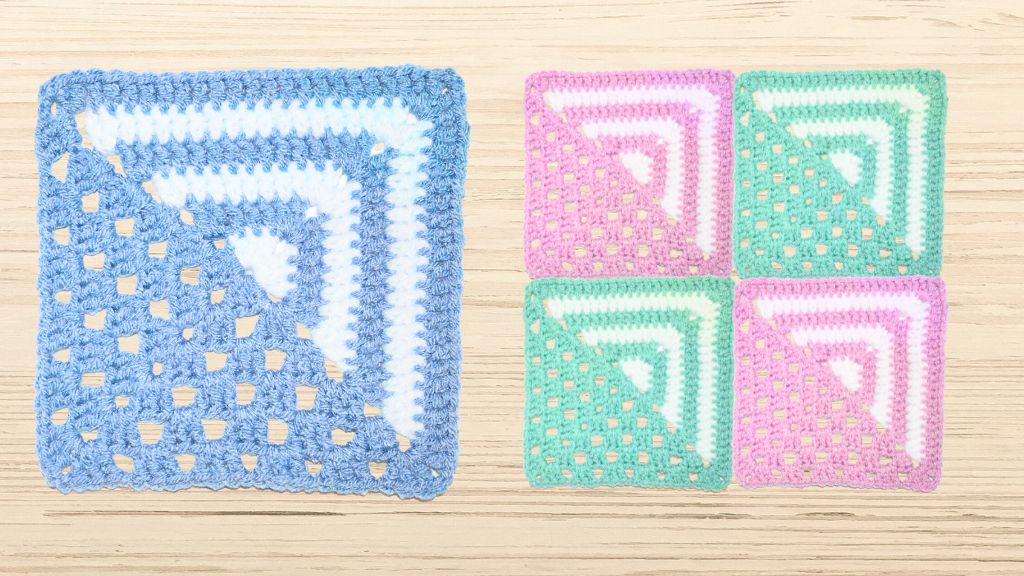
Rnd 1: Fine yarn and F hook,
Green Yarn, In the Magic Ring, Ch 3, 2 dc, ch 2, 3 dc, pull white yarn through, ch 2, 3 dc, ch 2, 3 dc, pull green yarn through, ch 2, sl st into the chain 3,
Rnd 2: with green yarn, ch 3, 2 dc (in the beginning chain space), ch 1, in the next space, (3 dc, ch 2, 3 dc,)
ch 1, (3 dc, ch 2, 2 dc,) along the edge, dc in the next three 3 dc, in the chain space, (2 dc, ch 2, 2 dc,) along the edge dc in the next 3 dc, in the last chain space, 2 dc, ch 2, sl st in the chain 2
Rnd 3: with green yarn, ch 3, 2 dc, ch 1, 3 dc, ch 1, (3 dc, ch 2, 3 dc in the chain space,) ch 1, 3 dc, ch 1, (3 dc, pull white yarn through ch 2, 2 dc in the chain space,) dc in the next 7 dc, (2 dc, ch 2, 2 dc in the ch space,) dc in the next 7 dc, 2 dc, pull through with green yarn, ch 2 in the chain space, sl st in the chain 2.
Rnd 4: with green yarn, ch 3, 2 dc, along the edge, ch 1, 3 dc, ch 1, 3 dc, ch 1, (3 dc, ch 2, 3 dc in the chain 2 space,) ch 1, 3 dc, ch 1, 3 dc, ch 1, (3 dc, ch 2, 2 dc in the ch 2 space), dc in the next 11 dc along the edge, (2 dc, ch 2, 2 dc) dc in the next 11 dc along the edge, (2 dc, ch 2, sl st in the chain 2.
Rnd 5: green yarn, ch 3, 2 dc, along the edge, (3 dc, ch 1) 3 times, (3 dc, ch 2, 3 dc in the chain space,) along the edge (3 dc, ch 1) 3 times, (3 dc, pull white yarn through, ch 2, 2 dc in the chain space), dc in the next 15 dc along the edge, (2 dc, ch 2, 2 dc in the chain space), dc in the next 15 dc along the edge, (in the last chain space, 2 dc, pull green yarn through, ch 2, sl st into the chain 2),
Rnd 6: green yarn, ch 2, 2 dc, along the edge, (3 dc, ch 1) 4 times, (3 dc, ch 2, 3 dc, in the ch space), (3 dc, ch 1) 4 times,
(3 dc, ch 2, 2 dc in the chain space), dc in the next 19 hdc along the edge, (2 dc, ch 2, 2 dc in the chain space), dc in the next 19 dc along the edge, (in the last chain space, 2 dc, ch 2, sl st into the chain 2)

Crochet Potholder Pattern Click Here
To Find All My Crochet Jewel Patterns, Click Here

Click Here for My Ravelry Patterns


Crochet Hats for Beginners Book For Sale — Click Here

Crochet For Beginners Book for Sale — Click Here

You May Also Like

How to Crochet a Flower Granny Square Pattern
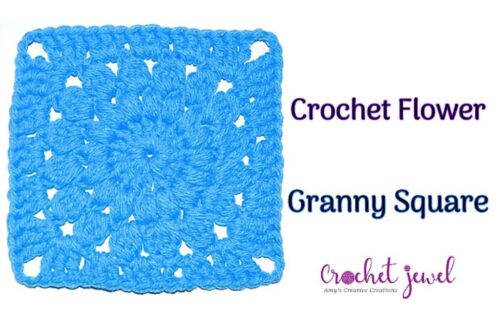
Learn How to Crochet a Flower Granny Square Pattern