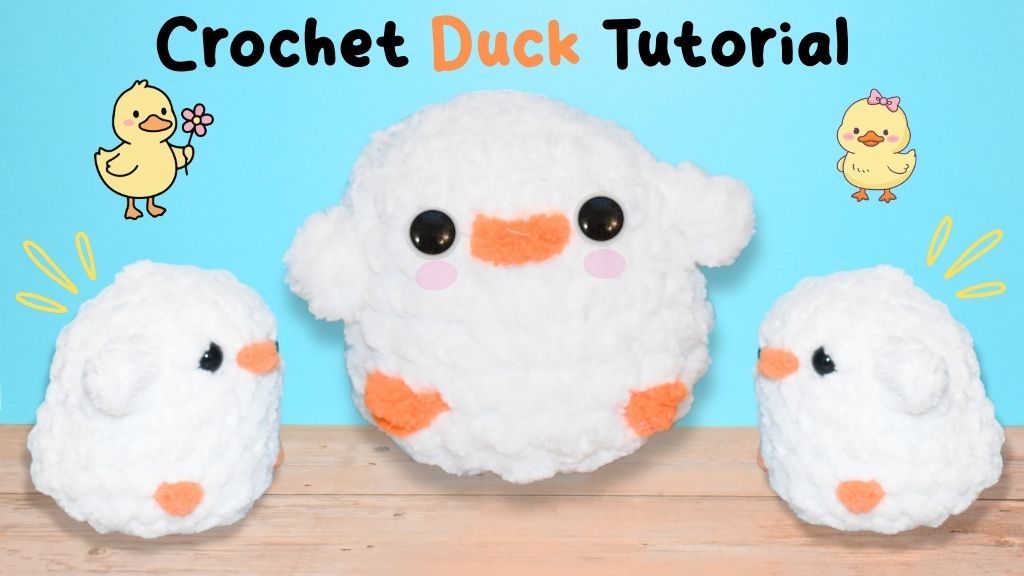
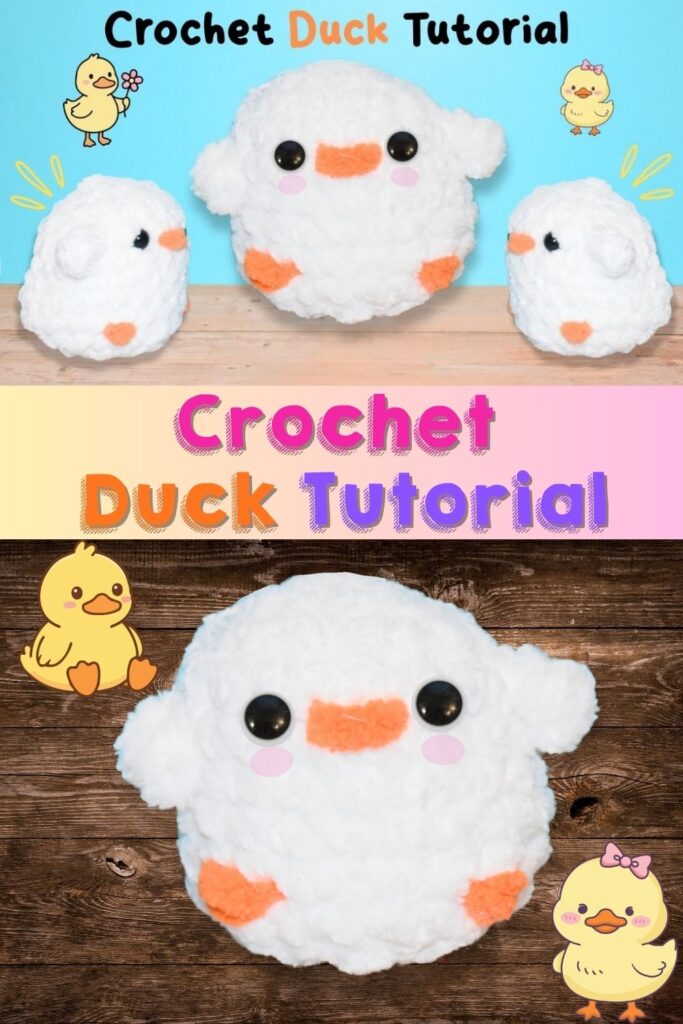
How to Make a Cute Crochet Amigurumi Duck
Crochet Duck Tutorial
Looking to create a charming handmade gift or adorable decor for your home? In this tutorial, we’ll show you how to make a cute crochet amigurumi duck, perfect for beginners and experienced crafters alike. Using simple stitches and soft yarn, you can craft a lovable little duck that’s ideal for gifts, nursery decor, or as part of your amigurumi collection. Follow our step-by-step guide and bring your very own crochet duck to life!
This post contains affiliate links. If you purchase through these links, I may earn a modest commission at no extra cost. Please review my privacy policy for more details.
Click the Social Icons to Stay Connected
![]()
![]()
![]()
![]()

Click the Links for Your Materials
✨ We hope you enjoyed these photos! If so, please consider sharing them on Pinterest by clicking the Pin Button on each image. Your support helps us connect with more people and spread creativity. Thank you so much! 💖
Click the Links for Your Materials
All Colors of Yarn Click Here
– Crochet hook
– Tapestry needle
– Stitch marker
Materials:
- Plushie white, orange Yarn
- G hook
- 9 mm safety eyes
- Fiberfill stuffing
- Yarn needle
Abbreviations (US Terms)
- MR – Magic Ring
- sc – single crochet
- inc – increase (2 sc in same stitch)
- decrease – 2sctog
- sl st – slip stitch
- ch – chain
- dc – double crochet
BODY
Round 1: MR, 6 sc into ring. sl st (6) then work in continual rounds
Round 2: 2sc in each stitch around. (12)
Round 3: (1 sc, 2sc) x6. (18)
Rounds 4–7: Sc in each stitch around. 4 rounds (18 each round)
Round 8: 2sc in the next 6 stitches, then sc in remaining 12 stitches. (24)
Round 9: Sc in each stitch around. (24)
Insert Safety Eyes
- Place between Round 5
- Leave 3 stitches between eyes
- The increase section from Round 8 forms the back (tail area)
Attach safety backs securely.
Beak Embroidery
Using orange yarn:
- Insert needle between the eyes.
- Embroider 1 small horizontal line between the eyes.
- Fasten off securely inside.
Round 9: (2 sc, 2sctog decrease) x6. (18)
Round 10: (1 sc, 2sctog decrease) x6. (12)
Start stuffing firmly and shape the body.
Round 11: work 2sctog decrease in next stitches until closes. (6)
Sl st, ch 1, fasten off leaving long tail.
Add a little more stuffing before fully closing.
Thread tail through front loops of remaining 6 stitches and pull tight to close. Secure and weave in.
Feet, Using orange yarn
At the bottom round below the eyes, Make 2–3 horizontal lines for each foot.
Repeat on opposite side, fasten off and weave in your ends.
Wings (Make Directly Onto Body)
Attach white yarn:
1 stitch behind the eye: Ch 1, 2 dc in same stitch, Ch 1, Fasten off leaving tail to create a wing.
Position wing slightly diagonal downward.
Tie tails inside and hide ends, Repeat on opposite side.
Creating your own crochet amigurumi duck is a fun and rewarding project that’s perfect for crafters of all levels. With just a few simple stitches and some patience, you can make a charming little duck that’s ideal for gifts, home decor, or adding to your amigurumi collection. Keep practicing and experimenting with colors and textures to make each duck uniquely yours. Happy crocheting!

Crochet Potholder Pattern Click Here
To Find All My Crochet Jewel Patterns, Click Here

Click Here for My Ravelry Patterns


Crochet Hats for Beginners Book For Sale – Click Here

Crochet For Beginners Book for Sale – Click Here


You May Also Like
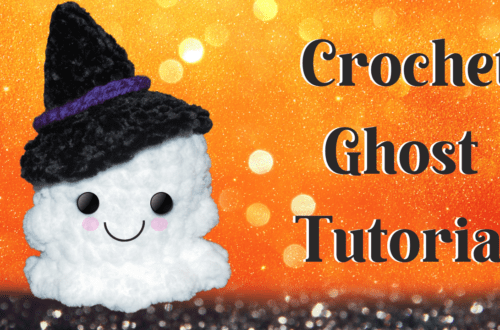
How to Crochet a Ghost: A Spooky DIY Guide
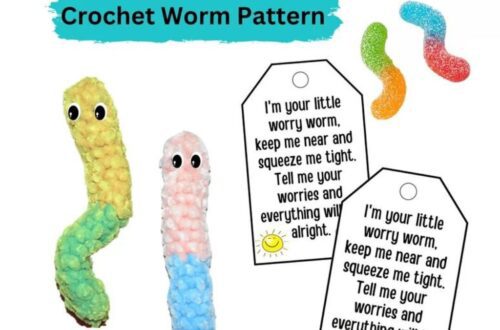
Creating Crochet Gummy Worms: A Step-by-Step Guide