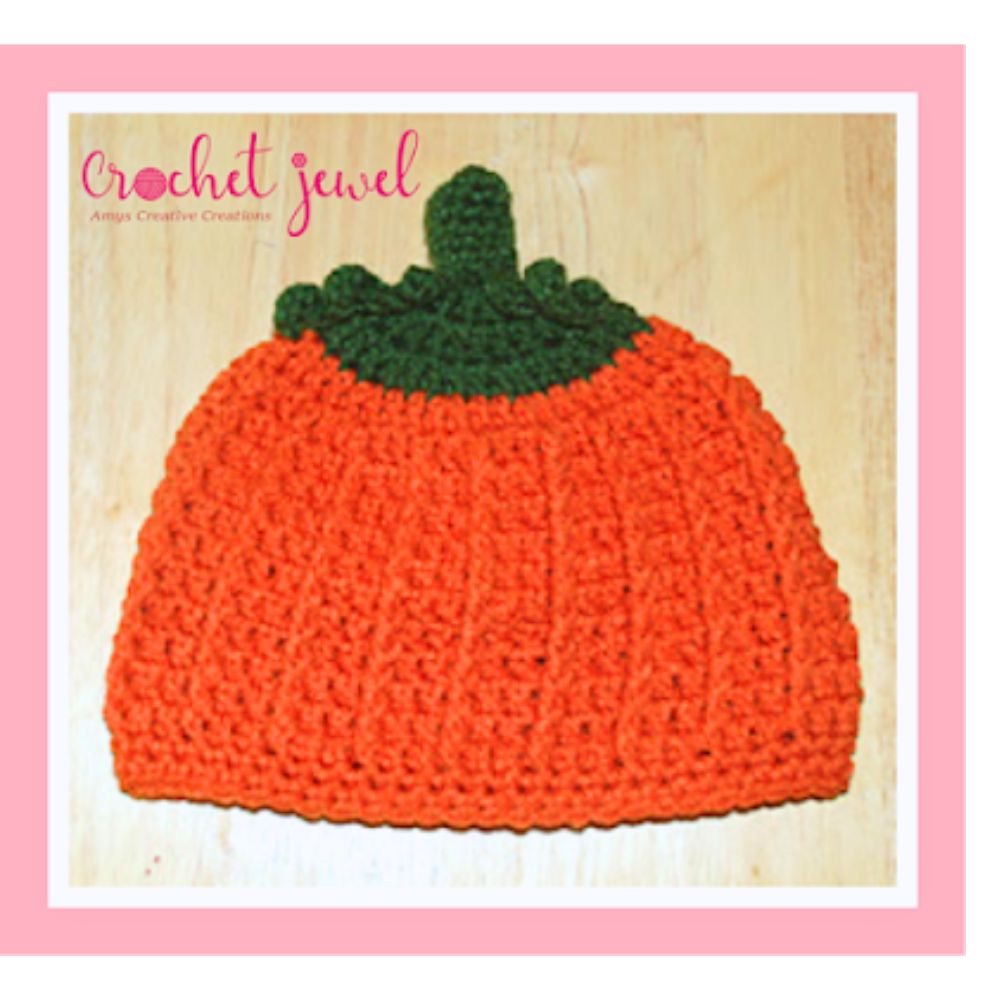
Crochet Tutorial: Make a Festive Pumpkin Hat with Ease
How to Crochet a Pumpkin Hat
Are you ready to create a cozy, stylish crochet pumpkin hat for winter? We will guide you through making this easy crochet hat using basic stitches in this free crochet pattern. Whether you’re a seasoned crocheter or a beginner, this project is perfect. Let’s dive in and create a hat perfect for staying warm and making great gifts for your loved ones!
Are you ready to create a cozy, stylish crochet pumpkin hat for winter? We will guide you through making this easy crochet hat using basic stitches in this free crochet pattern. Whether you’re a seasoned crocheter or a beginner, this project is perfect. Let’s dive in and create a hat perfect for staying warm and making great gifts for your loved ones!
You’ll find affiliate links within this post. If you decide to purchase through these links, I may earn a modest commission at no extra cost. Additionally, please review my privacy policy for more details.
✨ We hope you enjoyed these photos! If so, please consider sharing them on Pinterest by clicking the Pin Button on each image. Your support helps us connect with more people and spread creativity. Thank you so much! 💖
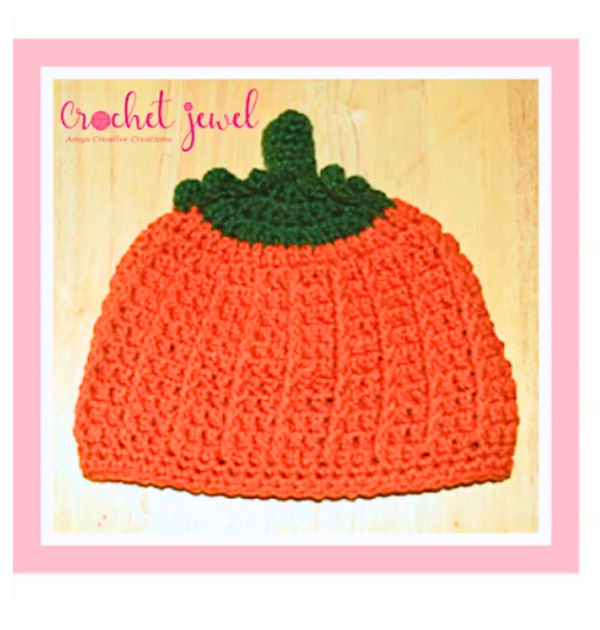
First, you’ll need worsted-weight yarn in your favorite fall color and a size I crochet hook. The first step is to create a foundation chain. The head size and hat height can be adjusted based on your preference, and we’ve included a crochet hat size chart to help you find the perfect fit.
Supplies:
Click the Links for Your Materials
H and G hooks
I made this for my Almost 3-year-old!
How to Watch Videos in Slow Motion – if the video is too fast – Click Here!

rnds 3-7. sc in each sc around, *Repeat for 5 rounds. sl st. Fasten off. Attach the stem on top of the hat.
chain 16, sc in 2nd chain from the hook, sc in each chain across, Fasten off. Sew both stem leaves on each side of the stem and curl it with your hook.
Print the Entry on the top of the page to print the pattern!
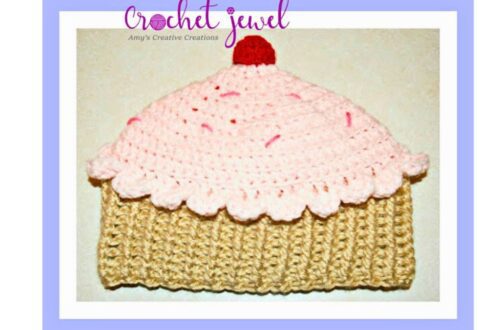
Click Here for More Crochet Hat Patterns
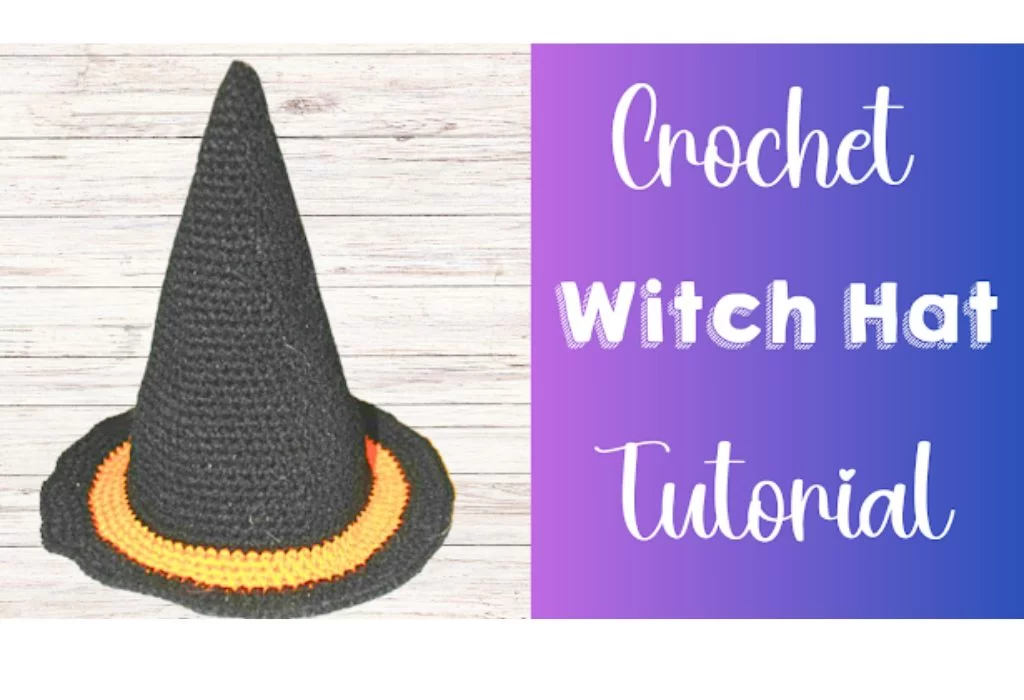
Click Here for a Crochet Witch Hat Pattern
For this pattern, we’ll be using single crochet and slip stitches. To achieve the pumpkin-like texture, we’ll work in the back loop of each stitch. Use a stitch marker to keep track of your rounds as you repeat the row. As you work your way up, you can decide on the slouchiness of the hat – go for a slouchy beanie or a more traditional beanie hat.
When you’ve reached the desired hat height, it’s time to close the top of the hat. Use slip stitches to gather the stitches and create a neat finish. For an added touch, you can add a yarn or faux fur pom pom to the top of the hat.
First, you’ll need worsted-weight yarn in your favorite fall color and a size J (6 mm) crochet hook. The first step is to create a foundation chain. The head size and hat height can be adjusted based on your preference, and we’ve included a crochet hat size chart to help you find the perfect fit.
For this pattern, we’ll be using single crochet and slip stitches. To achieve the pumpkin-like texture, we’ll work in the back loop of each stitch. Use a stitch marker to keep track of your rounds as you repeat the row. As you work your way up, you can decide on the slouchiness of the hat – go for a slouchy beanie or a more traditional beanie hat.
When you’ve reached the desired hat height, it’s time to close the top of the hat. Use slip stitches to gather the stitches and create a neat finish. For an added touch, you can add a yarn or faux fur pom pom to the top of the hat.
Creating stylish and warm crochet hats is a beautiful way to embrace winter. With this easy crochet hat pattern, featuring back loop single crochet and a variety of basic crochet stitches, you’ll be crafting the perfect accessory. The pattern includes a step-by-step video tutorial, making it ideal for crocheters of all skill levels, and plenty of free crochet patterns are available. The unique texture achieved by working in the back loop sets these hats apart, and using a stitch marker keeps you on track as you repeat rows to reach the desired hat height. Whether you prefer a slouchy hat or a classic beanie, the choice is yours. You can add faux fur pom-pom or yarn pom-pom for extra style. From worsted to bulky weight yarns, there’s a range of yarn weights to suit your taste. So, whether you’re a beginner or an experienced crocheter, this project is perfect for creating the ideal fit and staying cozy in the winter. Plus, it’s a fantastic gift idea, and with affiliate links to our favorite yarns, it’s even easier to get started. Happy crocheting, and stay warm in your handmade crochet hat!
In conclusion, this easy crochet pumpkin hat pattern is a fantastic project for crocheters of all skill levels. It’s a versatile and stylish accessory for the winter season, making it a great gift or a fun addition to your wardrobe. Whether you prefer a slouchy hat or a classic beanie, this pattern is easily customizable. So, grab your chunky yarn, crochet hook, and stitch marker, and get started on this free crochet pattern. Happy crocheting!
To Find All My Crochet Jewel Patterns, Click Here

Click Here for My Ravelry Patterns


Crochet Hats for Beginners Book For Sale – Click Here

Crochet For Beginners Book for Sale – Click Here


You May Also Like
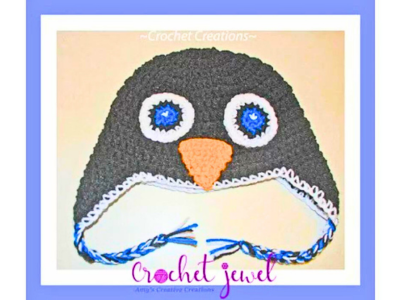
Create Your Own Penguin Ear Flap Hat: Easy Crochet Tutorial
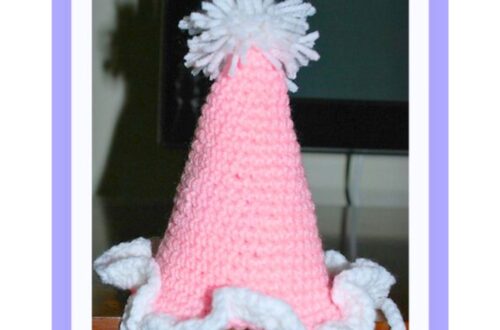
Crochet a Festive Birthday Party Hat Pattern