Crochet a Christmas Reindeer Applique: Step-by-Step Tutorial
How to Crochet a Reindeer Applique
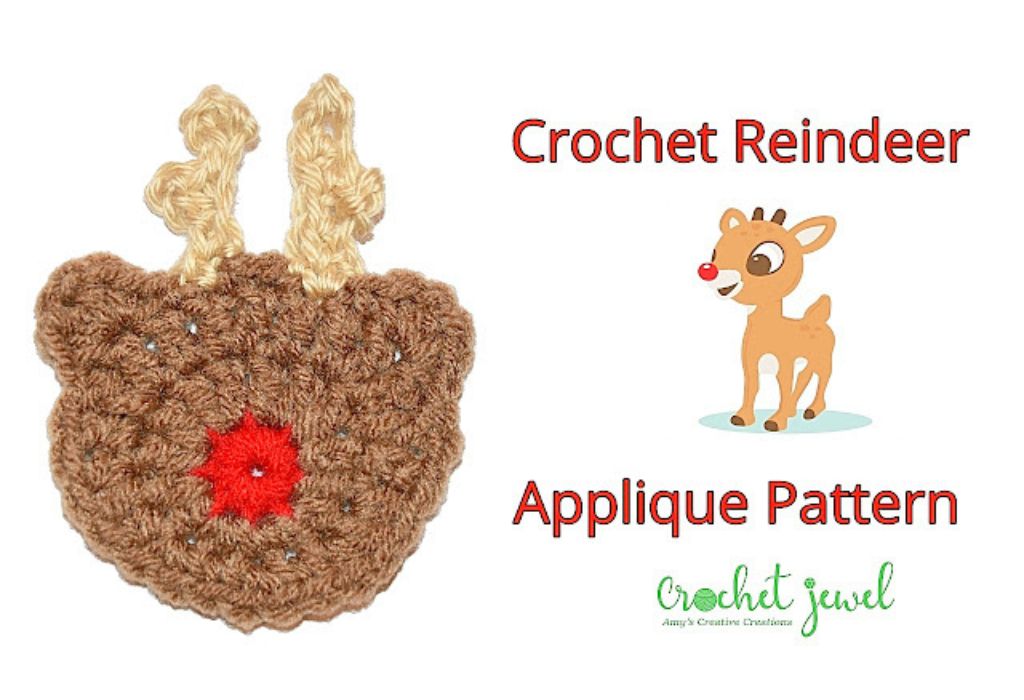
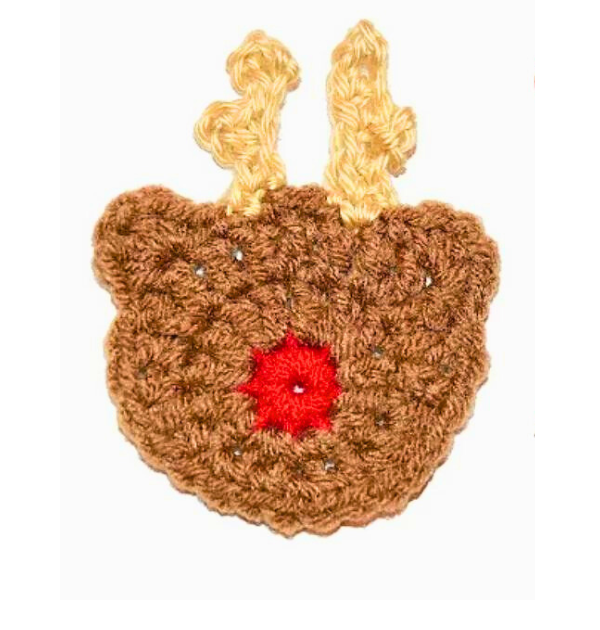
The holiday season is the perfect time of year to get into the holiday spirit and add a personal touch to your Christmas decorations. One of the best things you can do is create handmade crochet ornaments. We’re excited to share a free crochet pattern for a cute reindeer applique ornament in this blog post. This adorable ornament will make a great addition to your Christmas tree decorations and can also be used as a festive gift tag for your Christmas gifts. So grab your crochet hook and some worsted-weight yarn as we guide you through making this cute reindeer ornament. We’ll also include a free video tutorial to make it easy to follow.
You’ll find affiliate links within this post. If you decide to purchase through these links, I may earn a modest commission at no extra cost. Additionally, please review my privacy policy for more details.
✨ We hope you enjoyed these photos! If so, please consider sharing them on Pinterest by clicking the Pin Button on each image. Your support helps us connect with more people and spread creativity. Thank you so much! 💖
**Materials You’ll Need:**
- Worsted weight yarn in different colors, such as brown, red, and white.
- A crochet hook suitable for your yarn weight (usually recommended on the yarn label).
- Safety eyes for the reindeer (optional).
- A tapestry needle for weaving in ends.
- A small amount of red yarn for the reindeer’s nose.
- A tiny amount of white yarn for the eyes (if not using safety eyes).
Create the Magic Ring**
To start this free crochet pattern, form a magic ring (also known as a magic circle) using your brown yarn. This will be the base for your reindeer ornament.
Single Crochet Stitches**
Work single crochet stitches into the magic ring until you have a small circular piece. This will form the reindeer’s head.
How to Watch Videos in Slow Motion — if the video is too fast — Click Here!
How to Crochet For Beginners Playlist — Click Here
Click the Links for Your Materials
Abbreviations
sc=single crochet
dc=double crochet
sl st=slip stitch
ch=chain
Nose
H hook
Rnd 4: sl st in the next two stitches, ch 1, sc, hdc, ch1, hdc, sc, in the next stitch, sl st in the next stitch with new color for antlers,
sc in the next stitch, ch 4, sl st in the 2nd chain, ch 4, sl st in 2nd chain, ch 1, sc in the same stitch, sc in the next stitch, sc in the next stitch, sc in the next stitch, sl st in beg stitch to change yarn to brown,
sl st in the next two stitches, sl st with light brown for the second antler,
ch 5, sc in the 4th chain, sl st into the 4th chain, ch 3, sl st into the same stitch, sl st into the next stitch, sc into the stitch, ch 3, sl st into the same stitch of the 2nd chain, sc in the last ch, sl st into the beginning sc.
sl st with the dark brown yarn, ch 1, sc, hdc, ch1, hdc, sc, in the next stitch, sl st in the next stitch, fasten off and weave in your ends. I hope you enjoyed this crochet reindeer applique pattern!
Print the Entry on the top of the page to print the pattern!
Antlers**
Now, let’s create the reindeer’s antlers. For this part, you can use a contrasting color like white. Crochet two small antlers and attach them to the top of the head.
Decorate Your Reindeer**
Next, use a small amount of red yarn to create the reindeer’s nose. To give your reindeer a cute look, you can also add safety eyes or crochet white eyes with black pupils.
Create a Hanging Loop**
To turn your crochet reindeer into a cute ornament, make a hanging loop using a piece of yarn in a color of your choice. Please attach it to the top of the head.
Finishing Touches**
To make your reindeer even more festive, add tiny pom-poms or other embellishments as you like.
Creating your handmade crochet ornaments, like this adorable reindeer applique, is a great way to add a personal touch to your holiday season. These cute ornaments can decorate your Christmas tree, adorn your gifts with a special ornament, or even hang them around your home. The best thing about this project is that it’s an easy pattern suitable for crocheters of all skill levels, making it a perfect addition to your holiday crafting. You can find free crochet Christmas ornament patterns like this from various talented designers on blogs, and you may also find free video tutorials on platforms like YouTube. So, gather your materials, have fun crocheting, and get into the holiday spirit with this special ornament you can cherish for years. And remember, some of the links in this blog post may be affiliate links, which means we may earn a small commission if you make a purchase, but it’s at no extra cost. Happy crocheting!
To Find All My Crochet Jewel Patterns, Click Here
Click Here for My Ravelry Patterns
Crochet Hats for Beginners Book For Sale — Click Here
Crochet For Beginners Book for Sale — Click Here


