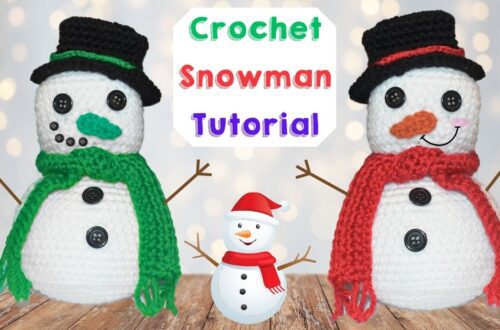
How to Crochet a Fun Snowman Pattern: Step-by-Step Tutorial
How to Crochet a Snowman
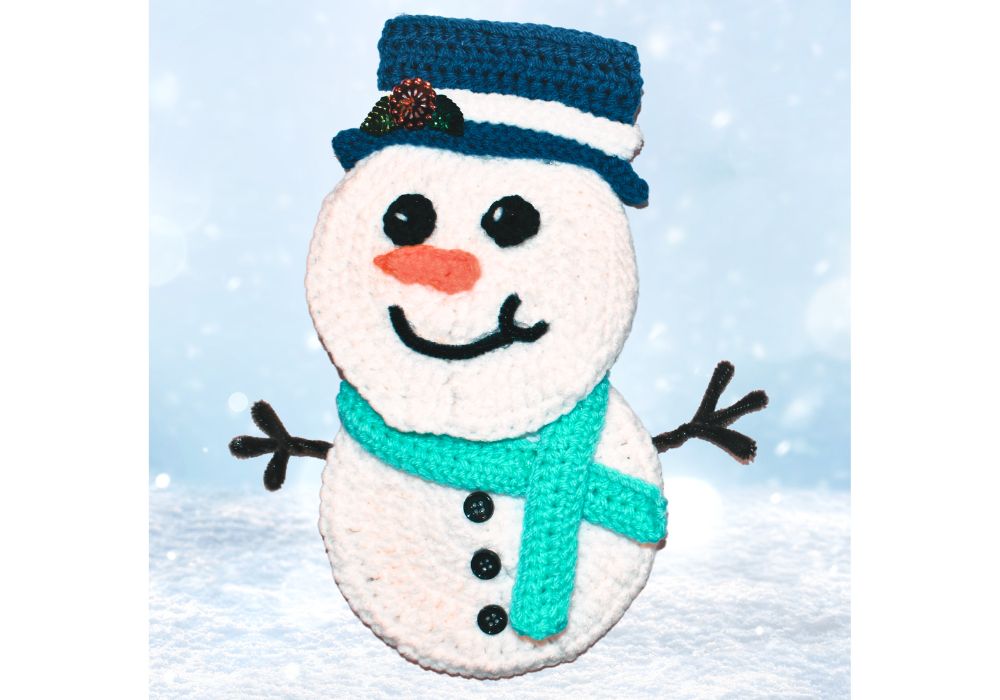
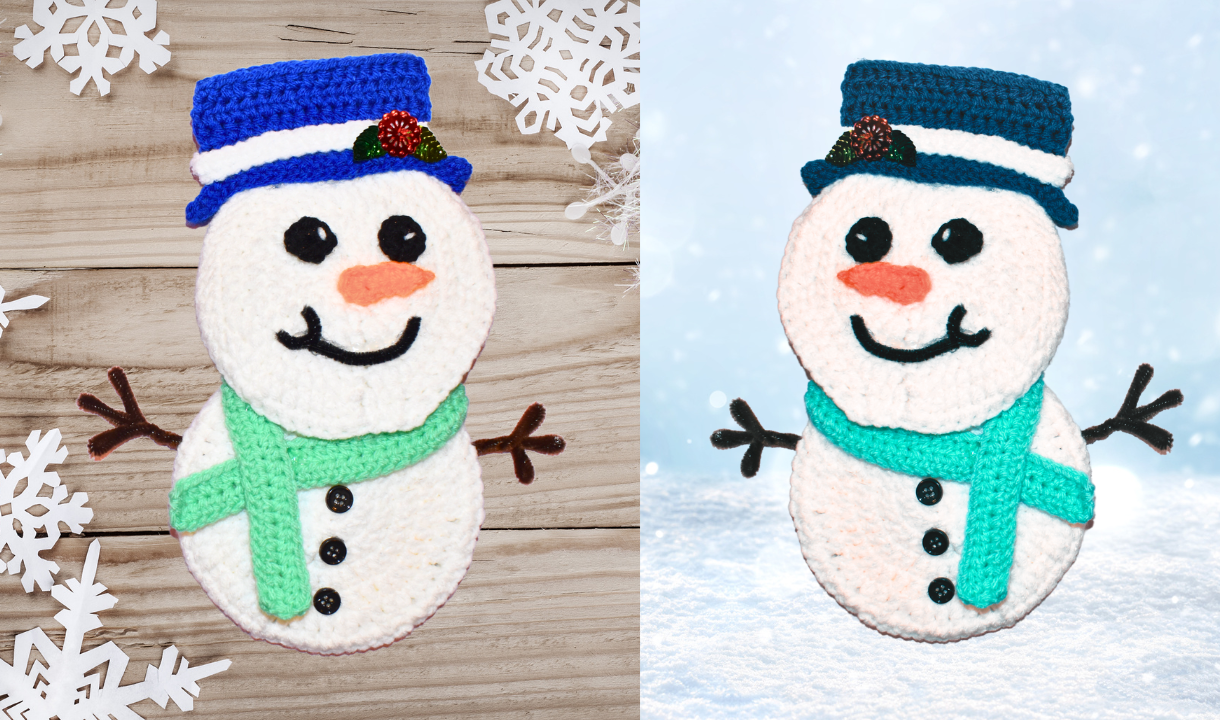
Crochet Hanging Snowman is a delightful and festive project perfect for winter and Christmas decorations. This adorable snowman ornament can be a great addition to your holiday decor or a charming gift for little kids. This tutorial will guide you through creating this cute little snowman using free crochet patterns and basic techniques.
You’ll find affiliate links within this post. If you decide to purchase through these links, I may earn a modest commission at no extra cost. Additionally, please review my privacy policy for more details.
To get started, gather your materials. You’ll need white, black, red, and a small amount of orange for the snowman’s body, eyes, mouth, and carrot nose. Depending on your preference, you can use worsted-weight yarn or worsted-weight cotton yarn.
Make a magic ring, also known as a magic circle, for the snowman’s head. Insert your hook into the ring, yarn over, and pull up a loop. Single crochet (sc) into the ring. This will be the first stitch of your snowman’s head.
✨ We hope you enjoyed these photos! If so, please consider sharing them on Pinterest by clicking the Pin Button on each image. Your support helps us connect with more people and spread creativity. Thank you so much! 💖

Materials Needed:
Click the Links for Your Materials
– Crochet hook
– Tapestry needle
– Stitch marker
F hook: I used an F hook throughout the pattern!
2 Regular sized CDs or circle cardboard
1. White Yarn:
– White yarn is a fundamental material for various crochet and craft projects. For your crochet hanging snowman, white yarn is used to create the snowman’s head and body. Depending on your preference, you can use worsted-weight acrylic yarn or worsted-weight cotton yarn.
2. Green Yarn:
Green yarn can make the snowman’s scarf or any other decorative element for your snowman ornament. Choose a shade of blue that complements your overall design.
3. Blue Yarn:
– Blue yarn helps create accessories like a hat or other decorative items for your snowman. It can add a touch of color to your project, especially if you want to make your snowman unique.
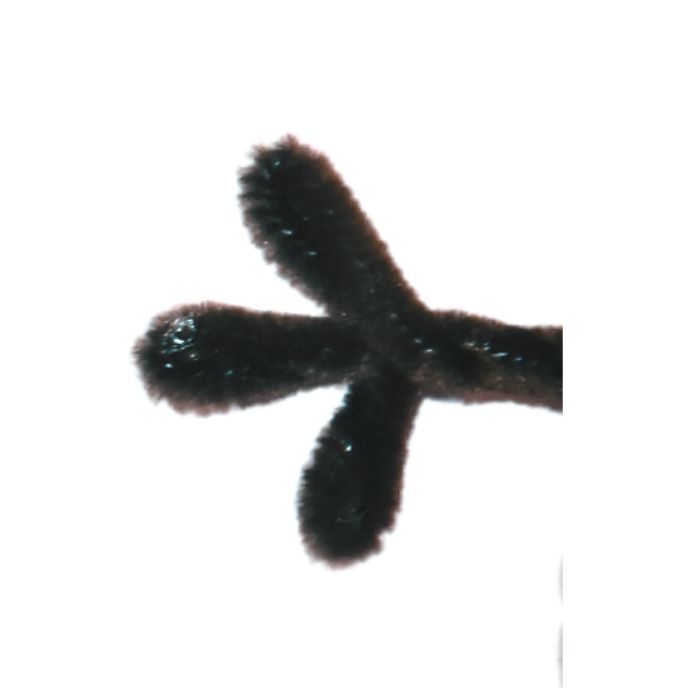
4. Pipe Cleaners:
– Pipe cleaners can be used to create the snowman’s arms. You can shape them to the desired length and bend them into the appropriate position. They add a fun and realistic touch to your snowman.
5. Hot Glue Gun:
– A hot glue gun is essential for attaching specific components of your snowman, such as the arms and any decorative elements like buttons, beads, or other embellishments. Be cautious when using a hot glue gun to avoid burns.
These materials and those mentioned in the previous response will help you create a charming crochet-hanging snowman ornament. Let your creativity run wild, and personalize your snowman with different colors and accessories to match your holiday decor. Enjoy your crafting project!
Use a stitch marker to keep track of your rounds as you work in continuous rounds. Continue making single crochet stitches until you have the desired size for the snowman head. You can use 6 mm safety eyes or create eyes with black and a yarn needle. Add a cute little smile with black yarn using an invisible decrease for the mouth and an orange carrot nose.
These adorable snowman baubles make for incredible decorations on your Christmas tree, as little festive gifts, or even as finished products for sale. You can find free crochet patterns and video tutorials online to help you along the way. Feel free to share your finished projects on your Facebook page or with your friends and family to spread the joy of the winter season. Enjoy your snow day, and have fun crocheting these cute little snowmen to brighten up your holiday season!
How to Watch Videos in Slow Motion – if the video is too fast – Click Here!
How to Crochet For Beginners Playlist – Click Here
Measures 10 inches in height and 5.5 (head) and 6 (body) inches across
Abbreviations:
hdc=half double crochet
dc=double crochet
sl st=slip stitch
ch=chain
Large Body, White Yarn, F hook, Make 2
Rnd 1: ch 3, sl st to join. ch 3 (ch 3 will count as a dc), Work 9 dc in the ch 3 ring. sl st into the chain 3. -10 dc
Rnd 2: ch 3, dc in the same stitch, 2 dc in each stitch, *Repeat around, sl st into the chain 3. -20 dc
Rnd 3: ch 3, dc in the next stitch, 2 dc in the next stitch, *Repeat around, sl st into the chain 3. -30 dc
Rnd 4: ch 3, dc in the next two stitches, 2 dc in the next stitch, *Repeat around, sl st into the chain 3. -40 dc
Rnd 5: ch 3, dc in the next three stitches, 2 dc in the next stitch, *Repeat around, sl st into the chain 3. -50 dc
Rnd 6: ch 3, dc in the next four stitches, 2 dc in the next stitch, *Repeat around, sl st into the chain 3. -60 dc
You can always make this round bigger to make the body bigger with an increased round; repeat round 6, but add 5 stitches, so Rnd 7: ch 3, dc in the next five stitches, 2 dc in the next stitch, *Repeat around, sl st into the chain 3. -70 dc
Now, take a regular CD and sc the two circles with the CD inside. This is optional. You could also take a cardboard circle the size of a CD instead.
Small White Circle for the Head, White yarn, F hook
Rnd 1: ch 3, sl st to join. ch 3 (ch 3 will count as a dc), Work 9 dc in the ch 3 ring. sl st into the chain 3. -10 dc
Rnd 2: ch 3, dc in the same stitch, 2 dc in each stitch, *Repeat around, sl st into the chain 3. -20 dc
Rnd 3: ch 3, dc in the next stitch, 2 dc in the next stitch, *Repeat around, sl st into the chain 3. -30 dc
Rnd 4: ch 3, dc in the next two stitches, 2 dc in the next stitch, *Repeat around, sl st into the chain 3. -40 dc
The next two rounds I did HDC, to make it smaller.
Rnd 5: ch 3, hdc in the next three stitches, 2 hdc in the next stitch, *Repeat around, sl st into the chain 3. -50 hdc
Rnd 6: ch 3, hdc in the next four stitches, 2 hdc in the next stitch, *Repeat around, sl st into the chain 3. -60 hdc
Now, take a regular CD and sc the two circles with the CD inside. This is optional. You could also take a cardboard circle the size of a CD instead.
Eyes: Black Yarn, Make 2, F hook
chain 3, sl st to create a ring. ch 3, work 9 hdc in the ring. sl st to join. Take a yarn needle and make one dash line on the side, any side is good, on both eyes.
Nose: Orange yarn, F hook
Row 1: chain 9, dc in the 4th chain from the hook, hdc in the next 3 chains, sc in the next chain, sl st in the last stitch. Hot glue the nose below the eyes in the center.
Hat: Blue Yarn, F hook
Row 1: chain 26, in the second chain from the hook, sc in each stitch across. Turn
Row 2: sl st into the next 5 stitches, ch 2, hdc in the next 17, leave 4 stitches unworked
Rows 3-7: ch 2, hdc in each stitch across, Turn *Repeat, total of 5 rows. Fasten off.
White Stripe for the bottom of the hat, chain 45, sc in the second chain from the hook, sc in each stitch across. Fasten off. Hot glue the stripe at the bottom of the hat. I added some accent leaves on the side of the hat.
Scarf: Green Yarn, F hook, chain 65, hdc in the second chain from the hook, turn
row 2: hdc in each stitch across, Fasten off. Weave in your ends.
Fold the scarf and hot glue together off to the side so you can see the buttons.
Arms: Pipe Cleaners, Make two arms, best shown in the video.
To make snowman arms with pipe cleaners, cut two pieces of pipe cleaner to the desired length for the arms, typically around 4-6 inches. Bend the ends of the pipe cleaners to create hand-like shapes. Attach them to the snowman’s body by inserting them into the sides and securing them with hot glue for a lifelike appearance.
For a charming smile, I employed a 3-inch piece of pipe cleaner. I attached it just below the nose using hot glue. Additionally, I crafted a 1-inch piece to form a cheek alongside the smile line, securing it in place with adhesive.
Buttons: I hot glued three buttons about 1/2 inch apart on the body.


You May Also Like
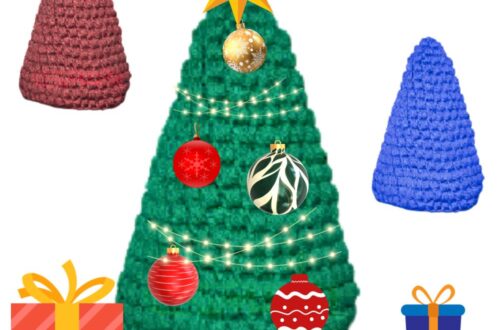
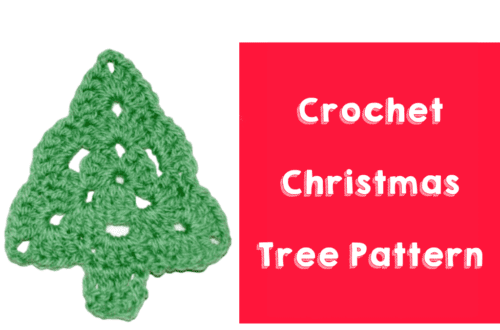
Create a Festive Christmas Tree with Our Crochet Tutorial
Crochet an Adorable Snowman with this Amigurumi Pattern